There are many annoying issues associated with desktop 3D printers, but perhaps none are trickier than keeping the machine at the proper temperature. Too cold, and printed parts can warp or fail to adhere to the bed. Too hot, and the filament can get soft and jam, or the motors will start clanking and missing steps. High-end industrial 3D printers have temperature-controlled enclosures for precisely this reason, but the best you can hope for with a printer that’s little more than some aluminum extrusion and an Arduino is a heated bed that helps but is no substitute for the real thing.
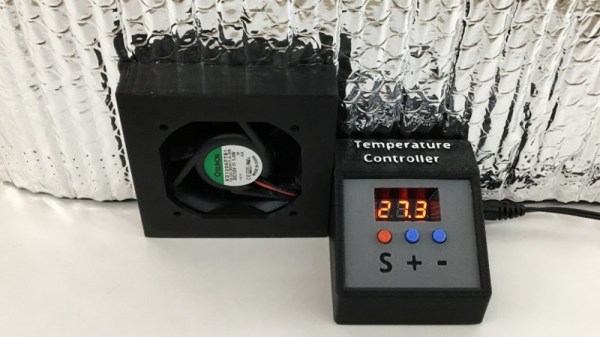
 Like many 3D printer owners chasing perfect prints, [Steve Thone] ended up putting his machine into a DIY enclosure to help keep it warm. Unfortunately, there gets to be a point when things get a little too hot inside the insulating cube. To address this issue, he put together a simple but very elegant temperature controlled fan to vent the enclosure when the internal conditions go above the optimal temperature.
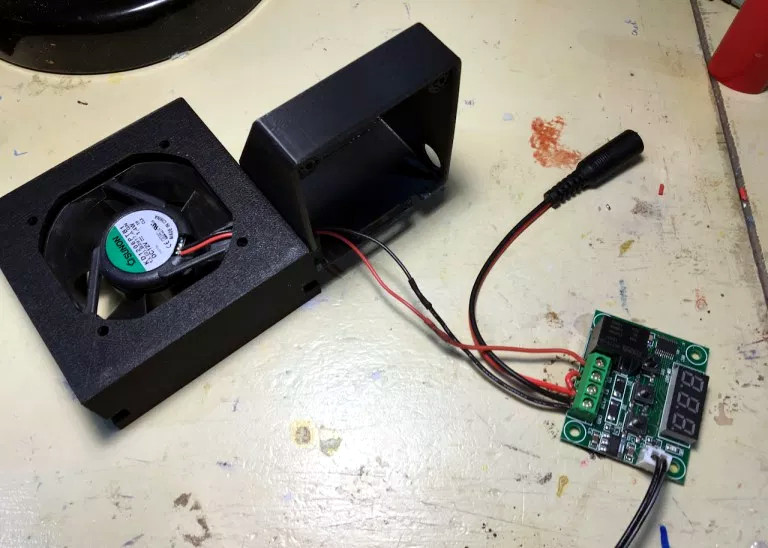
[Steve] picked up the digital temperature controller on Amazon for about $4 USD, and found a 60 mm fan in the parts bin. He then came up with a clever two-part printed enclosure that slides together to make the fan and controller one unit which he can place in a hole he cut in the enclosure.
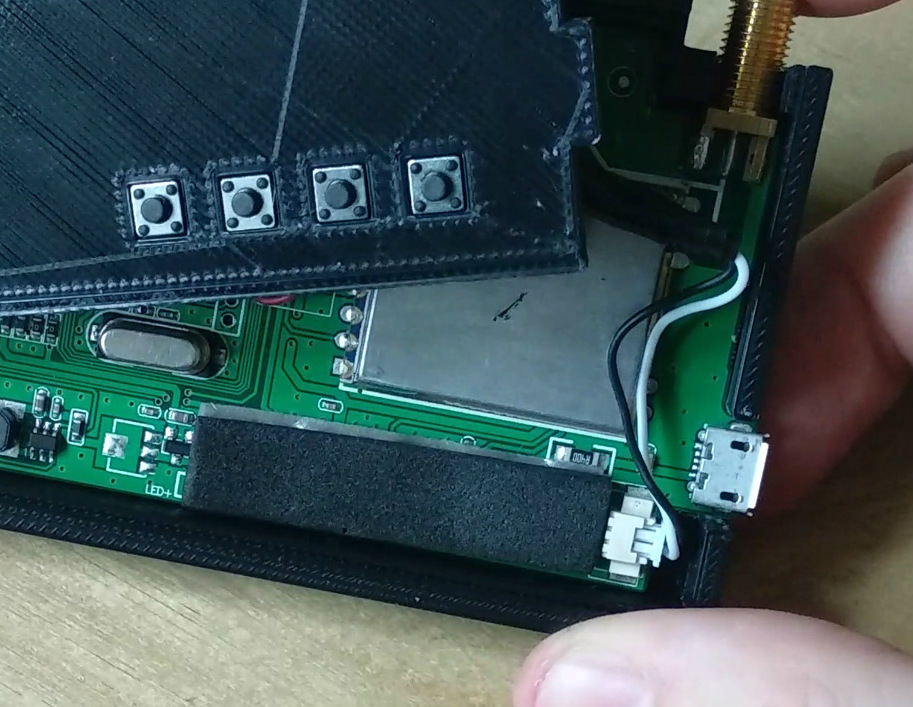
A lot of attention was paid to the front panel of the device, including mid-print filament swaps to create highlighted text and separate buttons printed in different colors. The end result is a very professional looking interface that involved relatively little manual labor; often a problem when trying to come up with nice looking panels.
Whether it’s to keep from breathing ABS fumes, or to quiet the thing down enough so you can get some sleep, it looks like an enclosure of some type is becoming the latest must-have 3D printer accessory.