Give a man a fishing lure, and he catches fish until he loses the lure. Give a fisherman a 3D-printer, and he can print all the fishing lures he wants, especially replicas of those that are too valuable to actually use.
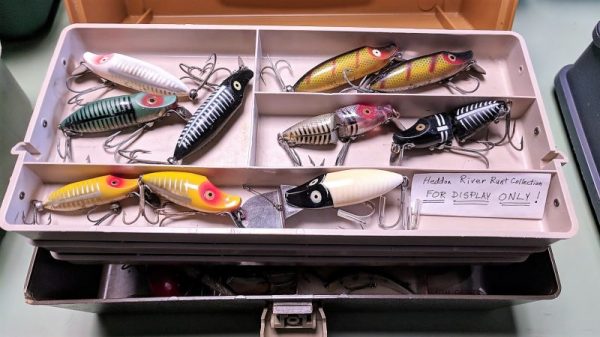
It may seem strange that some people collect fishing lures rather than use them, but when you look at [Hunter]’s collection, it’s easy to see why. Lures can be very artistic, and the Heddon River Runts in his collection are things of beauty and highly prized. They’re also highly effective at convincing fish to commit suicide, so rather than risk the originals, he and his dad 3D-printed replicas.
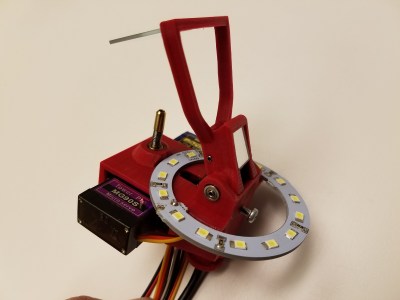
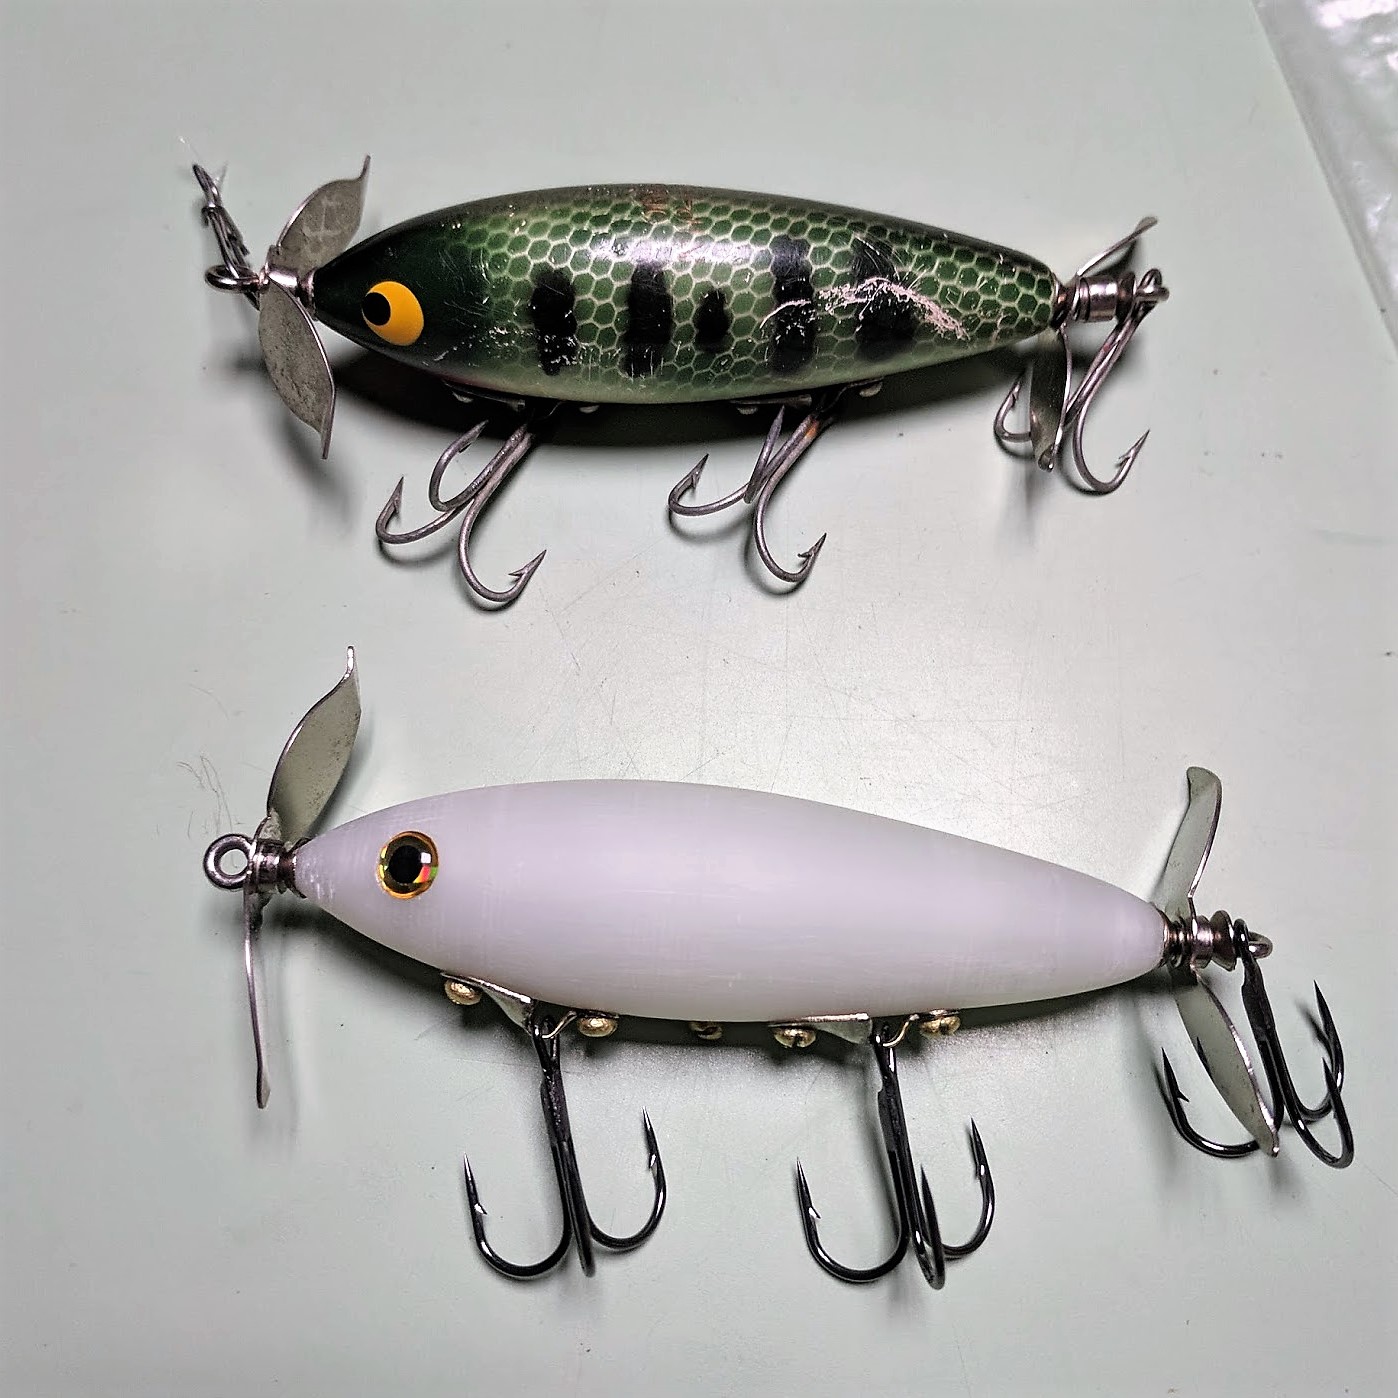 After modeling the body of the lure in Blender, they modified it with air pockets for buoyancy and located holes for attaching the treble hooks and lip spoon, which was fabricated from a scrap of brass from a rifle casing. The finished lure lacks the painted details and some of the charm of the original River Runt, but it has something Mr. Heddon couldn’t dream of in 1933 when he introduced it — it glows in the dark, thanks to the phosphorescent PLA filament used. That seems to be irresistible to the bass, who hit the lure so often that they got sick of taking pictures. See it in action in the video below.
[Hunter] and his dad have been busy exploring what 3D printing can do, replicating all sorts of Heddon lures. They’ve even got plans to design and print their own lures. But maybe archery is more your sportsman thing than fishing, in which case this PVC pipe compound bow or a recurve bow from skis would be something to check out.
Continue reading “3D-Printing Saves Collectible Lures From A Fishy Ending”


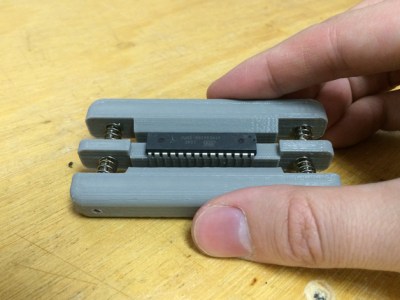 Fresh from the factory Dual Inline Package (DIP) chips come with their legs splayed every so slightly apart — enough to not fit into the carefully designed footprints on a circuit board. You may be used to imprecisely bending them by hand on the surface of the bench. [Marco] is more refined and shows off a neat little spring loaded tool that just takes a couple of squeezes to neatly bend both sides of the DIP, leaving every leg the perfect angle. Shown here is
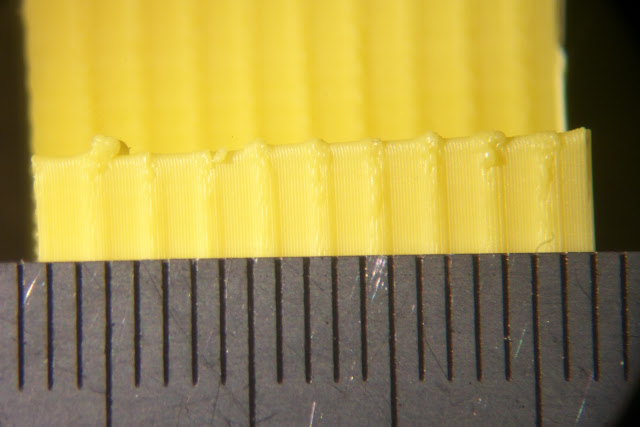
 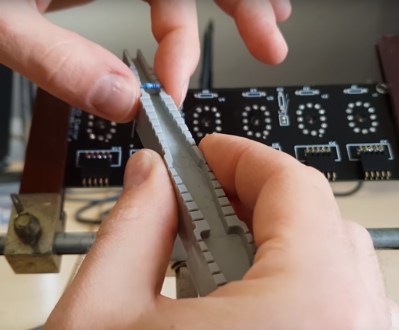 Another tool which caught our eye is the one he uses for bending the metal film resistor leads: the “Biegelehre” or lead bending tool. You can see that [Marco’s] tool has an angled trench to account for different resistor body widths, with stepped edges for standard PCB footprint spacing. We bet you frequently use the same resistor bodies so 3D printing is made easier by
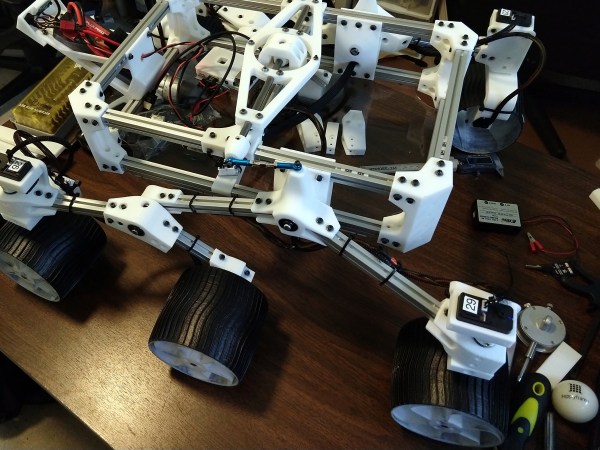
 Work long enough with 3D printers, and our ideas inevitably grow beyond our print volume. Depending on the nature of the project, it may be possible to divide into pieces then glue them together. But usually a larger project also places higher structural demands ill-suited to plastic.


