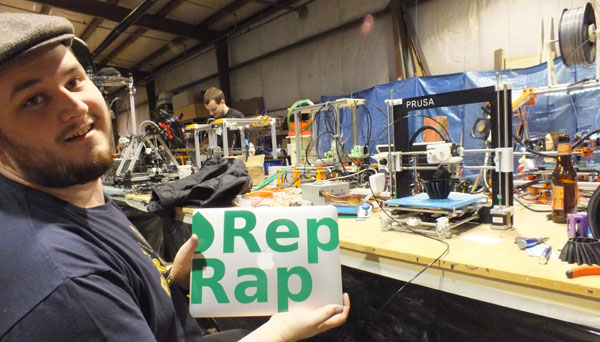
It’s the first full day of fun here at the Midwest RepRap Festival. This year’s turnout is quite impressive—as I’m writing this, we’re an hour or so in and there are already hundreds of people and a couple of R2D2 units milling about.
The talks will begin in a few hours. This year MRRF has expanded to another building, which should tell you something about the growth of this festival. We are excited to hear [Filip] and [Ladi] give a presentation about Jellybox, a STEM-driven project he started to bring 3D printing into education in a comprehensive and hands-on way. The initial idea was based on [Jean Piaget]’s theory of constructionism. [Piaget] was a clinical psychologist who helped advance the idea that human learning is greatly influenced by connecting a person’s ideas with their experiences.
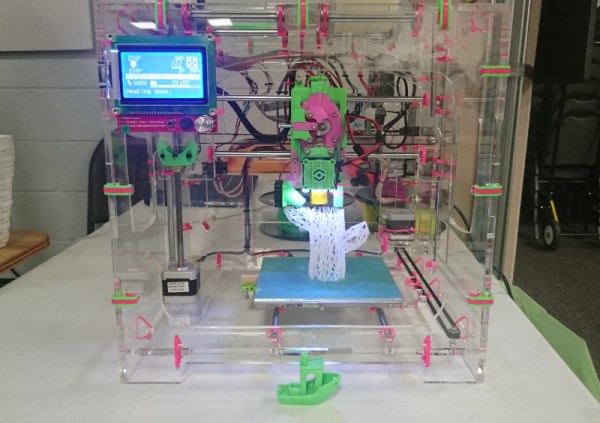
Building a Jellybox printer is about as easy as it gets, and takes about 4-6 hours depending on your skill level. The laser-cut clear acrylic panels are connected with zip ties that lock around 90° plastic brackets. The back panel even has a etched diagram that shows where all the connectors should go, and the wiring is neat and tidy by design. It’s meant to be easy to tear down so that teachers can use them again and again with middle and high school-aged students. The Jellybox is open-source; both the extruder and the hot end can be swapped out in a flash.
IMade3D offers one- and two-day intensive courses in the DC area that cover building a Jellybox and learning some things about 3D modeling. The kit is included in the price of admission. Jellybox kits will be available in a few weeks, but can be preordered today for $799.