Koenigsegg 3D-Printing For Production Vehicles

Koenigsegg with Printed Parts

We’re not surprised to see a car manufacturer using 3D-printing technology, but we think this may be the first time we’ve heard of 3D-prints going into production vehicles. You’ve likely heard of Christian von Koenigsegg’s cars if you’re a fan of BBC’s Top Gear, where the hypercar screams its way into the leading lap times.

Now it seems the Swedish car manufacturer has integrated 3D printing and scanning into the design process. Christian himself explains the benefits of both for iterative design: they roughed out a chair, adjusting it as they went until it was about the right shape and was comfortable. They then used a laser scanner to bring it into a CAD file, which significantly accelerated the production process. He’s also got some examples of brake pedals printed from ABS—they normally machine them out of aluminum—to test the fits and the feeling. They make adjustments as necessary to the prints, sometimes carving them up by hand, then break out the laser scanner again to capture any modifications, bring it back to CAD, and reprint the model.

Interestingly, they’ve been printing some bits and pieces for production cars out of ABS for a few years. Considering the low volume they are working with, it makes sense. Videos and more info after the jump.

Continue reading “Koenigsegg 3D-Printing For Production Vehicles”

Coloring 3D Prints With Sharpies

Printing objects in full color easily is one of the paramount goals of the ‘squirting plastic’ 3D printer scene, and so far all experiments have relied on multiple colors of filament, and sometimes multiple extruders. This, of course, requires a stock of different colored filaments, but [Mathew Beebe] has a different idea: why not dye a natural colored filament just before it’s fed into a printer? Following his intuition, [Mathew] is doing some experiments with the common Sharpie marker, and the resulting prints look much better than you would expect.

The basic procedure or this technique is to drill a hole in the butt end of the Sharpie, pull out the felt in the tip, and feed a length of filament through the marker before it goes into the extruder. The filament is dyed with the Sharpie ink, and the resulting print retains the color of the marker.

Despite the simplicity of the technique, the results are astonishing. An off-white ‘natural’ filament is easily transformed into any one of the colors found in Sharpies.

Besides the common Sharpie, there’s a slightly more interesting application  of this technique of coloring 3D printer filament; as anyone who has ever been in a dorm room with a blacklight knows, you can use the dye inside a common highlighter to make some wicked cool UV-sensitive liquor bottles. Whether the ‘Sharpie technique’ works with highlighters or other markers is as yet unknown, but it does deserve at least a little experimentation.

Video below.

Continue reading “Coloring 3D Prints With Sharpies”

My First Robot: A Dad’s Journey In Robotics For His Daughter

My first robot

[Joel Miller] wants to get his daughters into electronics early (his oldest is only 3), so he’s decided to foray into the wonderful world of robotics as a fun way to get them interested. As bonus to us and all other would-be robotics enthusiasts out there, he’s keeping track of the project on his blog!

He started by sketching out some ideas about what he wanted his robot to be capable of — it should be able to move around, be remote controlled, have sensors for experiments, and even have some personality — expression capable eyes maybe? Oh and it should be able to automatically charge itself, and have tank treads!

It’s been a few weeks since he started scheming up ideas… and he already has a prototype complete! Talk about a productive father! He decided to try 3D printing a continuous tank tread using ABS, but unfortunately it was a bit too stiff, so he’s opted to use a tried and true Lego system instead — although maybe he should try printing in two materials, like we just saw with the FlexyDualie extruder!

Continue reading “My First Robot: A Dad’s Journey In Robotics For His Daughter”

The Hackaday Prize: Thinking Really, Really Big

Dome

In case you’ve been living under a rock for a few weeks, we’re giving away a trip to space for the best, most grandiose connected hardware project. [coxrandy], a.k.a. [Phillip Cox] realized the best way to build something awesome was to think big, and his plan for building a 1km dome (yes, 1000 meters) is the most ambitious project we’ve ever seen.

The BuckyBot, as [Phil] is calling his build, relies on the ideas of the great [Buckmister Fuller] and his idea to build a huge geodesic dome covering all midtown Manhattan. [Fuller] didn’t have the resources to build a structure this large in the 1950s, and to be honest, we don’t have the resources to build it nowIt would be a ludicrous effort to build something like this one beam at a time, and [Phil] concludes that to build something this big, we need to think small.

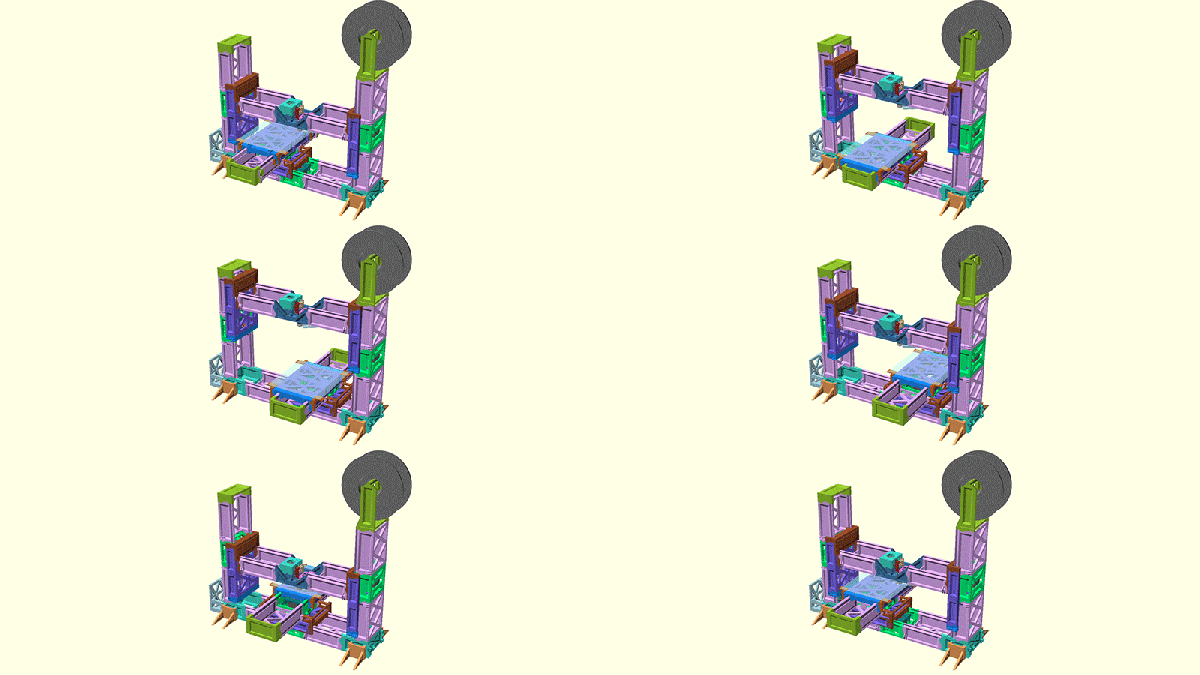
Instead of thousand ton cranes and several thousand vehicles trucking in building supplies, [Phil]’s idea uses small “BuckyBots” – a combination 3D printer and robot – that builds one structural cell of a giant dome at a time. These BuckyBots climb around the structure, build the internal and support structure, slowly climbing to the skies on their fractal-inspired creation.

The Hackaday Prize contest will end far before [Phil]’s BuckyBots will have the ability to build a kilometer-wide dome, so the current plans are to modify his RepRap Mendel to crawl. Once that’s done, he’ll have his newly built BuckyBot build a 2 meter hemisphere in his garage. From there, construction moves to the back yard where a 10 meter dome will be built.

Even if this project never makes it past the planning stages, it’s an awesome example of thinking big, something you’re going to need if you’re trying to win a trip to space.

Hands-on With The FlexyDualie 3D Printer Extruder

Flexydualie Extruder

Ever heard of the FlexyDualie extruder? It’s a new opensource dual extruder from Aleph Objects (makers of the Lulzbot and TAZ), specifically designed for printing in a hard material — and a flexible one!

[James Bruton] of XRobots just got his hands on one and a new TAZ printer, and he’s shared his thoughts. He’s using ABS plastic and Ninjaflex rubber filament to test it out. Sure you can sometimes print with Ninjaflex using a regular extruder… but get ready for headaches as it jams in your extruder guide. The FlexyDualie is specifically designed for extruding flexible filaments which results in a lot less headaches, and a lot more productivity!

In the following demonstration video, [James] shows us the awesome possibilities of printing parts in both a hard and soft material. He even goes into detail on how to setup Slic3r for multi-material STL files.

Continue reading “Hands-on With The FlexyDualie 3D Printer Extruder”

3D Printed Cast With Ultrasound Emitter Promises Faster Healing Times

3dcast-640x426

Almost a year ago, [Jake Evill] broke his hand stopping a fight between his friend and another person. And over the next few weeks he realized how archaic  plaster casts really are — clunky, smelly, itchy — not exactly conducive to healing, other than by keeping your arm completely immobilized. That’s when he came up with the Cortex Cast — a 3D printed exoskeleton cast that provides support, allows your arm to breath, and can even get wet!

Fast forward to today, and another designer is playing with 3D printed casts — but ones that could potentially speed up the healing time! Turkish designer [Deniz Karasahin] heard about a system called the Exogen, which is a low-intensity ultrasound system which can help speed up bone repair, sometimes up to 38% faster. The problem? It doesn’t really work well with regular casts, because the transducer needs to touch the skin — the solution? A 3D printed cast of course!

You see, the ultrasound tech has been around for over 20 years, but has never really seen mainstream use because the difficulties in actually using it, until perhaps now.

Better yet, they’re also hoping to launch trials in the US soon — 3D printers are only good for trinkets and doodads? Pfft.

[Thanks William!]

Ask Hackaday: Can The Lix 3D Printing Pen Actually Work?

Introducing Lix, the world’s smallest 3D printing pen that allows you to draw plastic structures in 3D. It’s only been on Kickstarter for a few days now, and already it has garnered close to a million dollars in pledges. An astonishing achievement, especially considering we can prove – with math and physics – that it doesn’t work as advertised. However, we’re wondering if it could work at all, so we’re asking the Hackaday community.

The device is powered through a USB 3 port. In the video, the Lix team is using a MacBook Pro. This has a USB port capable of delivering 900 mA at 5 Volts, or 4.5 Watts. Another 3D printing pen, the 3Doodler, uses a 2A, 12V power adapter, equal to 24 Watts. Considering the 3Doodler works, and they both do the same basic thing, there’s something extremely odd going on here.

Just as a comparison, here’s a wirewound resistor commonly found in the heating element or ‘hot end’ of a 3D printer. It’s a 6.8  Ohm resistor powered at 12 Volts. That’s 21 Watts. Here’s a heater cartridge, also found in quite a few hot ends. It sucks down 40 Watts. Once again, the Lix Kickstarter clearly shows the pen extruding filament using only 4.5 Watts of power. Something is really, really fishy here.

Intuition doesn’t hold a candle to math, so let’s figure out exactly why it won’t work.

Continue reading “Ask Hackaday: Can The Lix 3D Printing Pen Actually Work?”