Finally, A Use For Old Cellphones

In what is now a three-year long search, I’ve finally found the perfect use for an old cellphone. And with it, the answer to a burning question: Why aren’t we hacking cellphones?

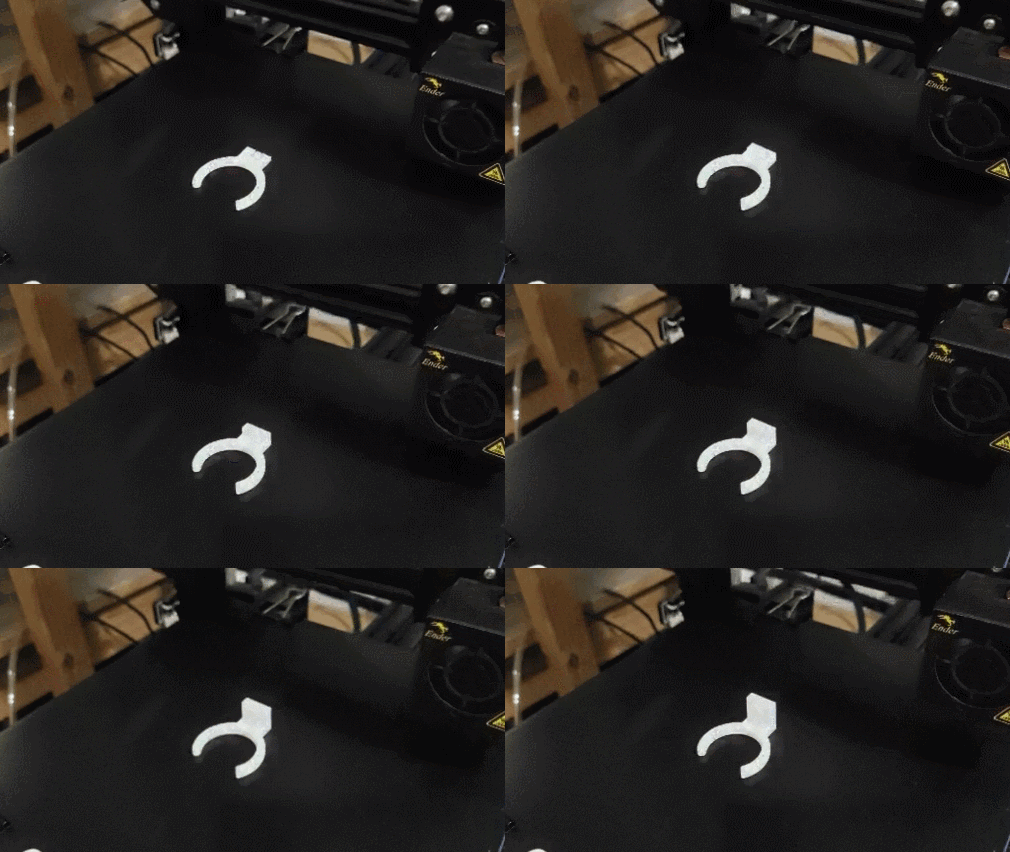
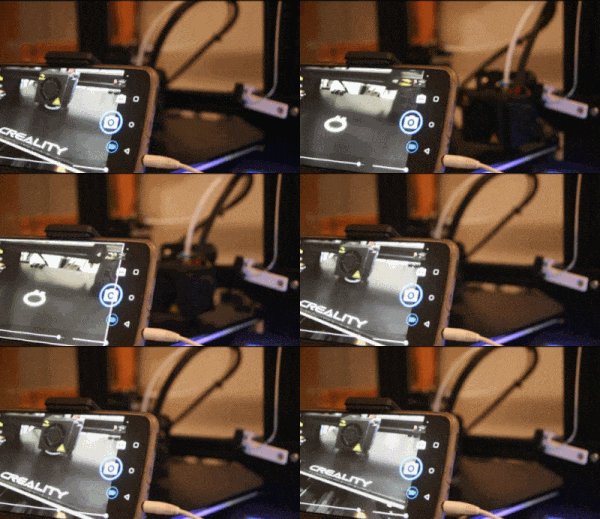
First, the application. The Octo4a project lets you use an old Android phone as a 3D printer server, web interface, and even time-lapse camera to make those nice movies where the print seems to grow up out of nothing before your eyes. It’s the perfect application for an old phone, making use of the memory, WiFi, graphics capabilities, and even the touch-screen if you want local control of your prints.

Connecting to the phone was the main hurdle that I’ve always seen in developing for cellphone projects, because I have robotics applications in mind. But Octo4a gets around this with low or no effort. Most 3D printers are designed to run on USB anyway, so connecting it to the phone is as simple as buying a USB OTG cable. With the USB port taken over, powering the phone long-run becomes a tiny problem, which can be solved with a Y-cable or a little solder. Keep the OS from going to sleep, somehow, and it’s problem solved!

But here’s why this isn’t a solution, and it points out the deeper problem with cellphone hacking that many pointed out in the comments three years ago. Octoprint is written in Python, and because of this is very easy to write extensions for and to hack on, if that’s your thing. When I first saw Octo4a, I thought “oh great, a working Android Python port”. Then I went to dig into the code.

Octo4a is written in Kotlin and uses the Gradle framework. It’s a complete port of Octoprint, not just to a different platform, but to a different programming language and to an almost entirely different programming paradigm. My hat is off to [feelfreelinux] for doing it, but my guess is that the community of other people fluent enough in Kotlin and Python to help port across upstream changes in Octoprint is a lot smaller than the community of Python programmers would have been. Octo4a is a great project, but it’s not a walk in the park to develop on it.

So all of you who wrote in the comments to my previous piece that it’s the Android software ecosystem that’s preventing phone reuse, well here’s the exception that proves your rule! A dedicated and talented, multi-lingual developer community could pull it off, but the hurdle is so high that few will rise to it.

Anyway, thanks [Feelfree Filip] for your great work! I’ll be putting this on my old S4.

A scaled down version of a pedestrian crossing signal

Don’t Walk Past This 3D Printed Pedestrian Crossing Light

There’s just something so pleasing about scaled-down electronic replicas, and this adorable 3D printed pedestrian crossing light by [sjm4306] is no exception.

Although a little smaller than its real-world counterpart, the bright yellow housing and illuminated indicators on this pedestrian lamp are instantly recognizable due to their ubiquitous use throughout the United States. The handful of printed parts are held together using friction alone, which makes assembly a literal snap. The ‘safety grill’ with its many angles ended up being one of the most tedious parts of the build process, but the effort was definitely justified, as it just wouldn’t look right without it.

A suitably minuscule ATtiny85 drives a pair of LED strips that effectively mimic the familiar symbols for ‘Walk’ and ‘Don’t Walk’. [sjm4306] has designed the board and case in such a way to accommodate a variety of options. For example, there’s just enough room to squeeze in a thin battery, should you want to power this contraption on-the-go. If you don’t have an ATtiny85 on hand, the board also supports an ATmega328p or even an ESP8266.

All the build details are available over on Hackaday.io. While it’s billed as a ‘night light’, we think this could be an awesome platform for an office toy, similar to this office status light project. Or if you’ve somehow already got your hands on a full-size pedestrian lamp, why not hook it up to the Internet?

Continue reading “Don’t Walk Past This 3D Printed Pedestrian Crossing Light”

3D Printed Generator Build Highlights The Scientific Method

Sometimes we build to innovate, and sometimes we build just to have the satisfaction of saying we made it ourselves. Yet there is another reason to construct something ourselves: To learn, just as [Fraens] has done with this 3D-printed generator. (Video, embedded below.)

[Fraens] starts off with a jig for winding the individual coils, but then the jig itself snaps into a the stator ring. The stator ring is sandwiched by two rotors which rotate on a brass shaft suspended by needle bearings. With the exception of the hardware, all the structural parts are 3d printed.

What really separates the generator build isn’t how it’s built, but rather how [Fraens] has put it to use as tool for learning and experimentation. By plotting input torque vs electrical output, [Fraens] is able to calculate efficiencies in multiple configurations, and has some interesting conclusions to share toward the end of the video. We appreciate how the documentation and analysis help iterate the design towards higher efficiency and will inform the next build.

With some more work, we can see this going straight into a Vertical Axis Wind Turbine or attached to a Pelton Wheel for an off-grid hydro-power setup. Thanks to [Shabab] for the great Tip!

Continue reading “3D Printed Generator Build Highlights The Scientific Method”

Running Octoprint On A PinePhone Turns Out To Be Pretty Easy

3D printer owners have for years benefitted from using Octoprint to help manage their machines, and most people run Octoprint on a Raspberry Pi. [Martijn] made it run on his PinePhone instead, which turned out to be a surprisingly good fit for his needs.

While [Martijn] was working out exactly what he wanted and taking an inventory of what Raspberry Pi components and accessories it would require, it occurred to him that his PinePhone — an open-source, linux-based mobile phone — would be a good candidate for his needs. It not only runs Linux with a touchscreen and camera, but even provides USB, ethernet, and separate DC power input via a small docking bar. It looked like the PinePhone had it all, and he was right. [Martijn]’s project page gives a walkthrough of the exact steps to get Octoprint up and running, and it even turns out to not be particularly difficult.

[Martijn] is no stranger to hacking his PinePhone to do various things; we’ve already seen him add thermal imaging to his PinePhone. For those of you who are intrigued by the idea but don’t own a PinePhone? Check out the octo4a project, which allows running Octoprint on Android phone hardware.

Do You Really Need To Dry Filament?

There’s a lot of opinions and theories around the storing and drying of 3D printing materials. Some people are absolutely convinced you must bake filament if it been stored outside an airtight bag, even for a few days. Some others have ‘never had a problem.’ So it’s about time someone in the know has done some testing to try to pin down the answer to the question we’re all asking; How bad is wet filament really?

[Thomas Sanladerer] setup a simple experiment, using samples of three common types of filament, specifically PLA, PET-G and ASA. He stored the samples in three environments, on his desk, outside in the garden, and finally submerged in water for a full week. What followed was a whole lot of printing, but they all did print.

Different filaments will absorb water at different rates, depending upon their chemical composition and the environment, nylon being apparently particularly fond of a good soaking. It would seem that the most obvious print defect that occurs with increased water absorption is that of stringing, and other than being annoying and reducing surface quality somewhat, it’s not all that serious in the grand scheme of things. It was interesting to note that water absorption doesn’t seem to affect the strength of the final part.
Continue reading “Do You Really Need To Dry Filament?”

Prusa XL Goes Big, But That’s Only Half The Story

For a few years now it’s been an open secret that Prusa Research was working on a larger printer named, imaginatively enough, the Prusa XL. Positioned at the opposite end of their product spectrum from the wildly popular Prusa Mini, this upper-tier machine would be for serious hobbyists or small companies that need to print single-part objects that were too large for their flagship i3 MK3S+ printer. Unfortunately, the global COVID-19 pandemic made it difficult for the Czech company to focus on bringing a new product to market, to the point that some had begun to wonder if we’d ever see this mythical machine.

But now, finally, the wait is over. Or perhaps, it’s just beginning. That’s because while Prusa Research has officially announced their new XL model and opened preorders for the $1,999+ USD printer, it’s not expected to ship until at least the second quarter of 2022. That’s already a pretty substantial lead time, but given Prusa’s track record when it comes to product launches, we wouldn’t be surprised if early adopters don’t start seeing their machines until this time next year.

So what do you get for your money? Well, not an over-sized Prusa i3, that’s for sure. While many had speculated the XL would simply be a larger version of the company’s popular open source printer with a few modern niceties like a 32-bit control board sprinkled in, the reality is something else entirely. While the high purchase price and ponderous dimensions of the new machine might make it a tough sell for many in the hacker and maker communities, there’s little question that the technical improvements and innovations built into the Prusa XL provide a glimpse of the future for the desktop 3D printer market as a whole.

Continue reading “Prusa XL Goes Big, But That’s Only Half The Story”

Generate Fully Parametric, 3D-Printable Speaker Enclosures

Having the right speaker enclosure can make a big difference to sound quality, so it’s no surprise that customizable ones are a common project for those who treat sound seriously. In that vein, [zx82net]’s Universal Speaker Box aims to give one everything they need to craft the perfect enclosure.

The parts can be 3D-printed, but the design ensures that the front and back panels are flat, so one can use wood or some other material for those depending on preference and appearance. The assembly is screwed together using six M3 bolts per side with optional heat-set inserts, but it’s entirely possible to simply glue the unit together if preferred.

One thing that makes this design a bit more broadly useful is that [zx82net] not only provides the parametric design file for Fusion360, but also includes STEP format CAD files, and a small number of pre-configured assemblies for a few commonly available speaker drivers: the Dayton Audio DMA70-4, ND91-4, and the TCP115-4. Not enough for you? Check out [zx82net]’s collection of ready-to-rock enclosures in a variety of designs and configurations; there’s bound to be something to appeal to just about anyone.

[via Reddit]