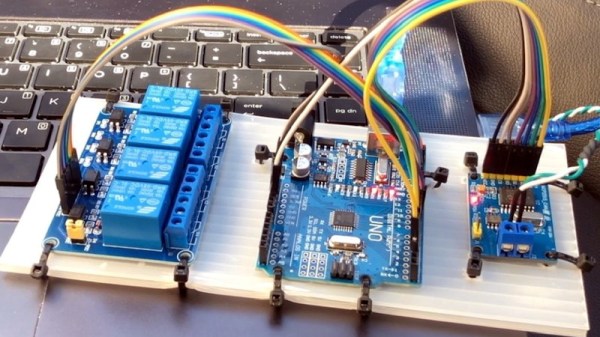
Arduino has announced a new line of Nano boards that will begin shipping next month. From the design, to the chips and features on the board, to the price, there’s a lot that is new here. I stopped by their booth at Maker Faire Bay Area for a look at the hardware.
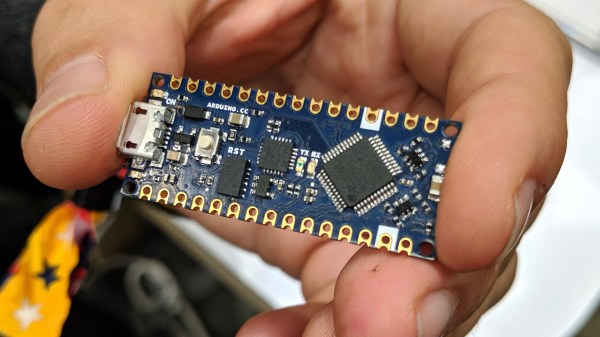
Immediately noticeable is the new design for the pins on either side of the board, which has transitioned from through-hole to a castellated through-hole hybrid. The boards can be ordered with or without pin headers soldered in place. If you get them without, you can reflow these nano boards as modules on a larger PCB design. Recommended footprints are not yet available but I’m told they will be published soon.
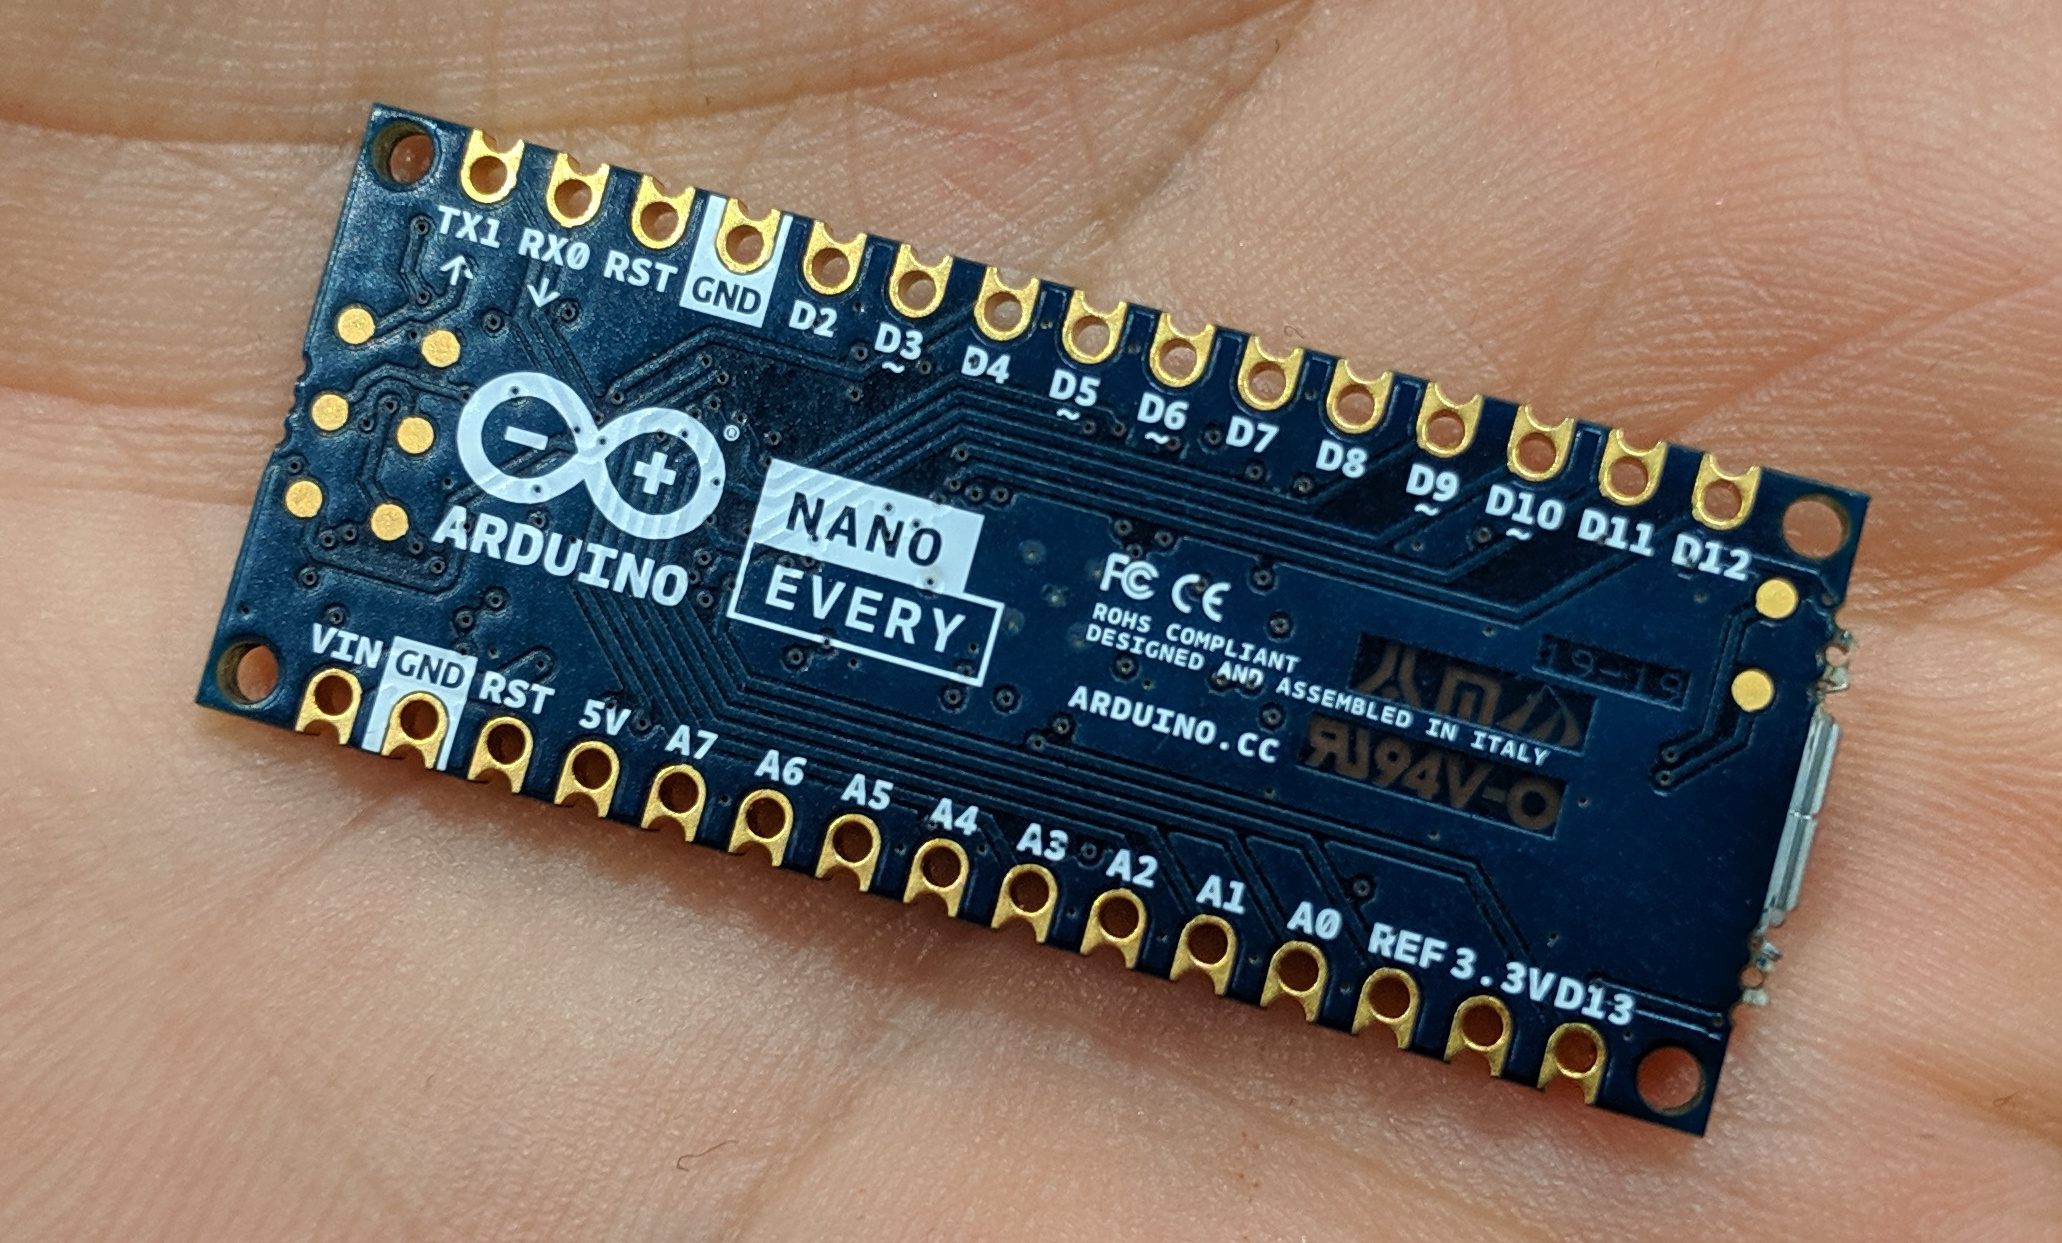
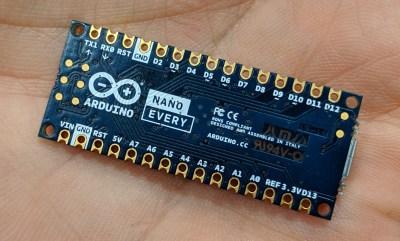 The most basic model in this lineup is the “Nano Every”, a 5V board with the ATmega4809 at its center. This brings 48 KB of flash and 6 KB of RAM to the party, running at 20 Mhz. A really nice touch is the inclusion of power regulation that turns up to 21 V of input into the regulated 5 V for the chip, with the added bonus of sourcing up to 1 A for external components through the 5 V pin on one of the headers. For the hackers out there, you can choose to inject your unregulated power through the VIN line, or the USB header.
All of this is a really nice upgrade to the previously available Nano design, with the $9.90 price tag making it a really desirable board for your 8-bit microcontroller needs. The one critique that comes to my mind is that the pins are labeled nicely on the bottom silk screen, but I would also have liked to see these labels on the top layer. When used in a breadboard, or soldered to another PCB, pin labels will be hidden.

The rest of the Nano family center around more powerful chips. As mentioned above, the “Nano Every” board runs an 8-bit chip at 5 V, but the three different “Nano 33” boards have 32-bit chips running at 3.3 V. There’s an “IoT” version with an Arm Cortex-M0+ SAMD21 processor, 6-axis IMU, plus a uBlox NINA-W10 modules which is an ESP32-based board for WiFi, Bluetooth, and cryptography features. MSRP on this board is $18.
The “Nano 33 BLE” and “Nano 33 BLE Sense” boards both do away with the SAMD21 chip and utilize the Nordic nRF52480 which is part of the uBlox NINA-B306 modules and provide Bluetooth connectivity. At $19, the BLE flavor gets you a 9-axis accelerometer. For an additional ten bucks, the “BLE Sense” adds a slew of sensors: pressure, humidity, digital proximity, ambient light, gesture sensor, and a microphone. Pre-orders for these two are slated to begin shipping this July.
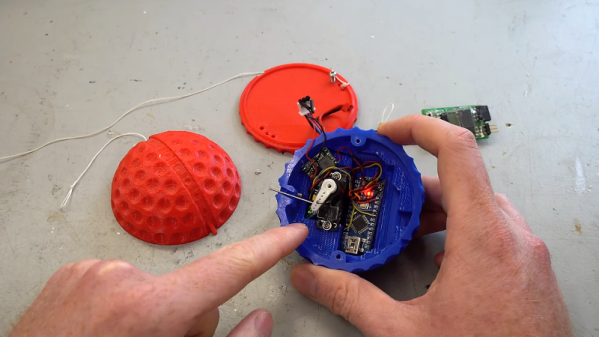
The new Arduino Nano designs bring a lot of power to a small footprint. I have to wonder if Arduino is looking to compete with ESP32 modules. The castellated edges on ESP32 modules have allowed them to pop up in all kinds of development boards and other products. The new Nano design continues the legacy of Arduino boards being prototype friendly, but adds the ability to include the boards in a product design based on surface mount assembly.