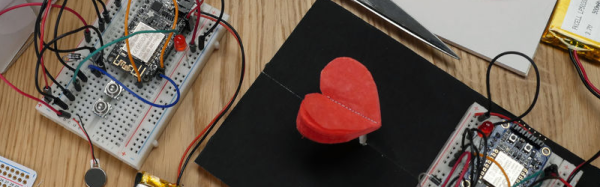
Instructables user [Roboro] had a Mad Catz Xbox steering wheel controller he hasn’t had much use for of late, so he decided to hack and use it as a controller for a robot instead.
Conceivably, you could use any RC car, but [Roboro] is reusing one he used for a robot sumo competition a few years back. Cracking open the controller revealed a warren of wires that were — surprise, surprise — grouped and labelled, making for a far less painful hacking process. Of course, [Roboro] is only using the Xbox button for power, the player-two LED to show the connection status, the wheel, and the pedals, but knowing which wires are which might come in handy later.
An Arduino Uno in the wheel and a Nano in the robot are connected via CC41-A Bluetooth modules which — despite having less functionality than the HM10 module they’re cloned from — perform admirably. A bit of code and integration of a SN754410 H-bridge motor driver — the Arduino doesn’t supply enough current to [Roboro]’s robot’s motors — and the little robot’s ready for its test drive.
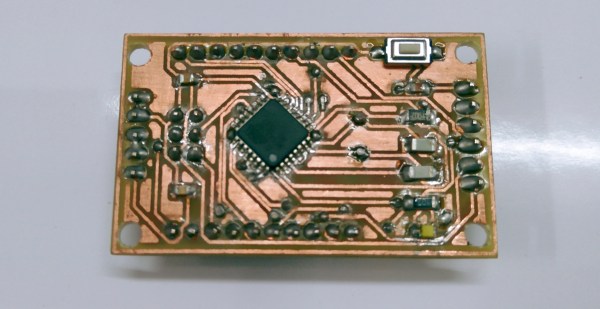
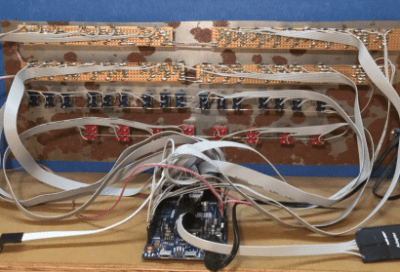
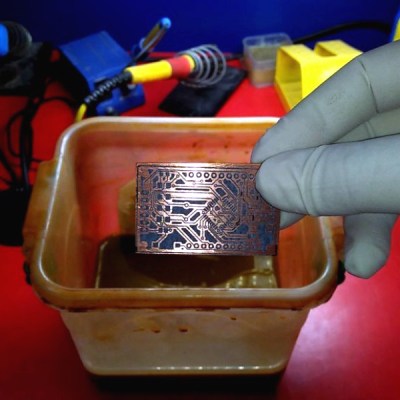 [Pratik Makwana] starts by showing how to design the circuit schematic diagram in an EDA tool (Eagle) and the corresponding PCB layout design. He then uses the toner transfer method and a laminator to imprint the circuit into the copper board for later etching and drilling. The challenging soldering process is not detailed, if you need some help soldering SMD sized components we covered some different processes before, from a
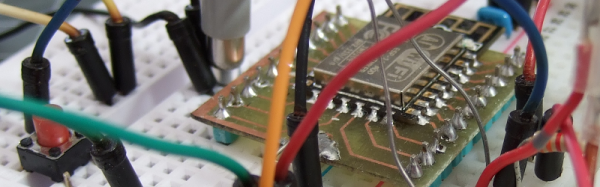
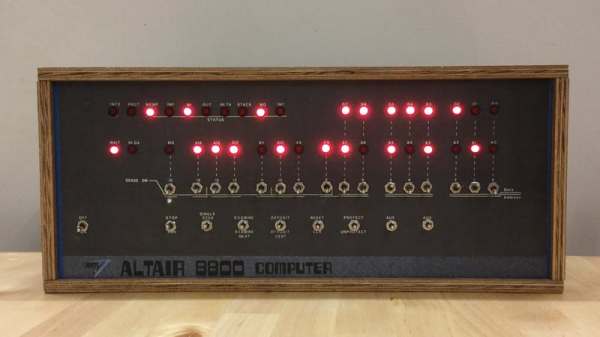
 fair amount of patience so you can solder all the 36 LEDs, switches, transistors, and resistors but in the end, you’ll end up with a brand new computer to play with. In 1975, an assembled Altair 8800 Computer was selling for $621 and $439 for an unassembled version. Sourced right, your clone would be under 50 bucks. Not bad.