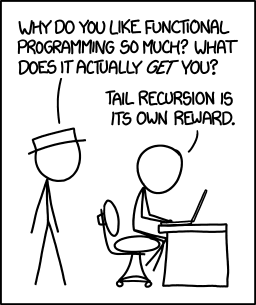
Everyone loves learning a new programming language, right? Well, even if you don’t like it, you should do it anyway, because thinking about problems from different perspectives is great for the imagination.
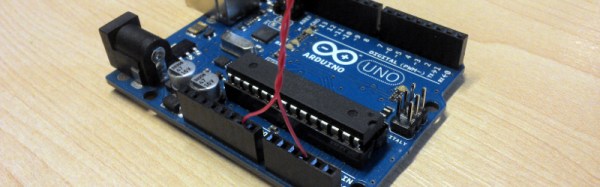
Juniper is a functional reactive programming language for the Arduino platform. What that means is that you’ll be writing your code using anonymous functions, map/fold operations, recursion, and signals. It’s like taking the event-driven style that you should be programming in one step further; you write a=b+3 and when b changes, the compiler takes care of changing a automatically for you. (That’s the “reactive” part.)
 If you’re used to the first-do-this-then-do-that style of Arduino (and most C/C++) programming, this is going to be mind expanding. But we do notice that a lot of microcontroller code looks for changes in the environment, and then acts (more or less asynchronously) on that data. At that level of abstraction, something like Juniper looks like a good fit.
Continue reading “Learn Functional Reactive Programming On Your Arduino”