See something in the world that sucks? As a person with hacker prowess, you view this sucky thing as a challenge to come up with an improvement and in some cases, an improvement that extends beyond what’s truly necessary but is just plain cool. This is what maker and father [Dan McDougall] did with his daughter’s light projecting Hello Kitty pillow.
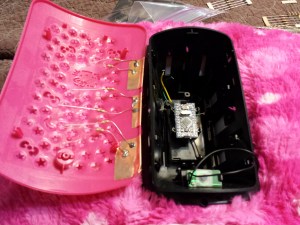 As a thing whose one purpose was to shine bright starry patterns on a child’s wall at night, the pillow failed miserably. [Dan] Wondered why his daughter’s toy couldn’t live up to reasonable expectations all while sucking batteries dry, so he opened the large pink plastic casing in the center of the pillow to find a rather minimal board driving three very dim LEDs. The LEDs that faded on and off to create mixtures of different colors weren’t even red, green and blue either. The makers of the toy used yellow instead of the slightly more expensive blue color. Having none of this, [Dan] replaced these sad innards with an Arduino Pro Mini which he programmed to drive an old salvaged speaker and three bright RGB LEDs borrowed from the end of a light strip. For the unnecessary but cool part, he used the additional pins of the Arduino micro-controller to add four touch sensitive buttons on the outside of the pink casing. These small capacitive tiles made from copper tape activate sound and change the color of the LEDs when touched, making the pillow a lot more reactive than it was before.
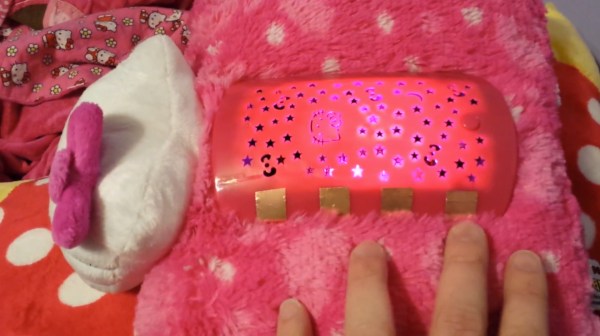
The Arduino Mini board and the added components fit nicely inside the original pink casing of the pillow when all was soldered up and finished. With threefold ultra bright LEDs and a super strobe mode, his daughter’s Hello Kitty pillow is more of a disco ball than a night light now… but we doubt she will complain about the cool additions. To see the pillow in action and hear more about the upgrades you can check out [Dan’s] video below:
Continue reading “Hello Kitty Night Light Gets Flashy Upgrades”