Not satisfied with late 1950s concepts of Smell-O-Vision [Nimesha] has created something extraordinary: A digital taste sensor, capable of representing taste with a little bit of heat, electricity, and an Arduino
The device purportedly works by via thermal and electrical stimulation of the tongue using silver electrodes. According to this video, different tastes are created with different currents and temperatures. For example, a sour taste is produced on the electrodes by varying the current from 60uA to 180uA and increasing the temperature up to 30 degrees C. Mint is produced by simply decreasing the temperature from 22C to 19C.
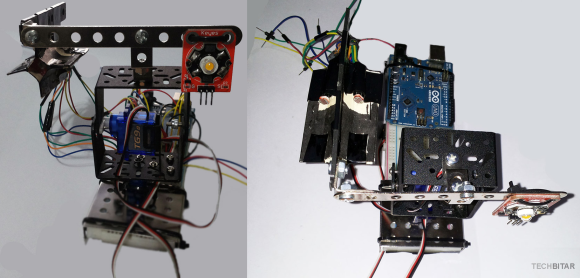
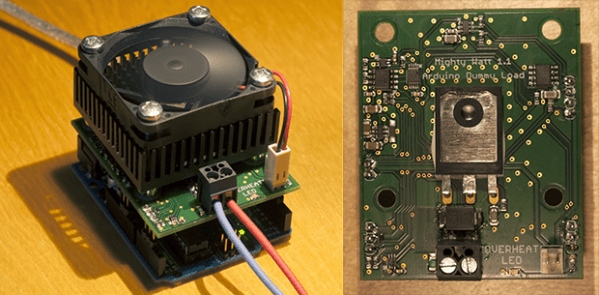
The control electronics include an Arduino, a motor controller, and a heat sink attached to one of the silver electrodes. Communication is done through USB, and of course there’s a mobile app for it, more specifically a protocol called Taste Over IP. This allows anyone to send a taste to anyone with one of these devices.
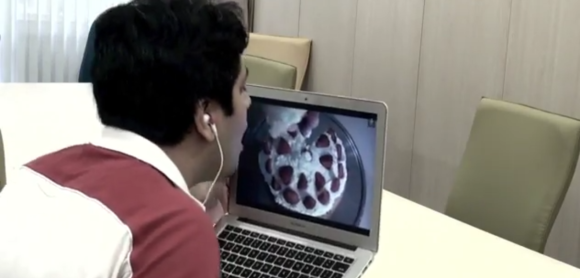
Videos below, and before you laugh, we’d really like to try one of these out.
Thanks [Jess] for the tip.