Having any kind of shop is pretty great, no matter how large it may be or where it’s located. If the shop is in an outbuilding, you get to make more noise. On the other hand, it will probably get pretty darn hot in the summer without some kind of cooling system, especially if you don’t have a window for a breeze (or a window A/C unit).
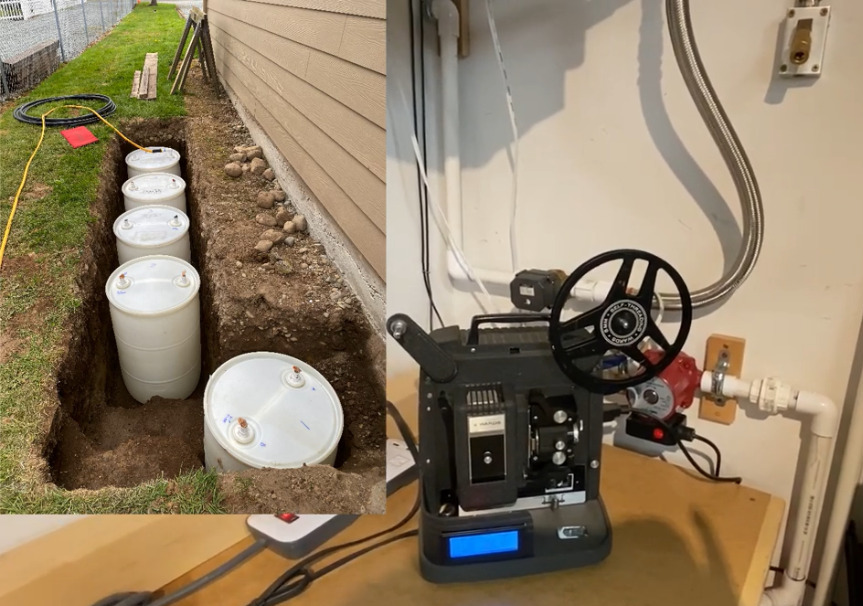
 [Curtis in Seattle] built an awesome thermal battery-based cooling system for his shop. The battery part consists of five 55-gallon drums full of tap water that are connected in series and buried a foot underground, about two feet out from the wall. There are two radiators filled with water and strapped to 20″ box fans — one inside the shop, which sends heat from the shop into the water, and another outside that transfers heat out of the water and into the cool night air. Most summer days, the 800-square-foot shop stays at a cool 71°F (21.7°C).
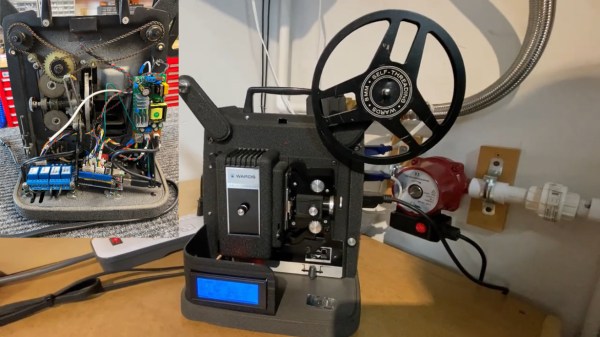
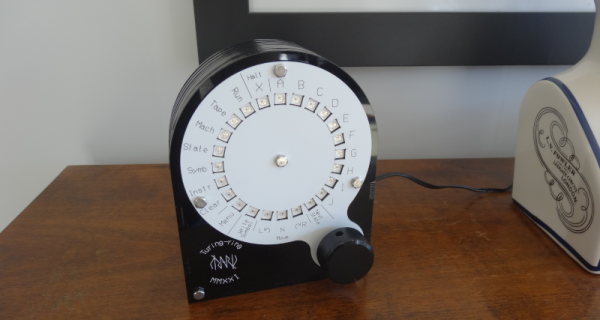
We love that the controls are housed in an old film projector. Inside there’s an Arduino Uno running the show and taking input from four DS18B20 one-wire temperature sensors for measuring indoor, outdoor, battery, and ground temperatures. There are four modes accessible through the LCD menu — idle, cool the shop, recharge mode, and a freeze mode in case the outside temperature plummets. Why didn’t [Curtis in Seattle] use anti-freeze? It’s too expensive, plus it doesn’t usually get that cold. (Although we hear that Seattle got several inches of snow for Christmas.) Check it out after the break.
If you can’t just go burying a bunch of 55-gallon drums in the ground where you live, consider building a swamp cooler out of LEGO.
Continue reading “Cool The Shop With A Thermal Battery-Based System” →