It probably doesn’t surprise you to hear there are tens of thousands of web-connected cameras all over the world that are set to take the default credentials. Actually, there are probably more than that out there, but we can assure you that at least 70,000 or so are only a click away. With this project, [carolinebuttet] proves that it’s quite possible to make art from our rickety, ridiculous surveillance state — and it begins with a peephole perspective.
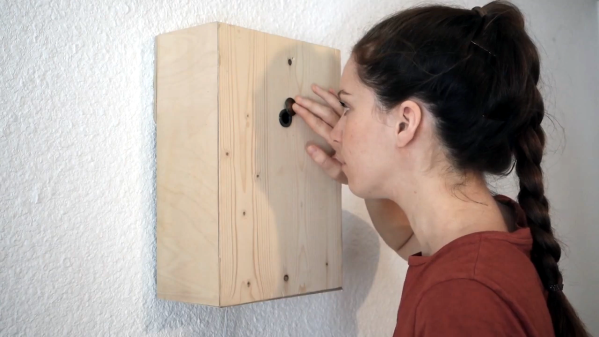
 The peephole in your own front door grants you the inalienable right to police your porch, stoop, or patch of carpet in the apartment building’s hallway while going mostly undetected. In Virtual Peephole, the peephole becomes a voyeuristic virtual view of various corners of the world.
Slide aside the cover, and an LDR connected to an Arduino Micro detects the change in light level. This change makes the Micro send a key press to a Raspberry Pi, which fetches a new camera at random and displays it on a screen inside the box. You can peep a brief demo after the break, followed by a couple of short build/walk-through videos.
If you’re a peephole people watcher, put a camera in there and watch from anywhere.
Continue reading “Insecure Surveillance Cameras Provide Dystopian Peep Show”