 Finding your tent at a music festival is a tricky endeavor – not only are there miles and miles of tents exactly like yours, you most likely have a few beers or other substances in you that affect your sense of space and/or time. [James] came up with a great solution to finding your tent by illuminating it with Christmas lights and a cell phone.
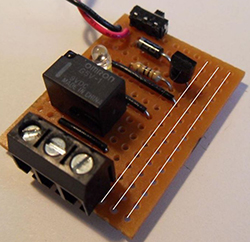
The basic idea of [James]’ build is having Christmas light flicker whenever he calls a phone. One feature in nearly every phone that can be exploited to accomplish this task is the backlight turning on when a call is received. Add a phototransistor, a little bit of circuitry, and some Christmas lights, and you have a fully functioning tent finder.
[James]’ circuit is a simple relay driving the Christmas lights, triggered by a phone right on top of the phototransistor. It’s a simple circuit that can be built on a piece of veroboard, and with a few pieces of plastic forming the enclosure, provides a reasonably bulletproof device that will survive the rigors of a music festival. As a bonus, there’s no need to modify the phone to trigger a remote circuit. Video of the device in action below.


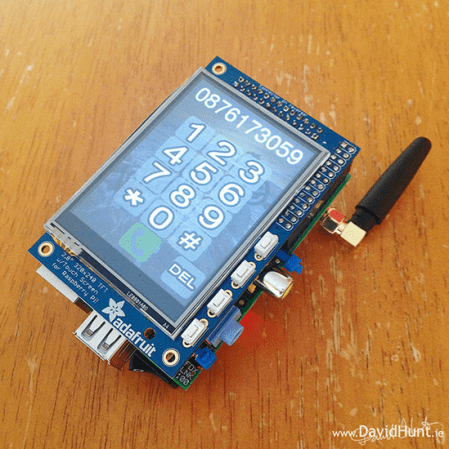 Have you ever dreamed of independence from smartphone bloatware? If you have a Raspberry Pi and an Adafruit TFT, you’re halfway to making your own version of
 Oooh, look, a public charging station. Should you trust it? You might get juice jacked. Oh wait, you’ve got a


