If you’re hoarding old electronics like us, there’s a good probability you have a decent amount of gold sitting around in cardboard boxes and storage containers. Everything from old PCI cards, IC pins, and even printers have a non-negligible amount of precious metals in them, but how do you actually process those parts and recover that gold? [Josehf] has a great tutorial for gold recovery up on Instructables for the process that netted him an ounce of gold for three months’ work.
After cutting up a few circuit boards to remove the precious gold-bearing parts, [Josehf] threw these parts into a mixture of muriatic acid and hydrogen peroxide. After a week, the acid darkened and the gold slowly flaked off into dust. This gold dust was separated from the acid by passing it through a coffee filter and readied for melting into a single nugget.
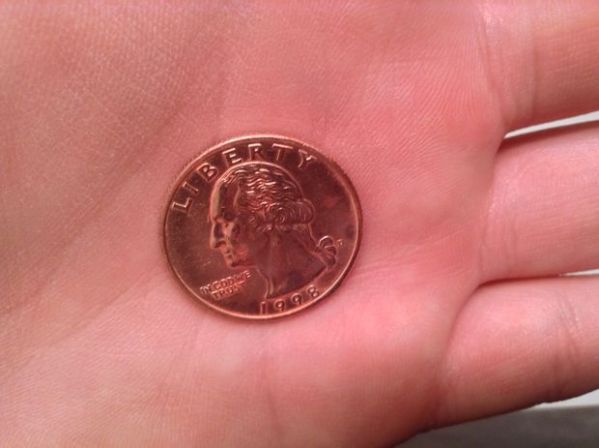
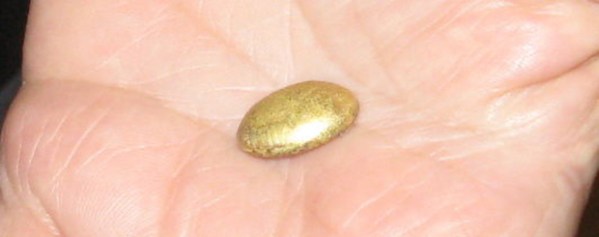
Gold melts at 1064 ˚C, much hotter than what can be obtained by a simple propane torch. This melting point can be reduced by the addition of borax, allowing the simplest tools – a propane torch and a terra cotta crucible – to produce a small gold nugget.
For three months of collecting, stripping, and dissolving electronic parts, [Josehf] netted 576.5 grains of gold, or at current prices, about $1500 worth of the best conductor available. Not too bad, but not something we’d use as a retirement plan.
Thanks [Matthias] for sending this in.