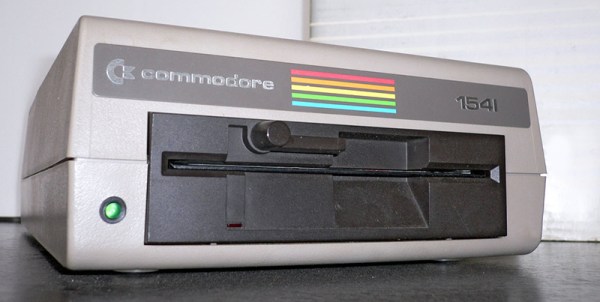
The Commodore 1541 disk drive is unlike anything you’ll ever see in modern computer hardware. At launch, the 1541 cost almost as much as the Commodore 64 it was attached to ($400, or about $1040 at today’s value). This drive had a CPU, and had its own built-in operating system. Of course, anyone using a Commodore 64 now doesn’t deal with this drive these days — you can buy an SD2IEC for twenty dollars and load all your C64 games off an SD card. If you’re cheap, there’s always the tape drive interface and a ten dollar Apple Lightning to 3.5mm headphone adapter.
But the SD2IEC isn’t compatible with everything, and hacking something together using the tape drive doesn’t have the panache required of serious Commodoring. What’s really needed is a cycle-accurate emulation of the 1541 disk drive, emulating the 6502 CPU and the two 6522 VIAs in this ancient disk drive. The Raspberry Pi comes to the rescue. [Steve White] created the Pi1541, an emulation of the Commodore 1541 disk drive that runs on the Raspberry Pi 3B.
Pi1541 is a complete emulation of the 6502 and two 6522s found inside the Commodore 1541 disk drive. It runs the same code the disk drive does, and supports all the fast loaders, demos, and copy protected original disk images that can be used with an original drive.
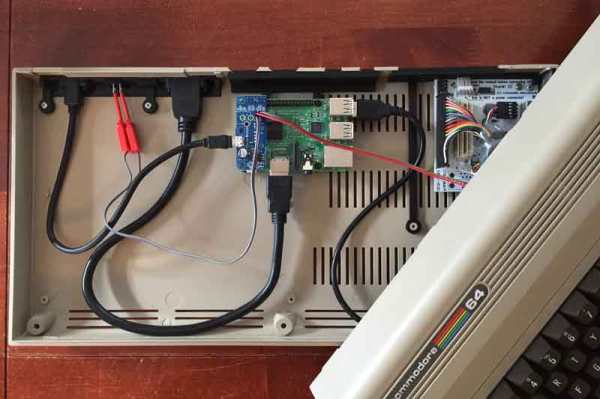
The only hardware required to turn a Raspberry Pi 3 into a 1541 are a few transistors in the form of a bi-directional logic level shifter, and a plug for a six-pin serial port cable. This can easily be constructed out of some Sparkfun, Adafruit, Amazon, or AliExpress parts, although we suspect anyone could whip up a Raspberry Pi hat with the same circuit in under an hour. The binaries necessary to run Pi1541 on the Raspberry Pi are available on [Steve]’s website, and he’ll be releasing the source soon.
This is a great project for the retrocomputing scene, although there is one slight drawback. Pi1541 requires a Raspberry Pi 3, and doesn’t work on the Raspberry Pi Zero. That would be an amazing bit of software, as ten dollars in parts could serve as a complete emulation of a Commodore disk drive. That said, you’re still likely to be under $50 in parts and you’re not going to find a better drive emulator around.
Continue reading “Raspberry Pi Becomes Cycle Exact Commodore Drive Emulator”