
If you want to play with the coolest kids on the block when it comes to photography, you have to shoot film. Or so say the people who shoot film, anyway. It is very true though that the chemical medium has its own quirks and needs a bit of effort in a way digital cameras don’t, so it can be a lot of fun to play with.
It’s expensive though — film ain’t cheap, and if you don’t develop yourself there’s an extra load of cash. What if you could get more photos on a roll? It’s something [Japhy Riddle] took to extremes, creating a fifth-frame 35mm camera in which each shot is a fifth the size of the full frame.
Standard 35mm still film has a 24x36mm frame, in modern terms not far off the size of a full-size SD card. A standard roll of film gives you 36 exposures. There are half-frame cameras that split that frame vertically to give 72 exposures, but what he’s done is make a quarter-frame camera.
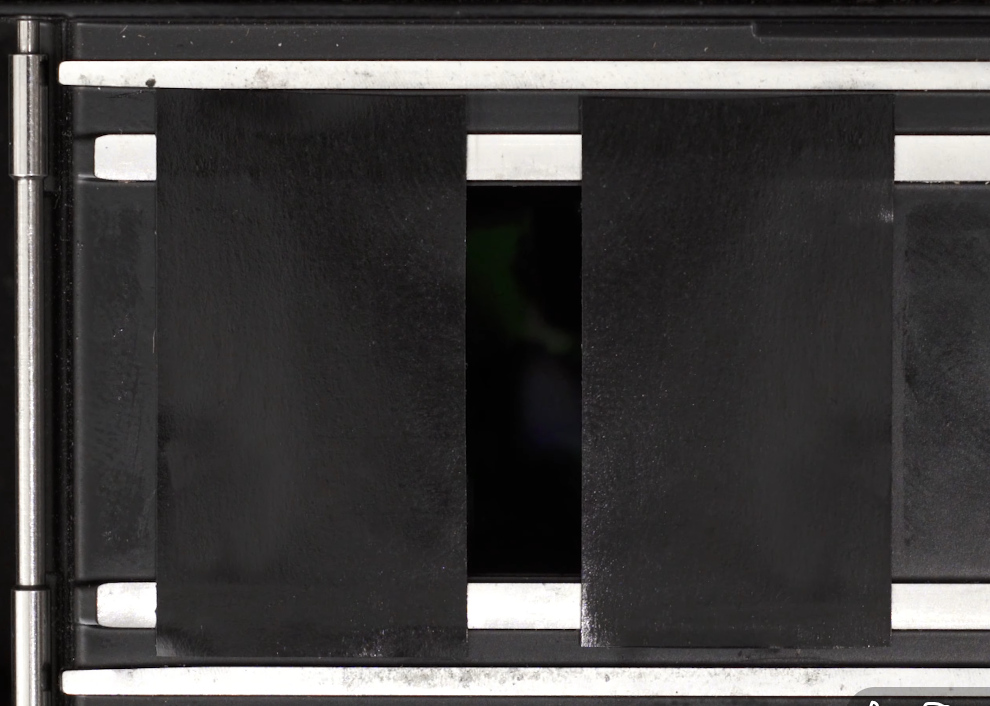
It’s a simple enough hack, electrical tape masking the frame except for a vertical strip in the middle, but perhaps the most interesting part is how he winds the film along by a quarter frame. 35mm cameras have a take-up reel, you wind the film out of the cartridge bit by bit into it with each shot, and then rewind the whole lot back into the cartridge at the end. He’s wound the film into the take-up reel and it winding it back a quarter frame at a time using the rewind handle, for which we are guessing he also needs a means to cock the shutter that doesn’t involve the frame advance lever.
We like the hack, though we would be worried about adhesive tape anywhere near the shutter blind on an SLR camera. It delivers glorious widescreen at the cost of a bit of resolution, but as an experimental camera it’s in the best tradition. This is one to hack into an unloved 1970s snapshot camera for the Shitty Camera Challenge!
Continue reading “180 Shots On A Roll With The Little Stupid Camera”


