It’s safe to say that few people still use rotary phones on a daily basis. Hell, most of us don’t even use landline telephones anymore. But just because these classic phones are no longer being used for their original purpose doesn’t necessarily mean they’re doomed to become e-waste.
[Scott-28] recently sent in a particularly well-documented project that turned an antique rotary phone into a digital kitchen timer using an internal Arduino. While we’re not sure practical is a word most folks would use to describe the resulting device, it’s certainly a conversation starter, and the details on how it was all implemented make for an interesting read.
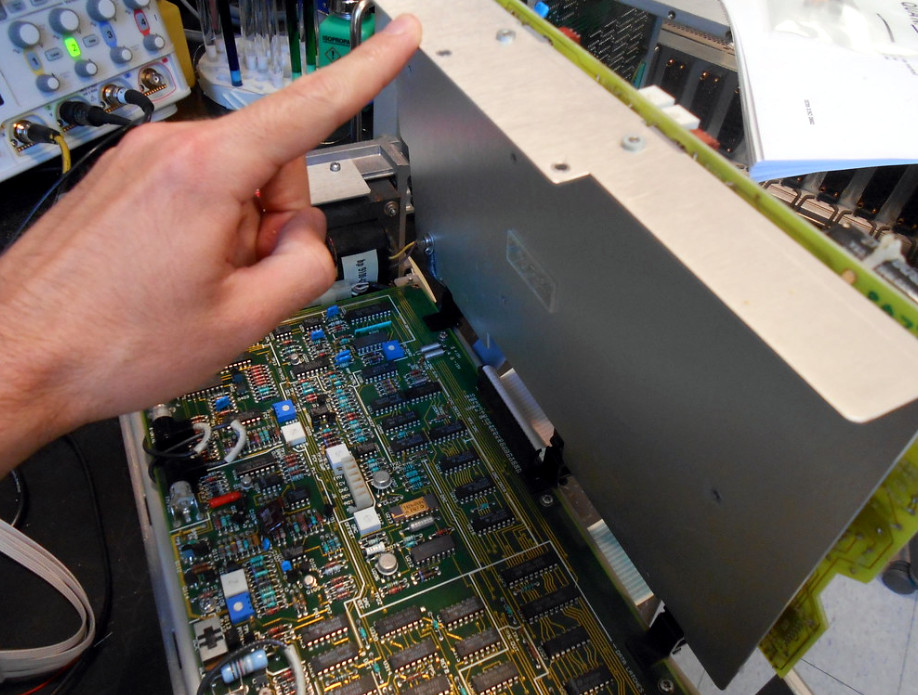
As explained in the README, [Scott-28] first used an oscilloscope to figure out the pulses generated by the phone’s dial. From there, it was relatively easy to connect the dial to one of the pins on an Arduino Uno to determine which numbers the user had entered. The trickier part was getting the original bells to work — in North America, it takes up to 90 VAC to get a phone’s ringer going, which is quite a bit more than the lowly Arduino can handle.
Continue reading “Rotary Phone Lives On As Arduino Kitchen Timer”