We’ve all seen word clocks, and they’re great, but there are only so many ways to show the time in words. This word clock with 114 servos is the hard way to do it.
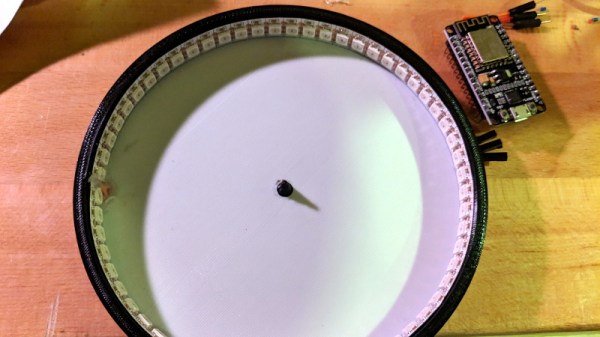
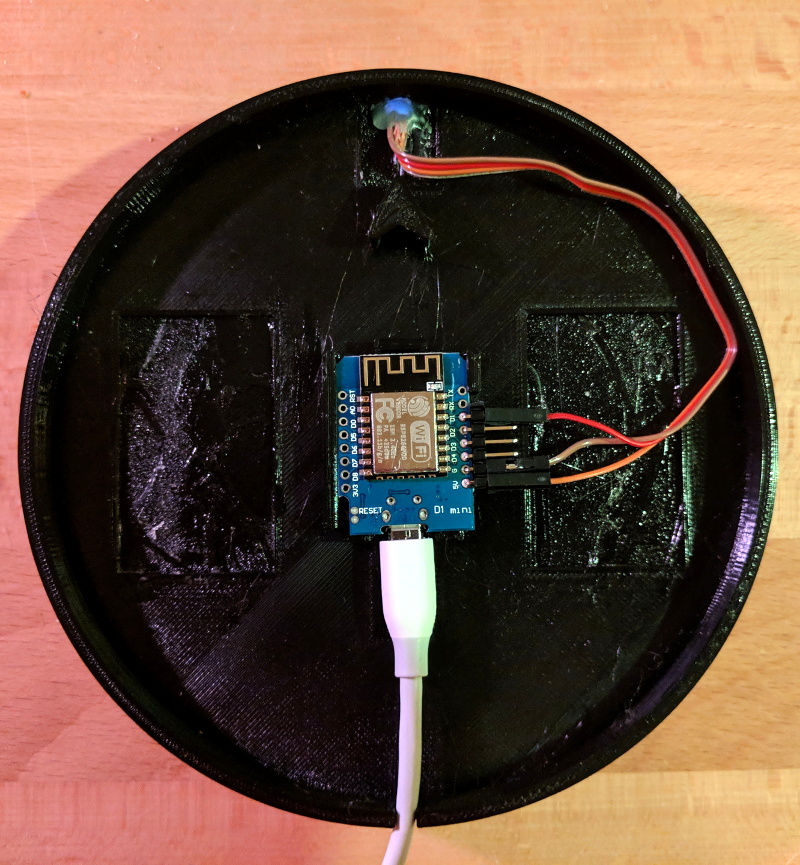
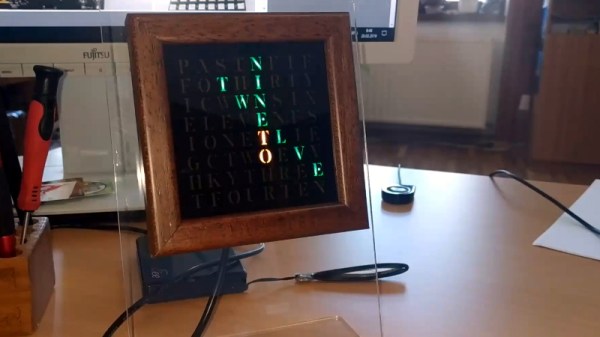
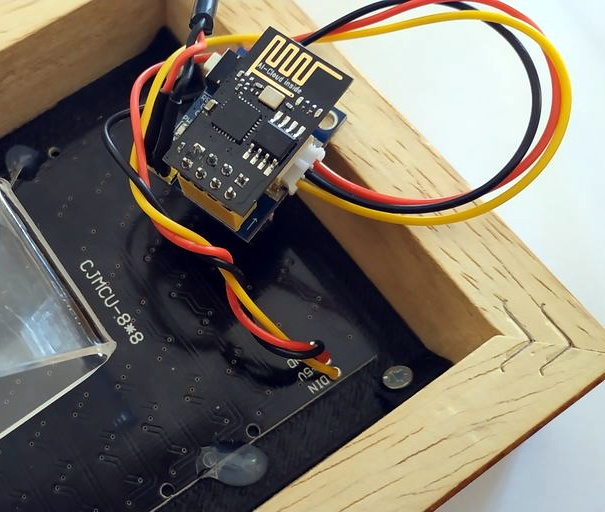
We’re not sure what [Moritz v. Sivers] was aiming for with this projection clock, but he certainly got it right. The basic idea is to project the characters needed to compose the time messages onto a translucent PVC screen, which could certainly have been accomplished with just a simple character mask and some LEDs. But for extra effect, [Moritz] mounted each character to a letterbox mounted over a Neopixel. The letterboxes are attached to a rack and pinion driven by a micro servo. The closer they get to the screen, the sharper the focus and the smaller the size of the character. Add in a little color changing and the time appears to float out from a jumbled, unfocused background. It’s quite eye-catching, and worth the 200+ hours of printing time it took to make all the parts. Complete build instructions are available, and a demo video is after the break.
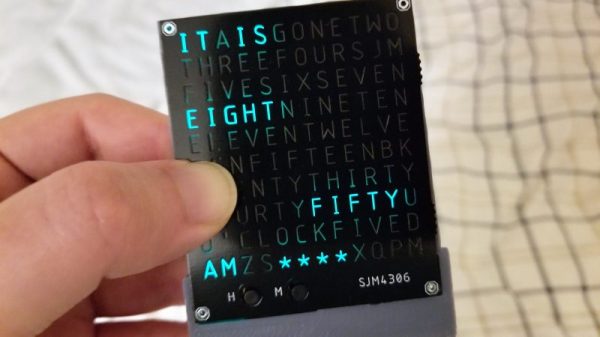
We like pretty much any word clock – big, small, or even widescreen. This one really pushes all our buttons, though.