There are two things most of us want to know on a daily basis—the weather, and what time it is. [Guitarman9119] built a single device that can provide both pieces of information with a pleasingly nerdy aesthetic.
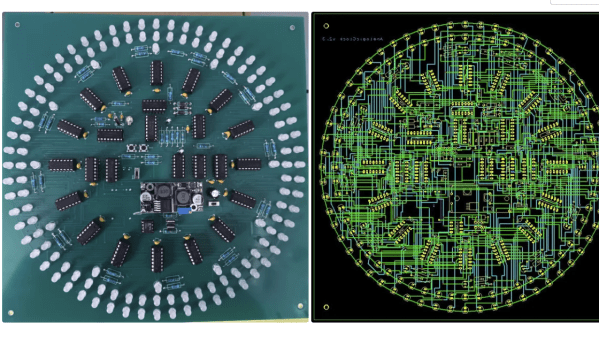
The heart of the build is a Raspberry Pi Pico W, which is proudly displayed on the front panel of the device. It’s responsible for driving the array of LEDs that display the time in hours, minutes, and seconds in binary format. The Pi Pico W uses its wireless connection to query the WorldTime API and an IP geolocation server. This provides the local date and time, and the location is then used to query the OpenWeather service for current weather information. The weather information is thankfully not displayed in binary format, because that would be straining to read. Instead, it’s displayed in human-readable format on a small OLED display.
There’s something about the way this is built—the discrete LEDs, that weird blue color that seemed to disappear by 1984—that gives this a wonderfully old school charm. You could imagine it turning up in a college lab full of old blinkenlights gear. Video after the break.