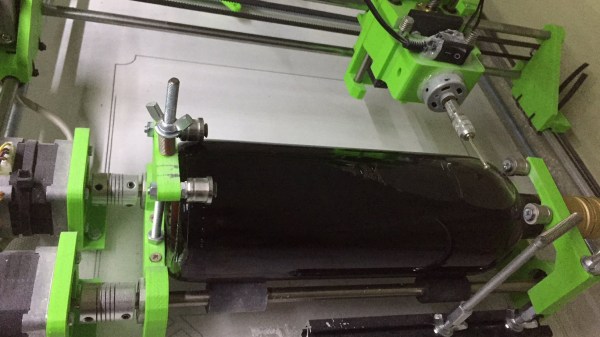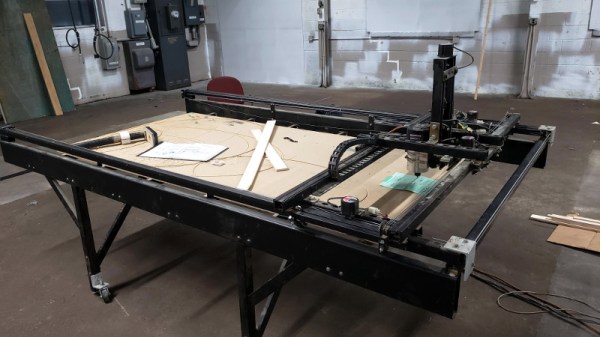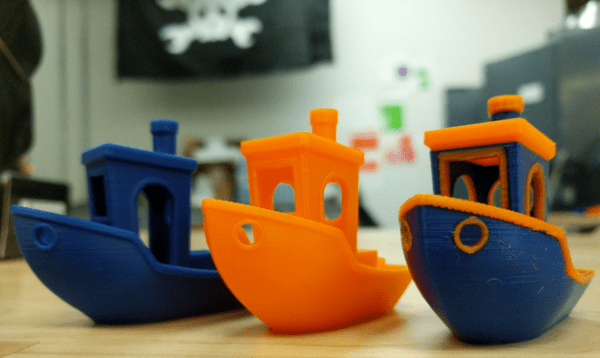
I admit that I’m late to the 3D printing game. While I just picked up my first printer in 2018, the rest of us have been oozing out beautiful prints for over a decade. And in that time we’ve seen many people reimagine the hardware for mischief besides just printing plastic. That decade of hacks got me thinking: what if the killer-app of 3D printing isn’t the printing? What if it’s programmable motion? With that, I wondered: what if we had a machine that just offered us motion capabilities? What if extending those motion capabilities was a first class feature? What if we had a machine that was meant to be hacked?
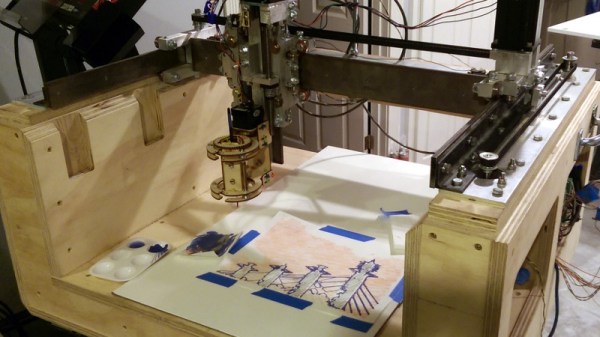
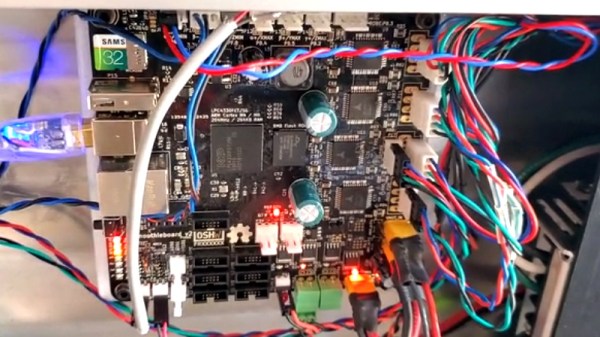
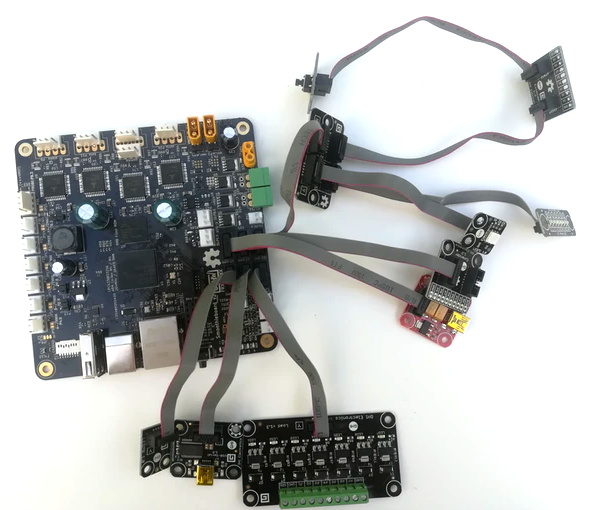
One year later, I am thrilled to release an open-source multitool motion platform I call Jubilee. For a world that’s hungry for toolchanging 3D printers, Jubilee might be the best toolchanging 3D printer you can build yourself–with nothing more than a set of hand tools and some patience. But it doesn’t stop there. With a standardized tool pattern established by E3D and a kinematically coupled hot-swappable bed, Jubilee is rigged to be extended by anyone looking to harness its programmable motion capabilities for some ad hoc automation.
Jubilee is my homage to you, the 3D printer hacker; but it’s meant to serve the open-source community at large. Around the world, scientists, artists, and hackers alike use the precision of automated machines for their own personal exploration and expression. But the tools we use now are either expensive or cumbersome–often coupled with a hefty learning curve but no up-front promise that they’ll meet our needs. To that end, Jubilee is meant to shortcut the knowledge needed to get things moving, literally. Jubilee wants to be an API for motion.
Continue reading “Jubilee: A Toolchanging Homage To 3D Printer Hackers Everywhere”