If you’ve been reading Hackaday for awhile, there’s an excellent chance you’ve seen a project or two powered by the Smoothieboard. The open source controller took Kickstarter by storm in 2013, promising to be the last word in CNC thanks to its powerful 32-bit ARM processor. Since then we’ve seen it put to use in not only the obvious applications like 3D printers and laser cutters, but also for robotic arms and pick-and-place machines. If it moves, there’s a good chance you can control it with the Smoothieboard.
But after six years on the market, the team behind this motion control powerhouse has decided it’s time to freshen things up. The Kickstarter for the Smoothieboard v2 has recently gone live and, perhaps unsurprisingly, already blown past its funding goal. Rather than simply delivering an upgraded Smoothieboard, the team has also put together a couple “spin-offs” targeting different use cases. If Smoothie v1 was King of CNC boards, then v2 is aiming to be the Royal Family.
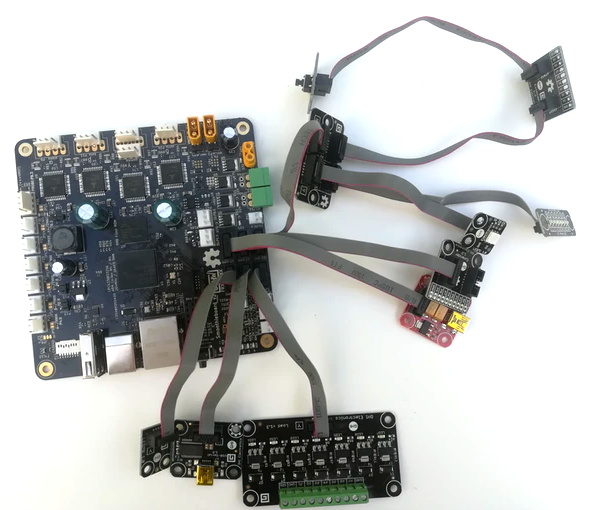
The direct successor to the original board is called v2-Prime, and it’s everything you’d expect in an update like this. Faster processor, more RAM, more flash, and improved stepper drivers. There’s also available GPIO expansion ports to connect various breakout boards, and even a header for you to plug in a Raspberry Pi. If you’re looking to upgrade your existing Smoothieboard machines to the latest and greatest, the Prime is probably what you’re after.
Then there’s the v2-Mini, designed to be as inexpensive as possible while still delivering on the Smoothieboard experience. The Mini has the same basic hardware specs as the Prime, but uses lower-end stepper drivers and deletes some of the protection features found on the more expensive model. For a basic 3D printer or laser cutter, the Mini and its projected $80 price point will be a very compelling option.
In the other extreme we have the v2-Pro, which is intended to be an experimenter’s dream come true. It features more stepper drivers, expansion ports, and even an integrated FPGA. Realistically, this board probably won’t be nearly as popular as the other two versions, but the fact that they’ve even produced it shows how committed the team is to pushing the envelope of open source motion control.
Our coverage of the original Smoothieboard campaign back in 2013 saw some very strong community response, with comments ranging from excited to dismissive. Six years later, we think the team behind the Smoothieboard has earned a position of respect among hackers, and we’re very excited to see where this next generation of hardware leads.
Continue reading “Smoothieboard Gets An Ambitious Update For V2”