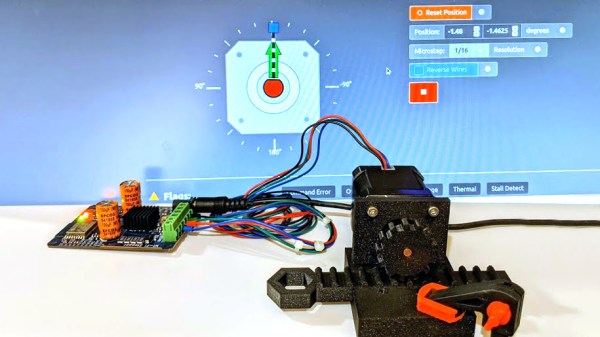
Like most of us, I sometimes indulge in buying a part for its potential or anticipated utility rather than for a specific project or purpose. That’s exactly how I ended up with the WSX100 Wi-Fi Stepper, a single board device intended to be one of the fastest and easiest ways to get a stepper motor integrated into a project. Mine came from their Crowd Supply campaign, which raised money for production and continues to accept orders.
What’s It For?
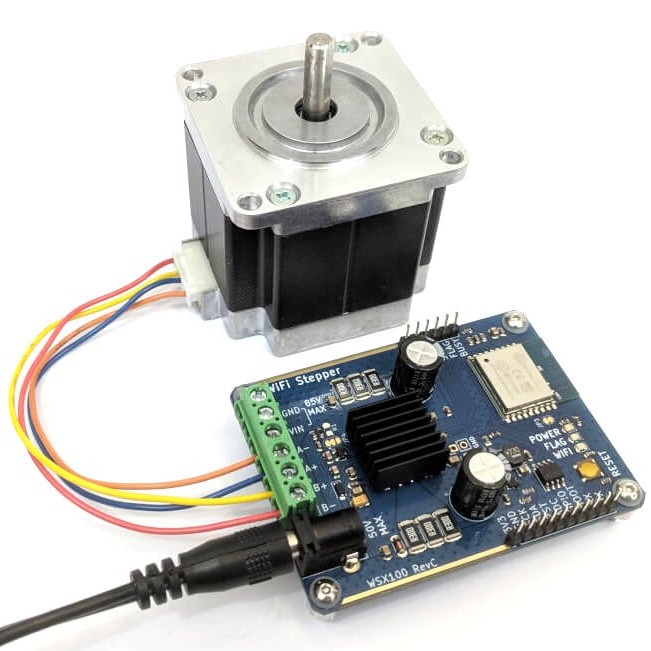
The main reason the Wi-Fi Stepper exists is to make getting a stepper motor up and running fast and simple, in a way that doesn’t paint a design into a corner. The device can certainly be used outside of prototyping, but I think one of its best features is the ability to help quickly turn an idea into something physical. When prototyping, it’s always better to spend less time on basic bits like driving motors.
In a way, stepper motors are a bit like RGB LEDs or LCD displays were before integrated drivers and easy interfaces became common for them. Steppers require work (and suitable power supplies) to get up and running, and that effort can be a barrier to getting an idea off the ground. With the Wi-Fi Stepper, a motor can be fired up and given positional commands (or set to a speed and direction) in no time at all. By sending commands over WiFi, there isn’t even the need to wire up any control logic.
Continue reading “New Part Day: The Wi-Fi Stepper Gets Ideas Working Faster”