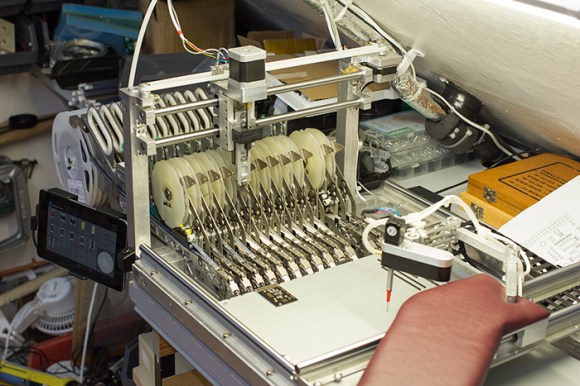
A few years back [James] built an utterly amazing set of Wolverine replica claws. They are held together by a bar that laces between his fingers so that when he’s gripping it you don’t see anything but the claws. Add to that the tail design which makes it look like they’re actually coming out of his skin and he’s made an amazing replica. But they’re also rather utilitarian as you can see in the demo/how-it-was-done video where he spears hay bails as they’re thrown at him from off camera. Machine shop fans are going to love learning how these were made.
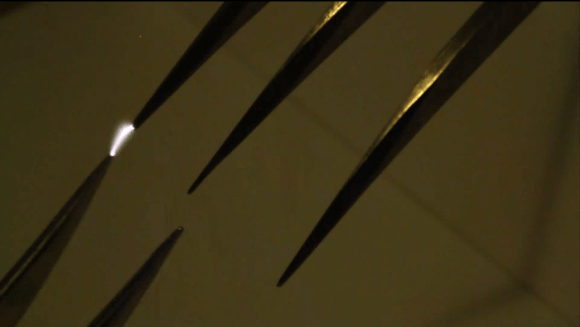
More recently he decided to update the project after seeing our own Thor’s Hammer offering. He got down to business by salvaging a huge transformer from an old oil furnace. He has no idea what kind of voltage this thing puts out, but that doesn’t stop him from wiring it up to the pair of claws and letting the sparks fly. He even creates a Jacob’s Ladder effect by placing the claws at a narrow angle to each other.
Continue reading “Already Impressive Wolverine Claws Now Energized With High Voltage”