Old mainframe computers are interesting, especially to those of us who weren’t around to see them in action. We sit with old-timers and listen to their stories of the good ol’ days. They tell us about loading paper tape or giving instructions one at a time with toggle switches and LED output indicators. We hang on every word because its interesting to know how we got to this point in the tech-timeline and we appreciate the patience and insanity it must have taken to soldier on through the “good ol’ days”.
[Ken Shirriff] is making those good ol’ days come alive with a series of articles relating to his work with hardware at the Computer History Museum. His latest installment is an article describing the strange implementation of the IBM 1401’s qui-binary arithmetic. Full disclosure: It has not been confirmed that [Ken] is an “old-timer” however his article doesn’t help the argument that he isn’t.
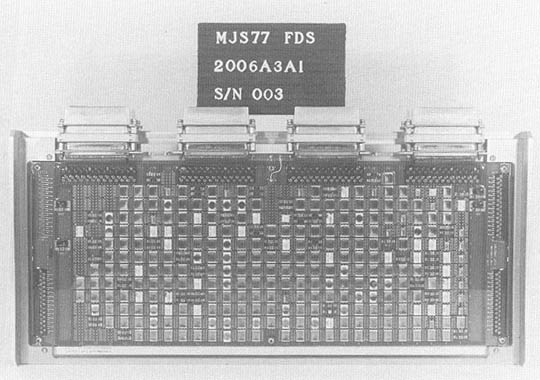
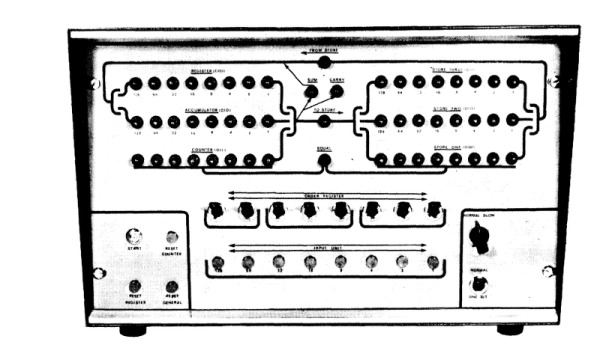
Ken describes in thorough detail how the IBM 1401 — which was first introduced in 1959 — takes a decimal number as an input and operates on it one BCD digit at a time. Before performing the instruction the BCD number is converted to qui-binary. Qui-binary is represented by 7 bits, 5 qui bits and 2 binary bits: 0000000. The qui portion represents the largest even number contained in the BCD value and the binary portion represents a 1 if the BCD value is odd or a 0 for even. For example if the BCD number is 9 then the Q8 bit and the B1 bit are set resulting in: 1000010.
The qui-binary representation makes for easy error checking since only one qui bit should be set and only one binary bit should be set. [Ken] goes on to explain more complex arithmetic and circuitry within the IBM 1401 in his post.
If you aren’t familiar with [Ken], we covered his reverse engineering of the Sinclair Scientific Calculator, his explanation of the TL431, and of course the core memory repair that is part of his Computer History Museum work.
Thanks for the tip [bobomb].