The most popular computer ever was the Commodore 64 with its computer-in-a-keyboard form factor. If you have a longing for a keyboard computer with more modern internals, one of the easiest solutions today is to pull the screen off a laptop.
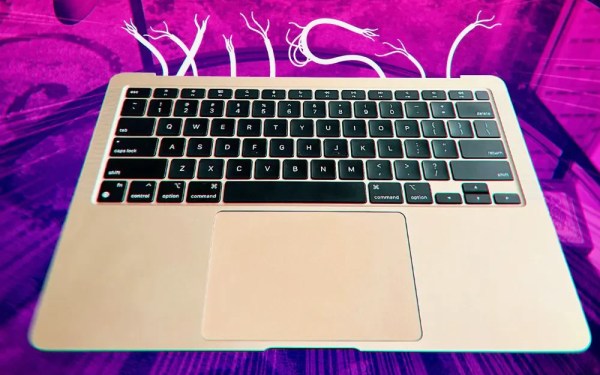
[Umar Shakir] wanted to see what the fuss was about regarding a recent Apple patent and took the top lid off of his M1 Macbook Air and turned it into a “slabtop.” The computer works great wired to a monitor but can also be used wirelessly via AirPlay. The approach doesn’t come without its downsides, of course. Newer MacBooks can’t access recovery mode without the built-in screen, and some older models had their WiFi antennas in the top lid, so making one into a slabtop will leave you desk-bound.
While [Shakir] focuses on MacBooks, this approach should work with any laptop. Apparently, it’s a cottage industry in China already. Back in the day, my own daily driver was a Pentium-powered laptop with its broken LCD (and lid) removed. It worked great with whatever CRT was nearby.
If you’re looking for an off-the-shelf keyboard computer of your own, you might want to check out the Raspberry Pi 400.