If you’re vegetarian or don’t eat beef, you are probably already familiar with Impossible. Impossible meat tastes like beef and cooks like beef while being plant-based. They achieved this with significant R&D and a few special patents. But if you don’t want to pay Impossible prices, [Sauce Stash] has been trying to recreate some of the tricks that Impossible uses. (Video, embedded below.)
[Sauce Stash] starts with the ingredients list and tries to reason what would be suitable substitutes. However, even following the ingredients list, adding iron is one crucial trick that takes your vegetarian beef much closer to tasting like proper beef. Impossible has a special patent process for creating leghemoglobin (or heme), the iron molecule we associate with red meat’s taste. It makes the meat seem to bleed as it cooks and dramatically changes the flavor. Impossible genetically engineered yeast to produce the compound to get heme on an industrial scale. But they state on their website that the molecule can be found in many plants, including soy. With a magnet and soy in hand, he tried to pull the iron out overnight but didn’t get anything substantial. Unfortunately, the heme is in the root of the soy plant, not in the milk, so it was back to the drawing board.
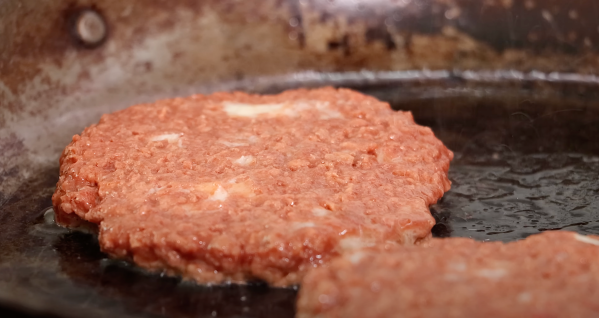
There are a few other sources: breakfast cereals, black olives (often treated with iron gluconate), and the roots of other legumes. However, [Sauce Stash] took a more leisurely route and crushed a soy-based iron tablet. However, being a supplement, there were other ingredients that he didn’t want in his burger. So he used the magnet to extract the iron to include. After that, it was easy sailing, and he was very proud of the vegan burger he had created.
Creating something that tastes and feels like something else is a complex and tricky endeavor, and hacks like these are always interesting to think about. We’d take texture pea protein over an insect burger, but perhaps that is just something we need to get over. Video after the break.