Teensys And Old Synth Chips, Together At Last

The ancient computers of yesteryear had hardware that’s hard to conceive of today; who would want a synthesizer on a chip when every computer made in the last 15 years has enough horsepower to synthesize sounds in software and output everything with CD quality audio? [Brian Peters] loves these old synth chips and decided to make them all work with a modern microcontroller.

Every major sound chip from the 80s is included in this roundup. The Commodore SID is there with a chip that includes working filters. The SN76489, the sound chip from the TI99 and BBC Micro are there, as is the TIA from the Atari consoles. Also featured is the Atari POKEY, found in the 8-bit Atari computers. The POKEY isn’t as popular as the SID, but it should be.

[Brian] connected all these chips up with Teensy 2.0 microcontrollers, and with the right software, was able to control these via MIDI. It’s a great way to listen to chiptunes the way they’re meant to be heard. You can check out some sound samples in the videos below.

Thanks [Wybren] for the tip.

Continue reading “Teensys And Old Synth Chips, Together At Last”

A Custom Control Surface For Audio/Video Editing

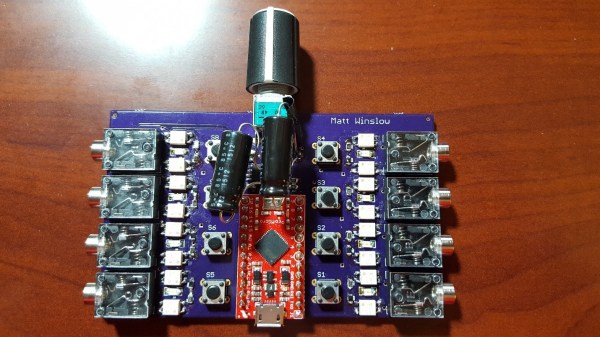
Control surfaces (input devices with sliders, encoders, buttons, etc) are often used in audio and video editing, where they provide an easy way to control editing software. Unfortunately even small control surfaces are fairly expensive. To avoid shelling out for a commercial control surface, [Victor] developed his own custom control surface that sends standard MIDI commands which can be interpreted by nearly any DAW software.

[Victor]’s control surface includes several buttons, a display, and a rotary encoder. His firmware sends MIDI commands whenever a button is pressed or the rotary encoder is turned. [Victor] plans on adding menu functionality to the currently unused LCD display which will allow the user to change the scrubbing speed and other various settings.

One advantage of making your own control surface is that you can customize it to your own needs. [Victor] has posted a model of his 3d-printed enclosure and his source code on the project page so you can easily modify his design with any button configuration you might want.

Beverly-Crusher, The Greatest Name For An Audio Effect

Image is © aliceazzo [http://aliceazzo.deviantart.com/].
Image © aliceazzo [http://aliceazzo.deviantart.com/].
When it comes to audio effects, you have your delay, reverb, chorus, phasing, and the rest that were derived from strictly analog processes. Compared to the traditional way of doing things, digital audio is relatively new, and there is still untapped potential for new processes and effects. One of those is the bit crusher, an effect that turns 8- or 16-bit audio into mush. [Electronoob] wanted to experiment with bitcrushing, and couldn’t find what he wanted. Undeterred, he built his own.

There are two major effects that are purely in the digital domain. The first is the sample rate reducer. This has a few interesting applications. Because [Shannon] and [Nyquist] say we can only reproduce audio signals less than half of the sample rate; if you run some audio through a sample rate reducer set to 1kHz, it’ll sound like crap, but you’ll also only get bass.

The bitcrusher is a little different. Instead of recording samples of 256 values for 8-bit audio or ~65000 values for 16-bit audio, a one-bit bitcrusher only records one value – on or off. Play it through a speaker at a decent sample rate, and you can still hear it. It sounds like a robotic nightmare, but it’s still there.

[Electronoob] created his bitcrusher purely in software, sending the resulting bitcrushed and much smaller file to an Arduino for playback. Interestingly, he’s also included the ability to downsample audio, giving is project both pure digital effects for the price of one. 1-bit audio is a bit rough on the ears, but 2, 3, and 4-bit audio starts to sound pretty cool, and something that would feel at home in some genres of music.

Continue reading “Beverly-Crusher, The Greatest Name For An Audio Effect”

The Cassette MP3 Player

1994 was twenty years ago. There are people eligible to vote who vaguely remember only one Bush presidency. You can have a conversation with someone born after the millennium, and they think a 3.5 inch disk is called a save icon. Starting to feel old? Don’t worry, all the trinkets of your youth have now become shells for MP3 players, the cassette tape included.

[Britt] is aware you can pick up one of these cassette tape MP3 players through the usual channels, but she wanted her build to be a little different. She’s using ar real, vintage cassette tape for starters, and from the outside, looks pretty much like any other cassette tape: there’s a thin strip of tape at the bottom, and the clear plastic window shows the tape is at the beginning of side A.

Outside appearances are just that; inside, there is a small, repurposed MP3 player, with tact switches wired up to the old buttons, actuated by moving the spools back and forth. Yes, you actually play, pause, rewind and fast forward by sticking a pencil in the spool and moving it back and forth. Amazing.

It’s a great build, and considering both cassette tapes and cheap MP3 players can be found in the trash these days, it’s something that should be hard to replicate.

Acoustic Impulse Marker Tracks Sounds With A Pencil

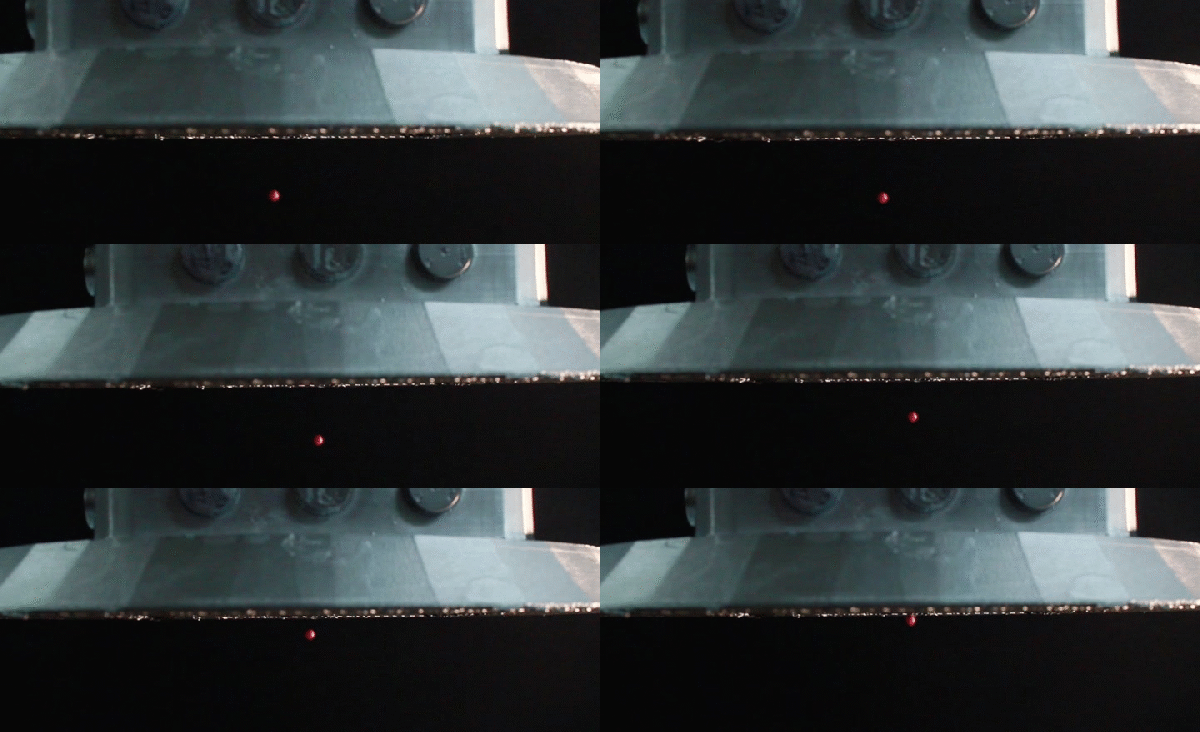
Acoustic Impulse Marker (aiming device)

Two students at Cornell University have put together a rather curious sound tracking device called an Acoustic Impulse Marker.

[Adam Wrobel] and [Michael Grisanti] study electrical and computer science, and for their final microcontroller class they decided to build this device using the venerable ATmega 1284p.

The system uses a three-microphone array to accurately position sharp noises within 5 degrees of accuracy. The microcontroller detects the “acoustic delay” between the microphones which allows it to identify the location of the sound’s source vector. It does this using an 8-stage analog system which converts the sounds from each microphone into a binary signal, which identifies when each microphone heard the noise. The resultant 3 binary signals are then compared for their time delay, it selects the two closest microphones, and then does a simple angle calculation based on the magnitudes of each to determine the sounds position. Continue reading “Acoustic Impulse Marker Tracks Sounds With A Pencil”

The Teensy Audio Library

There are a few ways of playing .WAV files with a microcontroller, but other than that, doing any sort of serious audio processing has required a significantly beefier processor. This isn’t the case anymore: [Paul Stoffregen] has just released his Teensy Audio Library, a library for the ARM Cortex M4 found in the Teensy 3 that does WAV playback and recording, synthesis, analysis, effects, filtering, mixing, and internal signal routing in CD quality audio.

This is an impressive bit of code, made possible only because of the ARM Cortex M4 DSP instructions found in the Teensy 3.1. It won’t run on an 8-bit micro, or even the Cortex M3-based Arduino Due. This is a project meant for the Teensy, although [Paul] has open sourced everything and put it up on Github. There’s also a neat little audio adapter board for the Teensy 3 with a microSD card holder, a 1/8″ jack, and a connector for a microphone.

In addition to audio recording and playback, there’s also a great FFT object that will split your audio spectrum into 512 bins, updated at 86Hz. If you want a sound reactive LED project, there ‘ya go. There’s also a fair bit of synthesis functions for sine, saw, triangle, square, pulse, and arbitrary waveforms, a few effects functions for chorus, flanging, envelope filters, and a GUI audio system design tool that will output code directly to the Arduino IDE for uploading to the Teensy.

It’s really an incredible amount of work, and with the number of features that went into this, we can easily see the quality of homebrew musical instruments increasing drastically over the next few months. This thing has DIY Akai MPC/Monome, psuedo-analog synth, or portable effects box written all over it.

Finding A Shell In A Bose SoundTouch

Bose, every salesperson’s favorite stereo manufacturer, has a line of Wi-Fi connected systems available. It’s an impressively innovative product, able to connect to Internet radio, Pandora, and music libraries stored elsewhere on the network. A really great idea, and since this connects to a bunch of web services, you just know there’s a Linux shell in there somewhere. [Sara] found it.

The SoundTouch is actually rather easy to get into. The only real work to be done is connecting to port 17000, turning remote services on, and then connecting with telnet. The username is root.

The telnet service on port 17000 is actually pretty interesting, and we’re guessing this is what the SoundTouch iOS app uses for all its wizardry. [Sara] put a listing of the ‘help’ command up on pastebin, and it looks like there are commands for toggling GPIOs, futzing around with Pandora, and references to a Bluetooth module.

Interestingly, when [Sara] first suspected there could be Linux inside this box, she contacted Bose support for any information. She figured out how to get in on her own, before Bose emailed her back saying the information is proprietary in nature.