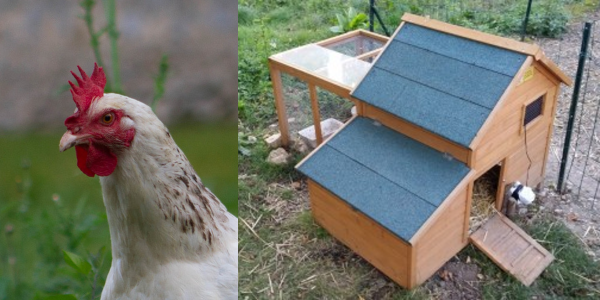
By now you’ve seen almost anything Tweet. But have you seen the (French) twittering chicken coop? (Google translate link) [Hugo] had kept two chickens as part of a household-waste reduction campaign, and then afterward started work.
Even if you don’t read French, the chickens’ twitter feed basically tells the story.
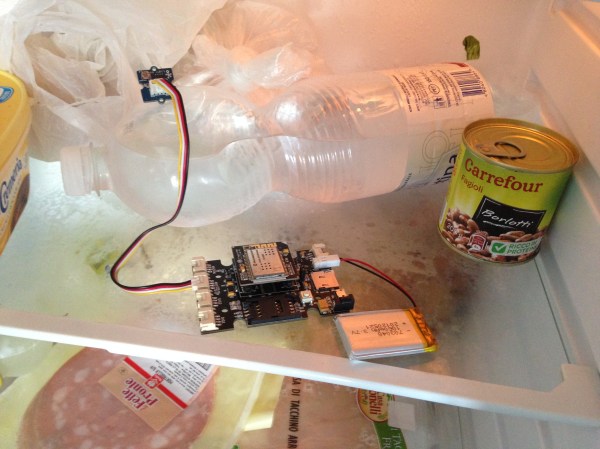
The setup can take IR photographs of sleeping chickens and notify [Hugo] when it’s time to collect the eggs. Naturally, an abundance of other sensors are available. The coop can tweet based on ambient temperature, nest temperature, light level, motion sensor status, or the amount of remaining chicken feed. You can easily follow whether the two fowl are in the coop or out in the yard. It’s like Big Brother, only for birds.
The application is, frankly, ridiculous. But if you’re into home (or coop) automation, there’s a lot to be learned and the project is very well documented. [Hugo] used OpenCV for visual egg detection, and custom Python code to slightly randomize the tweets’ text. All of these details are up on his Github account.
And if you just can’t get enough chicken-coop hacks, be sure to check out this mobile chicken coop, this coop in the shape of a golden spiral, or this Bluetooth-enabled, talking chicken coop, among others. You’d think our name was Coop-a-Day.