[Marcel] thought – what if he had more control over his house ventilation system? You could add some nifty features, such as automatically ventilating your house in the mornings when everyone’s away, only creating noise when nobody’s around to hear it. Sadly, most ventilation systems are not automation-friendly at all – he was lucky, however, as his system came with a wireless remote. [Marcel] reverse-engineered this remote, created a USB dongle speaking the same protocol, and tied it into his Home Assistant setup!
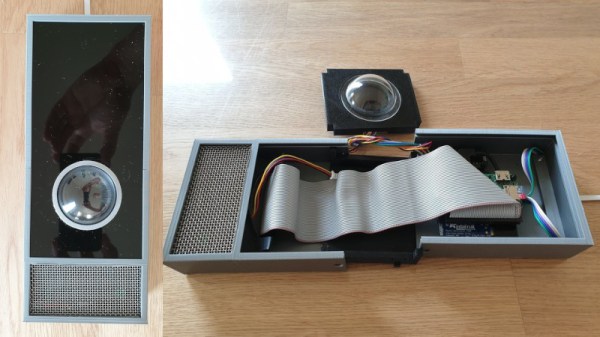
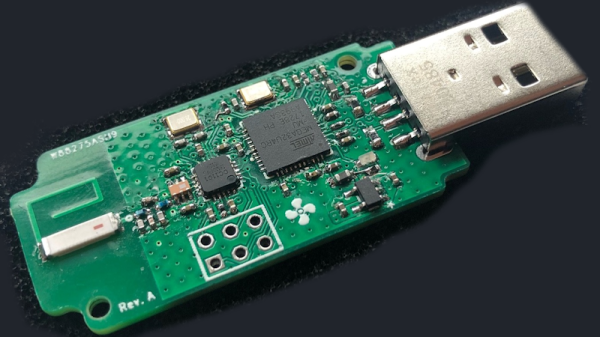
The remote in question is Orcon R15, with an Atmel MCU talking to a CC1101 chip through SPI. He sniffed the SPI communications when pressing different buttons, figured out the protocol by comparing the recordings, and built a test setup with a spare Arduino and CC1101 module. It worked, and he set out to design a separate dongle, using an ATMega32U4. The dongle looks pretty neat, and fits a Hammond enclosure – what’s not to like?
Then he set out to develop the firmware, and didn’t disappoint on that front either. His code doesn’t just imitate the original remote perfectly in terms of control, it also has user-friendly pairing flow, keeps track of the system’s current state, and still lets the original remote be used in parallel. Eagle files for the PCB are available on the project page, with the code and a PDF schematic available in the GitHub repo. This entire journey is described in the Hackaday.io page, and we would recommend you check it out for all the insights it provides!
Ventilation systems don’t tend to be designed for automation, and it’s endearing to see hackers working on conquering this frontier. Last time we’ve seen a ventilation system hack, it had the additional challenge of being landlord-friendly, and we think the hacker nailed it!