Laundry Monitor Won’t Generate Static With Roommates

Laundry. It’s one of life’s inescapable cycles, but at least we have machines now. The downside of this innovation is that since we no longer monitor every step — the rock-beating, the river-rinsing, the line-hanging and -retrieving — the pain of laundry has evolved into the monotony of monitoring the robots’ work.

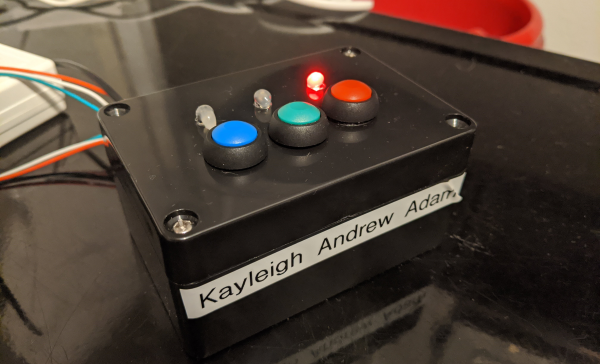
[Adam] shares his wash-bots with roommates, and they aren’t close enough to combine their lights and darks and turn it into a group activity. They needed an easy way to tell when the machines are done running, and whose stuff is even in there in the first place, so [Adam] built a laundry machine monitor that uses current sensing to detect when the machines are done running and sends a text to the appropriate person.

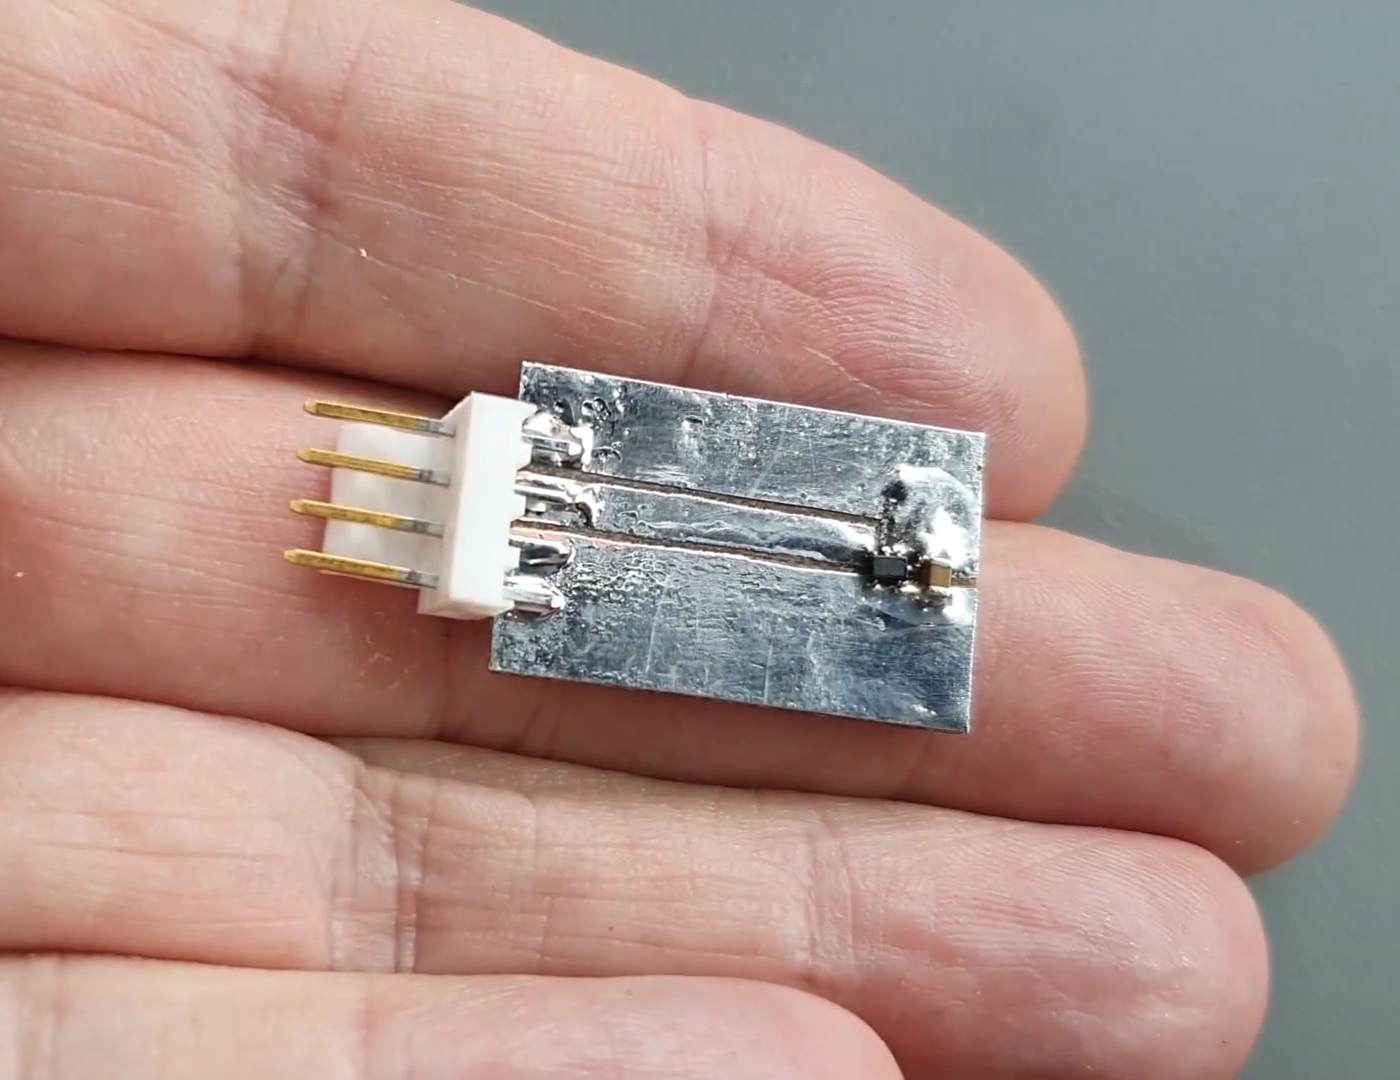
Each machine has a little Hall effect-sensing module that’s carefully zip-tied around its power cable. The signal from these three-wire boards goes high when the machine is running and low when it’s not. At the beginning of the load, the launderer simply presses their assigned button on the control box, and the ESP32 inside takes care of the rest.

Getting a text when your drawers are clean is about as private as it gets. Clean underwear, don’t care? Put it on a scrolling marquee.

CircuitPython Macro Pad Is One Build That Won’t Bite

Have you built a macro keypad yet? This is one of those projects where the need can materialize after the build is complete, because these things are made of wishes and upsides. A totally customized, fun build that streamlines processes for both work and play? Yes please. The only downside is that you actually have to like, know how to build them.

Suffer no more, because [Andy Warburton] can show you exactly how to put a macro pad together without worrying about wiring up a key switch matrix correctly. [Andy]’s keypad uses the very affordable Seeeduino Xiao, a tiny board that natively runs Arduino code. Since it has a SAMD21 processor, [Andy] chose to run CircuitPython on it instead. And lucky for you, he wrote a separate guide for that.

Practicalities aside, the next best thing about macro keyboards is that they can take nearly any shape or form. Print a case from Thingiverse as [Andy] did, or build it into anything you have lying around that’s sturdy enough to stand up to key presses and won’t slide around on your desk.

No room left on the desk? Build a macro foot stool and put those feet to work.

Via r/circuitpython

The ABCs Of Adding QMK To A WASD Keyboard

[Oleg] is a software engineer who appreciates a good keyboard, especially since coming over to the dark side of mechanical keebs. It’s true what they say — once you go clack, you never go back.

Anyway, before going full nerd with an ortholinear split ergo keyboard, [Oleg] had a nice little WASD with many upsides. Because the ErgoDox is oh so customizable, his use of the WASD had fallen by the wayside.

That’s because the ErgoDox can run QMK firmware, which allows the user to customize every key they see and add layers of functionality. Many people have converted all kinds of old keebs over to QMK by swapping out the native controller for a Teensy, and [Oleg] was sure it would work for the WASD.

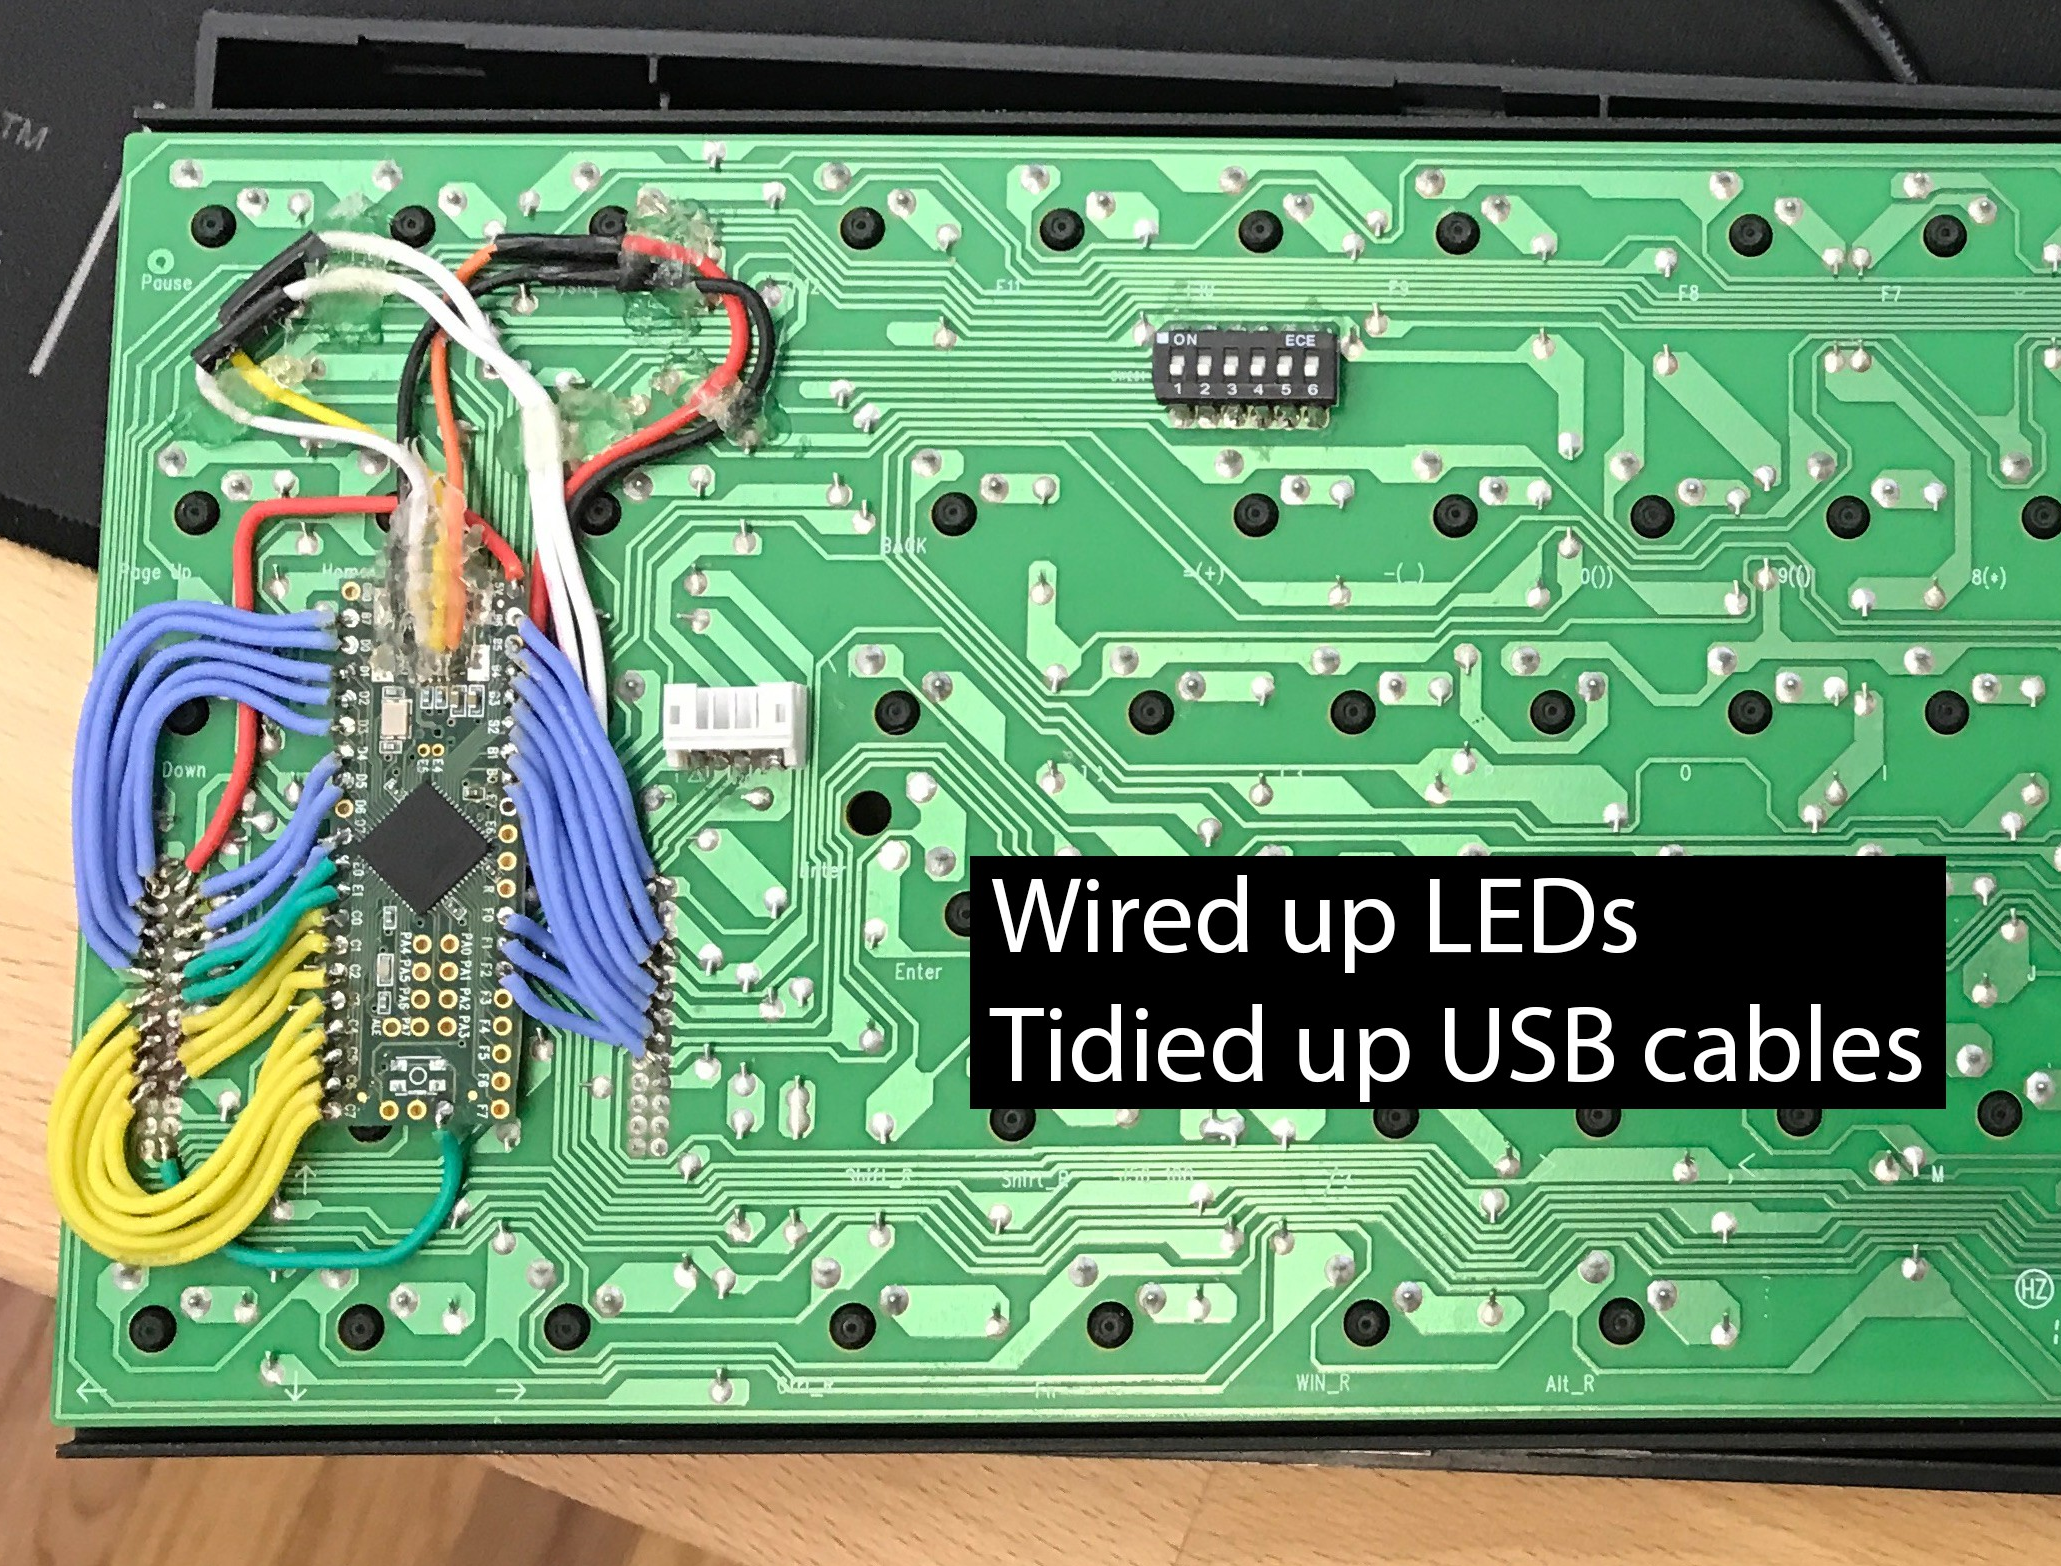
[Oleg] got under the hood and found that the controller sits on a little removable board around the arrow keys and talks to the main PCB through two sets of double-row header pins. After some careful probing with a ‘scope, the controller board revealed its secrets and [Oleg] was able to set up a testing scheme to reverse engineer the keyboard matrix by connecting each row to an LED, and all the columns to ground. With next to no room for the Teensy, [Oleg] ended up strapping it to the back of the switch PCB and wiring it quite beautifully to the header pins.

With Teensy and QMK, it’s easy to make a keyboard any way you want, even if you’re all thumbs.

Break Time Is Calling On The Rainbow Connection

Like some of us, [Mister M] is prone to staying glued to his seat too long in this new era of working from home. And you know what they say about a body at desk — it tends to stay at desk until it absolutely must rise up to find food or use the restroom.

Thanks to this nifty new break time reminder, [Mister M] has a third call to answer that demands he get up. Every hour, the NeoPixel ring in this old dial-deficient phone fills up completely and switches over to an attention-getting rainbow animation. If [Mister M] stays seated, playtime is over. All the lights start flashing red, and the phone starts beeping incessantly until he walks across the room and either pushes the momentary button or lifts the handset to reset the timer.

We love that [Mister M] incorporated all of the phone’s original inputs and outputs into this project, because it’s such a cool old dog and bone. No need to drop a dime, just whistle at the break button to check out the build video.

This grille-faced phone was probably part of an intercom system. Incidentally, you can make an intercom system with two standard-style phones of this vintage.

Continue reading “Break Time Is Calling On The Rainbow Connection”

DIY Ribbon Controller For A DIY Synth

There’s kind of a special joy in making instruments, no matter how simple or complex they are. Even if it’s a straight-up noisemaker, that’s noise you can be proud of. And besides, noise plus rhythm equals music.

Whenever you’re ready to have some next-level fun, try making controllers for your DIY instruments. Synthesizers of all stripes are often controlled with various types of potentiometers. While it would definitely be an interesting exercise to make your own standard twist-style potentiometer, [lonesoulsurfer] shows that making a ribbon controller is relatively easy.

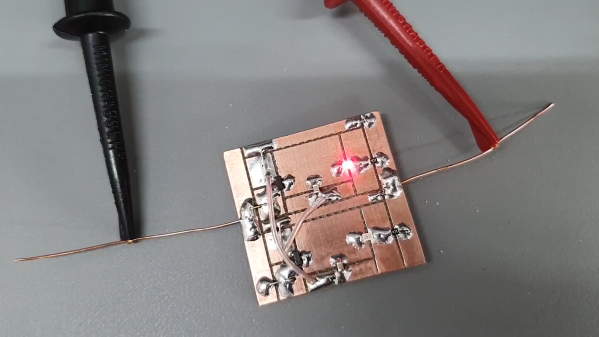
A ribbon controller is essentially a deconstructed potentiometer that uses your finger to actuate the wiper. Here the wiper is made from Velostat, a fun, low-cost conductive material that’s also pressure-sensitive. The rest of the ribbon controller is a sandwich of thin copper plates and non-conductive plastic mounted on a wood base.

But what’s a fun controller without a fun instrument to control? As a special bonus, [lonesoulsurfer] made a little square wave-squirting synth based on the 4046 hex inverter and included the schematic for it. Slide your finger past the break to check ’em both out.

Depending on what you have lying around, it may be easier to make analog instruments like this rubber band boinger or its country cousin, the wheelbarrow bass.

Continue reading “DIY Ribbon Controller For A DIY Synth”

Mass Mask-Making Masterclass

Just as 3D printers around the world have been churning out face shields, the thread injectors of home sewists have been stitching up fabric masks. Over the past several weeks, [Becky Stern] has made them for friends, family, neighbors, and anyone in her community who happens upon the box of free masks she’s left at a nearby bus stop. This is in addition the scores she has made and donated to health care workers so they can extend the life of their N95 masks.

If you’re going to make more than a few of anything, it just makes sense to make multiples at the same time and adjust the process for batch production. [Becky Stern] has some great ideas for ramping up assembly even further that include cutting out multiple main mask pieces at the same time, and ironing the pleats of several masks round robin style so you don’t waste time while they cool.

Even if you don’t dabble in the fabric arts, her method of kitting out the process of mask making is an interesting look into small-scale production.

Our favorite idea concerns the side bindings and the straps, which are the last part of the build and take the longest to do. [Becky] makes several miles of straps ahead of time with a 3D printed bias tape folder and then sews them all into a continuous strip. She can add the short side bindings to a bunch of masks at once, feeding them in one after the other so they end up strung together like sausages. Then she can just snip them apart and keep going, having saved both time and thread. Watch [Becky] make a single mask after the break and see how easy it is.

If sewing is a no-go for you, there are plenty of ways to help the PPE effort by firing up that printer.

Continue reading “Mass Mask-Making Masterclass”

How To Keep Unique Equipment Running When Parts Run Out

[JGlass] deals with public-facing technology, which he says includes things like theatre equipment, retail displays, and museum displays. Many of these pieces of technology are literally one-of-a-kind devices, even if they were constructed from what was once off-the-shelf, commercially available parts. When these machines need servicing, replacement parts aren’t always available, and reverse engineering comes in handy. He recently began documenting exactly how to approach this process by using the identification and replacement of an obsolete 7-segment industrial display as an example.

The particular part shown is the Lascar EM32-4-LED, which up and died in a unique piece of equipment. The trouble is that the EM32-4-LED is out of production and unobtainable, and the Programmable Logic Controller (PLC) that drives the whole thing is a black box that cannot be modified. It’s very good news that a datasheet exists, but that’s often just a starting point. To create a one-off, drop-in solution requires a combination of research, troubleshooting, and design work.

To do this, [JGlass] starts off by walking through datasheet elements and explains that it’s important to build a high level understanding of function first, then drill down into details, and always be ready to verify, challenge, or throw out one’s assumptions. After establishing a high level understanding comes matching physical evidence to things like block and functional diagrams, then cracking open the faulty component to see if anything else can be learned. Only then are multimeters and probes taken out for more active research. All of this sleuthing must always be done with the end goal firmly in mind: creating a new device that acts like the one being replaced. Without focus, one can easily get lost in details and unknowns.

Reverse Engineering is a process, and the more tools, the better. If you missed our earlier post about a hacker’s guide to JTAG, here’s your chance to check it out and be all the more prepared for the next time you need to do some electron detective work of your own.