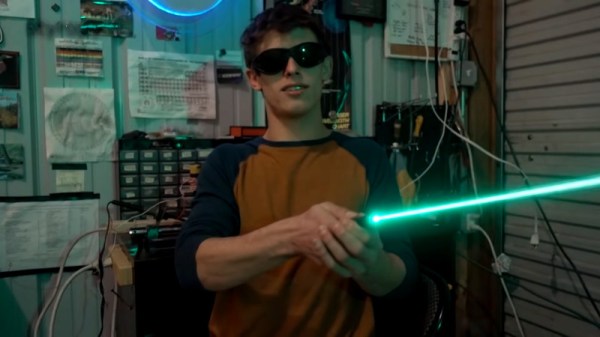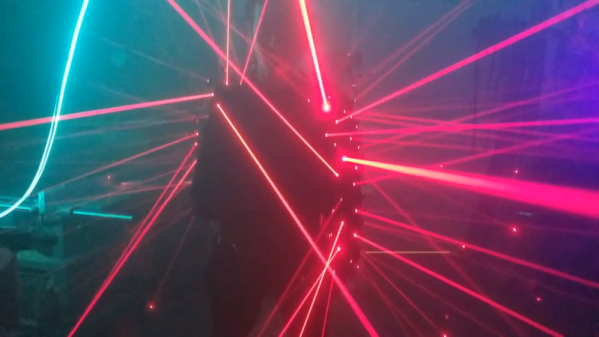
Depending on who you talk to, everything is either fine, or we’re living in an oppressive cyberpunk dystopia in which we forgot to drench everything in colored neon lighting. There’s little to be done about the digital surveillance panopticon that stalks our every move, but as far as the aesthetic goes, [abetusk] is bringing the goods. The latest is a laser jacket, to give you that 2087 look in 2019.
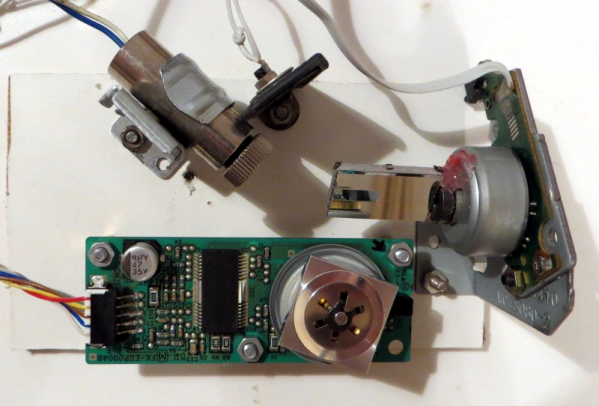
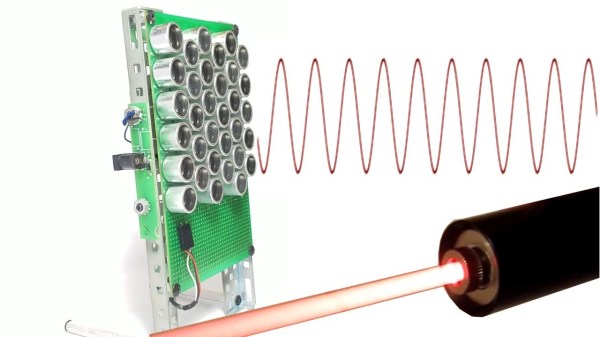
The build starts with a leather jacket, which is festooned with 128 individual red laser diodes. These are ganged up in groups of 4, and controlled with 32 individual PWM channels using two PCA9685 controllers. An Arduino Nano acts as the brains of the operation, receiving input from a joystick and a microphone. This allows the user to control lighting effects and set the jacket to respond to sounds and music.
[abetusk] does a great job of conveying the tricks needed to successfully pull this off. The instructions should allow any curious maker to replicate the build at home, and code is available on Github to help run the show. There’s lots of detail on proper enclosures, connectors, and cabling techniques to avoid the wearer inadvertently pulling everything to bits when wearing the garment to the club. Remember, there’s nothing more punk than educating your friends.
It’s an eye-catching build that would be an excellent addition to any Neo-Chicago street gang wardrobe. It’s not the first time [abetusk] has graced these pages, either – there are electroluminescent looks, too. Video after the break.