Throwback: Designing Addressable LEDs From Scratch

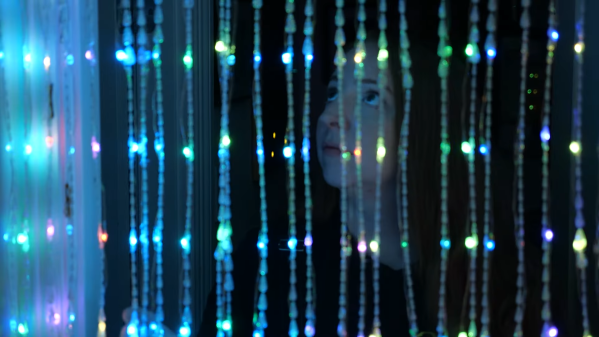
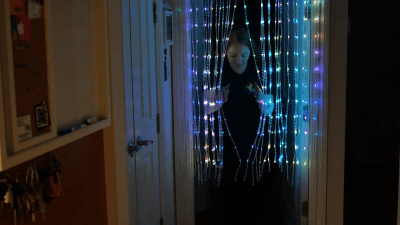
These days, addressable LEDs are all the rage. A little chip paired with each LED receives signals and modulates the light output as needed. [John Peterson] was working on a project along these very lines, designing his Curilights back in 2008!

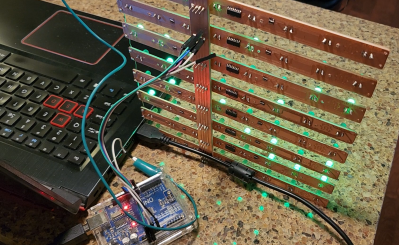
[John] wasn’t the first to come up with the idea; he designed the Curilights to replicate a string of programmable LEDs he’d seen called Triklits. His design involved each RGB LED being fitted with a Microchip PIC 16F688 microcontroller, which could receive serial data and control the LED channels with PWM. These LEDs could then be strung up to create an addressable chain. It’s fundamentally the same concept as the WS2812, just in a larger format and built by hand. His design also had the benefit of non-volatile memory onboard the PICs, so animations could be stored even after power off. [John] later went on to build a controller for his lights, complete with sensors. It could be triggered by a motion sensor or light sensor, and would run animations on the string without the use of a computer.

While [John]’s design didn’t go on to bigger things or commercial success, it did win first place at the Third Annual Lantronix Wireless Design Contest. It also goes to show that many people will come around to the same idea when it makes good sense!

If you’re interested in the wider world of addressable LEDs, check out our breakdown on some of the products out there. Meanwhile, if you’re brewing up your own flashing, glowing projects, be sure to notify the tipsline!

Hackable OSHW CardClock Demands Attention

When examining a project, it’s easy to be jaded by a raw parts list. When the main component is an ESP8266, we might say “oh, another 8266 project. yawn!” But we’re certain that when you take a look at [Will Fox]’s Foxie CardClock, it’ll surely grab your attention.

As if all those beautiful LEDs weren’t enough, the rest of the device’s specifications are quite impressive. The core components might be common, but what often separates such projects is the software. With Over The Air updates supported via ArduinoOTA, updates are a snap. A light sensor helps to keep all those LEDs at a sane level, and a once-per-minute synchronization via NTP keeps the time accurate. Even if power is lost, a super-capacitor can hold the time accurate for up to two days with the built in RTC module. There’s even provisions for setting the time using the buttons on the front panel should you want to keep the gadget offline.

The entire project is open source, with the hardware released under the CERN Open Hardware Licence Version 2 and the firmware source code distributed as GPLv3. Users are encouraged to hack and modify the design, and all the information you need to build one of your own is available in the project’s GitHub repository. [Will] also offers a pre-assembled version of the clock for just $45 USD, but unfortunately it seems to be out of stock at the time of this writing.

If credit card sized hacks are your chosen area of interest, you will appreciate this crystal radio made from an actual Credit Card. Thanks to [Abe] for submitting the Tip!

Berlin Clock Takes Inspiration From Sci-Fi Sources, Looks Incredible

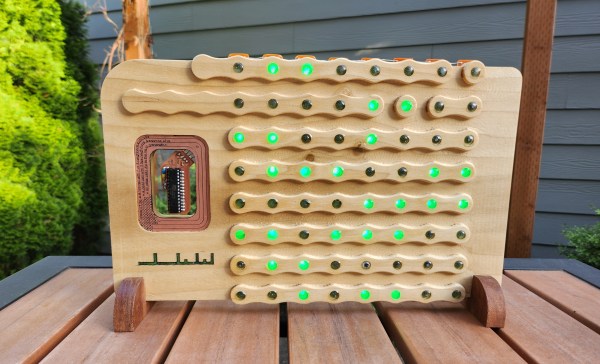
What would a HAL9000 look like if it eye were yellow and sat atop a front panel inspired by an Altair 8800? You’d have today’s feature, [Stephan]’s BerlinUhr, a gorgeous little take on a Berlin Clock.

At Hackaday, we have a soft spot for clock builds. They’ve graced our pages from early times. When we saw this ultra cool Berlin Clock, we couldn’t resist the urge to share it with all of our readers.  For those of you not familiar with a Berlin Clock, it’s a clock that consists of 24 lights, and was the first of its kind back in 1975.

[Stephan]’s build is notable because not only is it a beautiful design, but the work that went into the design and build. At several inches tall, the BerlinUhr is supported solely by a USB-C connection, although it can also be hung on a wall. The RTC is backed up by a CR1216, and an ATtiny167 provides the brains for the operation.

A neat part of the build comes with the KPS-3227 light sensor, used to adjust the LED brightness according to ambient lighting. Rather than being a straightforward part to insert into the PCB, KiCad’s footprint had some pins reversed, causing [Stephan] to learn how to correct it and contribute the fix to KiCad. Well done!

We weren’t kidding about clocks, by the way- check out the link to the Atomic Wrist Watch on this post from 2005, and this Russian VFD based clock from 2006- with video!

Do you have your own favorite clock build you’d love to see grace our pages? Be sure to submit a tip!

When Is An LED A Lamp? When It’s 50mm Wide

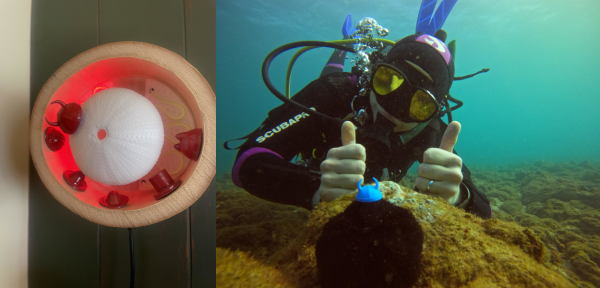
Call us childlike, but we sure do get a kick out of both larger-than-life and miniature things, especially when they work as their “normal-sized” counterparts do. So you can imagine our glee when we saw [JGJMatt]’s 50mm LED lamp, which looks like a giant version of something you might have wired up on your bench at any given moment — a bent-legged LED, wired up and ready to blink.

[JGJMatt] started by designing a mold in Fusion360 to make the lens, which he then printed in PLA. However, due to the heat generated by curing resin (especially all enclosed like that), he recommends using PETG or ABS instead to avoid any potential warping issues.

This is where things get a bit dangerous. For the internals, [JGJMatt] went all out, hand forming a reflector cup out of brass pipe, and the anode and cathode plates from flat 1 mm brass stock, plated to a silvery gray finish. The light source itself is a 1 W cool white LED that sits in the reflector cup, safe under a layer of epoxy mixed with a bit of yellow paint that represent the phosphor layer in a standard 5 mm white LED.

Once the innards were ready, it was time to cast the huge lens with them tucked safely inside. After the resin cured, [JGJMatt] sanded away the layer lines and airbrushed it with clear lacquer to clear up the lens and protect it from yellowing down the road. Then it was just a matter of bending the legs to form a stand, and wiring it up. What an awesome way to light up your workbench! Or anywhere, really.

This isn’t the first time we’ve seen a giant, working LED, though it’s probably only the second one since [Mike Szczys] saw some in the flesh at Maker Faire: Rome way back in 2019. Those are for sale on Tindie, BTW, though the shop is on holiday for the foreseeable, so you’ll have to make your own for now.

RGB 7-Segment Display Module Glows In All The Colours

While 7-segment displays are all well and good, they’re considered a bit old hat these days. This project from [Matt Deeds] brings them screaming into the future, though, sporting every color under the rainbow.

[Matt’s] build consists of a PCB filled with SK6812 side-mount LEDs, laid out in a typical 7-segment pattern. Each PCB features two 7-segment digits. The SK6812 LEDs can be driven in the same way as the famous WS2812B addressable LEDs, though they have the benefit of being more stable in color and brightness over a range of supply voltages.

With the LEDs installed, and a second PCB used solely as a diffuser by leaving out sections of solder mask, it’s a compact 7-segment solution at just 2.7 mm thick. The bonus is that each segment can be set to a different color thanks to the nature of the addressable RGB LEDs. Going too ham in this regard will make the displays difficult to read, but it can be used to easily display green, red, or yellow numbers, for example, to create a visual guide to a numerical range.

It’s a great build, and we love to see 7-segment displays re-imagined in different ways – even mechanically! It also takes fewer pins to drive compared to the old way of doing things in the non-addressable LED era. If you’ve got your own neat 7-segment projects under development, please do let us know!

1200 Addressable LEDs Make For The Perfect First Dance

The first dance of a newly married couple at the wedding reception is both a sentimental and memorable event, so why not make it even more so with something a bit special? Hackaday alumnus [Brett Haddoak] and his wife [Rachelle] certainly achieved that, with 1200 addressable LEDs turning her wedding dress into a real-life reproduction of Princess Aurora’s color changing dress from Disney’s Sleeping Beauty.

Tradition dictates that a groom must not see the dress before the Big Day, thus the LEDs were fixed to a petticoat and bustier that go underneath. The design would need so many LEDs that it crossed the limit that an Arduino can address, thus there were two Arduinos to control the whole. Electronics and batteries were worn in a pair of polo shorts, and after some nail-biting moments involving flaky connections, the whole thing came to life. The result can be seen in the video below the break, and certainly comes with a significant wow factor!

We would like to wish the happy couple all the best for the future, and we hope that this won’t be their last such electronic collaboration. If you’re hungry for more, it’s not the first light-up wedding outfit we’ve brought you.

Continue reading “1200 Addressable LEDs Make For The Perfect First Dance”

Quick Tip Improves Seven-Segment LED Visibility

We’re suckers for a nice seven-segment LED display around these parts, and judging by how often they seem to pop up in the projects that come our way, it seems the community is rather fond of them as well. But though they’re cheap, easy to work with, and give off that all important retro vibe, they certainly aren’t perfect. For one thing, their visibility can be pretty poor in some lighting conditions, especially if you’re trying to photograph them for documentation purposes.

The tint film can be cut to size once applied.

If this is a problem you’ve run into recently, [Hugatry] has a simple tip that might save you some aggravation. With a scrap piece of automotive window tint material, it’s easy to cut a custom filter that you can apply directly to the face of the display. As seen in the video, the improvement is quite dramatic. The digits were barely visible before, but with the added contrast provided by the tint, they stand bright and beautiful against the newly darkened background.

[Hugatry] used 5% tint film for this demonstration since it was what he already had on hand, but you might want to experiment with different values depending on the ambient light levels where you’re most likely to be reading the display. The stuff is certainly cheap enough to play around with — a quick check seems to show that for $10 USD you can get enough film to cover a few hundred displays. Which, depending on the project, isn’t nearly as overkill as you might think.

Continue reading “Quick Tip Improves Seven-Segment LED Visibility”