With the release of TensorFlow Lite at Google I/O 2019, the accessible machine learning library is no longer limited to applications with access to GPUs. You can now run machine learning algorithms on microcontrollers much more easily, improving on-board inference and computation.
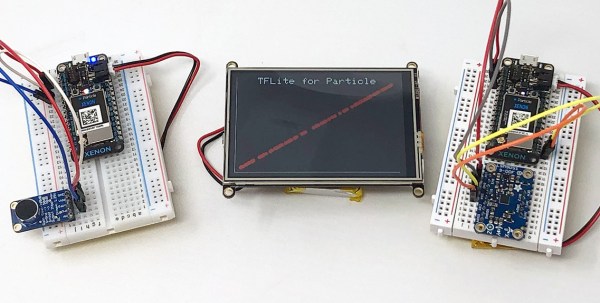
[Brandon Satrom] published a demo on how to run TFLite on Particle devices (tested on Photon, Argon, Boron, and Xenon) making it possible to make predictions on live data with pre-trained models. While some of the easier computation that occurs on MCUs requires manipulating data with existing equations (mapping analog inputs to a percentage range, for instance), many applications require understanding large, complex sets of sensor data gathered in real time. It’s often more difficult to get accurate results from a simple equation.
The current method is to train ML models on specialty hardware, deploy the models on cloud infrastructure, and backhaul sensor data to the cloud for inference. By running the inference and decision-making on-board, MCUs can simply take action without backhauling any data.
He starts off by constructing a simple TGLite model for MCU execution, using mean squared error for loss and stochastic gradient descent for the optimization. After training the model on sample data, you can save the model and convert it to a C array for the MCU. On the MCU, you can load the model, TFLite libraries, and operations resolver, as well as instantiate an interpreter and tensors. From there you invoke the model on the MCU and see your results!
[Thanks dcschelt for the tip!]