Overclocked ATmega32 Gaming

With more pixels and more objects to track you’re going to need to get that AVR running pretty fast to get the job done. But [Vladutz2000] figured why stop at 16 MHz when you can overclock an ATmega32 to 27 MHz for a faster gaming experience?

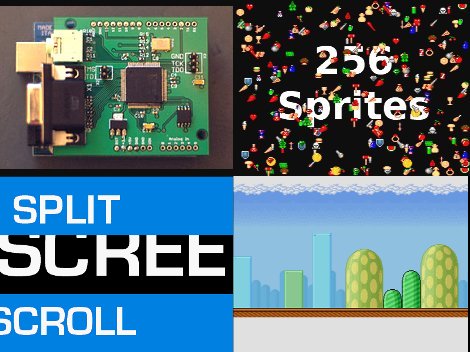
This build may not be as colorful as Super Pixel Bros, but choosing a KS0108 graphic LCD certainly brings a lot more definition to the images. You can see in the video after the break that the AVR does an excellent job of generating and animating multiple objects. It doesn’t take much to put this together yourself but if you want the board layout done for you, you’re out of luck. The hardware for the project is installed on a PCB that was hand-drawn with an etch resist marker. Continue reading “Overclocked ATmega32 Gaming”

LaunchPad MIDI Synth

launchpad_midi_synth

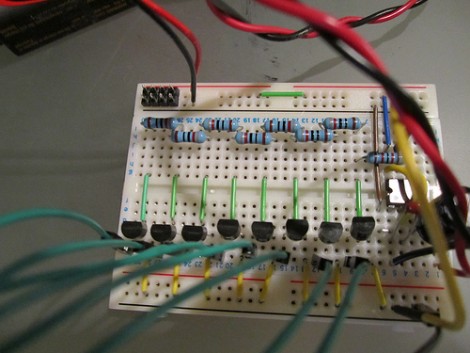
[NatureTM] sent in a writeup for the MIDI synthesizer he recently built using a TI LaunchPad. The construction is pretty simple overall, consisting of little more than the MSP430, a handful of resistors, and an optoiosolater. Of course, a MIDI controller is required, but he already had that on hand.

Once the MIDI data is read from the optoisolator, his code takes care of the rest, adjusting the square wave sound generator to get the proper note. He does mention that since the synthesizer is monophonic, special care is taken to ensure that simultaneous notes are processed properly. You can route all of the sound into a single speaker, but he used the optoisolator to send the sound data to multiple LaunchPads instead, resulting in a fun little MIDI quintet.

He provides code and plenty of video on his site, but keep reading for a sneak peek of his synth in action.

Continue reading “LaunchPad MIDI Synth”

DIY PIC Development Board And Web Server

websd

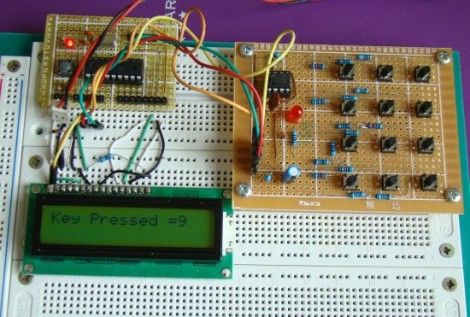
Inspired by a project featured here on Hack-a-Day, [arthurb] bought himself a PIC 24F and started experimenting once he learned the ins and outs of programming the chip. Using a breadboard and a nest of wires was fine for his first few projects, but as he advanced, he began to feel the need for a full-fledged development board. With a list of required features in mind he got to work, constructing a well thought out board as well as a handful of expansion boards that can be used for various other projects. His main development board includes Ethernet connectivity for use with his web server software, the ability to utilize an SD card for storage, and a USB port for programming. His expansion boards include a temperature sensor, a numeric touchpad, as well as a video output module. Overall it is a pretty impressive build, considering he had never programmed a PIC before starting this project. All of his boards are thoroughly documented, and he has included plenty of source code in hopes of helping other individuals just starting out in PIC programming.

You can see his web server in action here, but keep in mind that it is running off a PIC, so please be courteous in your usage.

Launchpad Serial Morse Code Transmitter

LaunchPad-Serial-Morse-Transmitter

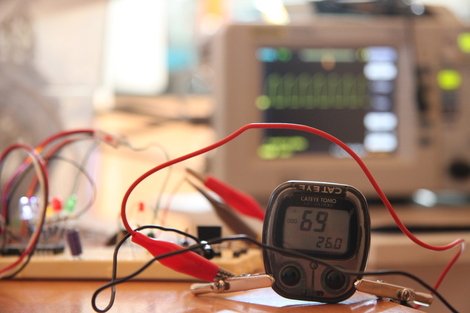
LaunchPad dev boards from Texas Instruments are cheap and easy to program, making them a great Arduino alternative if you can do without some of the bells and whistles. [ech0s] put his to good use by constructing a Morse code transmitter with dual operating modes. The transmitter can not only encode and transmit messages entered in a terminal client, it also allows the user to send messages by manually operating the key switch. Inspired by the high altitude balloon transmitter we featured last summer, this project uses similar components for signal amplification and transmission. Text can be entered in a Putty terminal window, which then is encoded into Morse by the MCU before transmission. At the moment, the speed of the radio transmission is about 15 WPM, which is reasonably quick. Even though his system performs quite well [ech0s] has some improvements planned, including having a proper PCB built as well as some software tweaks to improve buffering and bandwidth. Be sure to check out his video of the transmitter in action after the jump.

Continue reading “Launchpad Serial Morse Code Transmitter”

RGB “Tilty Cube”

[Ben’s] introduction to microcontrollers was this fun little gift he calls the “tilty cube”. It is an acrylic box with 3 LEDs mounted inside that changes color based off of how you tilt it. Sounds like a fun toy, and a good project to learn with. [Ben] chose the PIC12F615 as the brains and laid it all out on a perfboard.  Since this was his first microcontroller experience he had to learn how to blink the LEDs, then figure out PWM etc. Though there is no video of the project in its finished state, since it was given away as a gift, we assume he figured it out pretty well.  He does state that the LEDs are dimmer than he had hoped and offers some thoughts on how he would do the entire project better next time.

Multitool Alarm System

Here’s a way to make sure you don’t leave your Leatherman multitool somewhere. It’s an alarm system that will start a timer when the tool is removed from the holster. After five minutes the module beeps to remind you to put the tool back where it belongs. Annoying? Possibly, but if you’re not done with your work just press the reed leaf switch on the module to reset the timer. A PIC 12F683 handles the timing and generates the waveform for the piezo buzzer. Perhaps this could have been accomplished with a dual 555 chip like the LM556 (one timer for the countdown and another for the piezo waveform) but the PIC has power-down modes available that should make the button batteries last a long time.

Laptop LCD Reused In Beagleboard Project

This daughterboard lets [Matt Evans] drive a laptop LCD using a Beagleboard. Apparently the Beagleboard gained a VGA header when it moved to revision C but [Matt’s] working with revision B4 which is why he had to do all of that ninja soldering with the blue wires. The driver board itself is a thing of beauty, hosting a DS90C363 LVDS serialiser as well as some buffer chips that handle level conversion for it. He’s also included an ATmega48 so that he has some options for future improvements.

The LCD is mounted in a custom acrylic case, with Beagleboard and driver board taped to the back of it. There’s RS232 and a USB hub which opens up the possibility of using a WiFi dongle for communications. So far he doesn’t have much functionality other than displaying images on the screen but there is some talk about using a touchpad for control. We’d love to see a touchscreen overlay, transforming the build into a proper ARM-based tablet.