Most Hackaday readers will be familiar with the idea of a network time server; a magical box nestled away in some distant data center that runs the Network Time Protocol (NTP) and allows us to conveniently synchronize the clocks in our computers and gadgets. Particularly eager clock watchers can actually rig up their own NTP server for their personal use, and if you’re a true time aficionado like [Cristiano Monteiro], you might be interested in the portable GPS-controlled time server he recently put together.
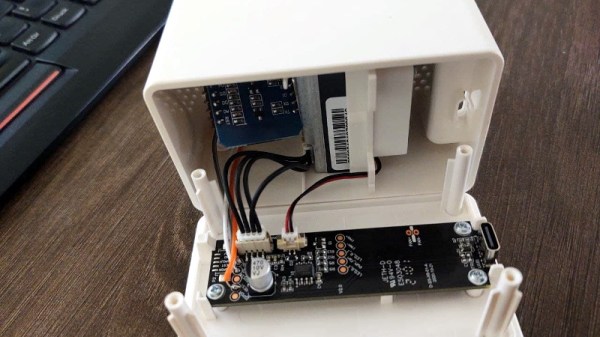
 The heart of the build is a NEO-6M GPS module which features a dedicated pulse per second (PPS) pin. The ESP8266 combines the timestamp from the GPS messages and the PPS signal to synchronize itself with the atomic clock aboard the orbiting satellite. To prevent the system from drifting too far out of sync when it doesn’t have a lock on the GPS signal, [Cristiano] is using a DS3231 I2C real-time clock module that features a high accuracy temperature-compensated crystal oscillator (TCXO).
Continue reading “Portable GPS Time Server Powered By The ESP8266”