Open-Source Thermostat Won’t Anger Your Landlord

[Nathan Petersen] built a Hackable Open-Source Thermostat to smooth out temperature fluctuations caused by the large hysteresis of the bimetallic strip thermostat in his apartment. While it may be tempting to adjust the “anticipator” to take care of the problem or even replace the bimetallic thermostat with an electronic version, building your own thermostat from scratch is a good way to add to your project portfolio while making your way through college. Plus, he got to hone his hardware and software design chops.

The hardware is designed around the STM32, using a cheap, minimal variant since the device just needs to sense temperature and control the furnace in on-off mode. The TMP117 high-accuracy, low-power, temperature sensor was selected for temperature measurement since accuracy was an essential feature of the project. Dry-contact output for the furnace is via a normally-open solid state relay (opto-isolator). For the user interface, instead of going the easy-route and using an I2C/SPI OLED or LCD display, [Nathan] used three 7-segment LED displays, each driven by an 8-channel constant current driver. The advantage is that the display can be viewed from across the room, and it’s brightness adjusted via PWM. Temperature set-point adjustment is via a simple slide potentiometer, whose analog voltage is read by the micro-controller ADC. To remind about battery replacement, a second ADC channel on the micro-controller monitors the battery voltage via a voltage divider. The PCB components are mostly surface mount, but the packages selected are easy enough to hand solder.

[Nathan]’s Github repo provides the hardware and firmware source files. The board is designed in Altium, but folks using KiCad can use either the awesome Altium2KiCad converter or the online service for conversion. (The results, with some minor errors that can be easily fixed, are quite usable.) Serendipitously, his PCB layout worked like a charm the first time around, without requiring any rework or bodge wires.

The firmware is a few hundred lines of custom bare-metal C code, consisting of drivers to interface with the hardware peripherals, a UI section to handle the user interface, and the control section with the algorithm for running the furnace. [Nathan] walks us through his code, digging into some control theory and filtering basics. After making a few code tweaks and running the thermostat for some time, [Nathan] concludes that it is able to achieve +0.1°F / -0.5°F temperature regulation with furnace cycles lasting about 10-15 minutes (i.e. 4-6 cycles per hour). Obviously, his well insulated apartment and a decent furnace are also major contributing factors. Moving on, for the next version, [Nathan] wants to add data collection capabilities by adding some memory and SD card storage, and use an RTC to allow seasonal adjustments or time-based set-points.

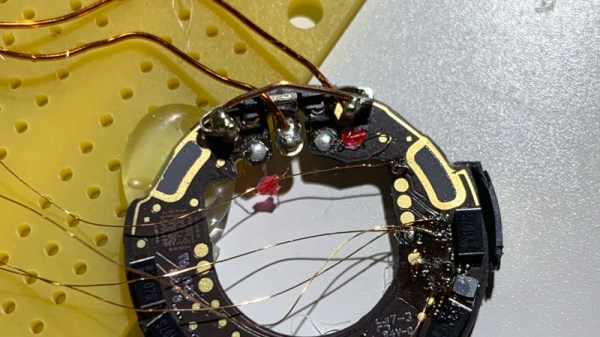
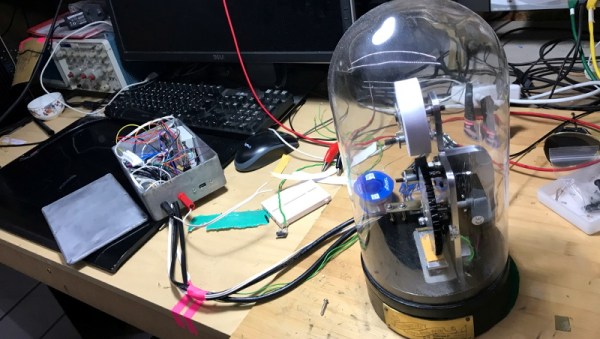
This is his first attempt at a “functional’ useful project, but he does love to build the occasional toy, such as this POV Top.

Youngster’s ESP32 Jukebox Uses RFID To Queue Tunes

Though kids today have an incredible knack for figuring out modern phones and tablets, there’s still something to be said for offering a simple physical user interface for little hands. To that end, [Martin Hierholzer] has put together a whimsical jukebox that his two year old daughter can use to listen to her favorite songs. With just a few simple buttons, no display to read, and the ability to stop and start songs using RFID tags embedded into 3D printed figures, it’s a perfect interface for tiny humans just getting the hang of interacting with technology.

While the Raspberry Pi might have been the more obvious choice to base this project around, [Martin] decided to go the ESP32 route for improved energy efficiency. The popular microcontroller is more than powerful enough to play MP3s, and its integrated WiFi connectivity allows the player to download new tracks from the network occasionally. He added a micro SD slot to provide some mass storage, a PCM5102 I2S DAC with a PAM8403 amplifier to handle the audio side of things, and a MFRC522 RFID receiver that can pick up tags placed on the top of the player. Power is provided by parts salvaged from a USB battery bank, and everything is housed on a custom PCB.

The relatively low power requirements of the ESP32 means the jukebox can keep the party going for many hours (perhaps even days) when in active use. When the RFID token is removed and there are no songs to play, some clever coding kicks the chip into low-power mode to greatly extend the player’s standby time. [Martin] says it can sleep for months without having to be recharged, and considering some of the impressive feats of battery-sipping we’ve previously seen from the ESP32, we don’t doubt it.

Even if you don’t have any young music lovers at home, the documentation [Martin] has put together for this project is absolutely worth a look. Whether its how he configures the server side to push songs and firmware updates to the player, how he wrangled the ESP32’s Ultra-Low Power coprocessor (ULP), or the woodworking tips used to produce the charming enclosure, you’re sure to pick up a trick or two.

The children of hackers and makers always seem to get the coolest stuff, and we’re looking forward to seeing what [Martin] comes up with next. After all, kids grow up fast and pretty soon his daughter is going to need something new to entertain her.

Arducam Now Working With The RPi Pico

The Raspberry Pi Pico came out of absolutely nowhere, and has taken the maker world by storm. At the low, low cost of $4, packing some seriously grunty original silicon, and even available free on the cover of magazines, it’s already got a legion of fans. As with any new popular platform, there’s a scramble to get everything under the sun running on the hardware. Already, ArduCAM is up and running on the Raspberry Pi Pico!

Based on the OV2640 image sensor, the ArduCAM is useful for microcontroller applications thanks to its onboard JPEG encoder. This limits the amount of RAM needed onboard the microcontroller to deal with the images fed from the camera. With the Pico now on the market, the team behind ArduCAM set about writing a library to get everything playing nicely with the SPI camera. It’s available on Github, complete with an example program so you can check everything is functional right out of the box. The easiest way to get up and running is from a Raspberry Pi environment, but the Pico acts as a USB Mass Storage device so can be programmed from virtually anywhere.

We’ll likely see the whole cavalcade of microcontroller bits and pieces ported to the Pico in the coming months, along with plenty of interesting uses of the special IO features. Video after the break.

Continue reading “Arducam Now Working With The RPi Pico”

Dazzling Desktop Dodecahedron

Much like us, [AGBarber] digs all the infinity polyhedra already out there, but laments the fact that almost all of them are too large to be used as desktop distractions conversation pieces. That’s probably because it’s a lot easier to build ’em big, but that didn’t stop [AGBarber] from trying, succeeding spectacularly, and paving the way for anyone who wants to take on the challenge of building a dazzling desk toy of their own.

We all know that all those little strips of LEDs have to be chained together somehow. Wires would work fine in a larger version, but at roughly softball size, they become a tedious and fiddly nightmare. So what did [AGBarber] do instead? That’s right, they designed two different types of custom corner PCBs. The 3D printed brackets that hold the LEDs and the panels together are no cakewalk, either — [AGBarber] recommends using a resin printer if you have access to one, though it isn’t strictly required.

Everything about this project is open source, including a bonus printable jig for gluing the brackets together at just the right angles. All the steps are well-documented, from applying the mirror film to programming the Wemos D1 mini that controls the lights [AGBarber] programmed in a ton of animations, too, which you can watch after the break.

Want to build a small infinity thingy that isn’t quite so difficult? Crack open a cold one and check out these cool coasters.

Continue reading “Dazzling Desktop Dodecahedron”

Before Google, There Was The Reference Librarian

I know it is a common stereotype for an old guy to complain about how good the kids have it today. I, however, will take a little different approach: We have it so much better today when it comes to access to information than we did even a few decades ago. Imagine if I asked you the following questions:

  • Where can you have a custom Peltier device built?
  • What is the safest chemical to use when etching glass?
  • What does an LM1812 IC do?
  • Who sells AWG 12 wire with Teflon insulation?

You could probably answer all of these trivially with a quick query on your favorite search engine. But it hasn’t always been that way. In the old days, we had to make friends with three key people: the reference librarian, the vendor representative, and the old guy who seemed to know everything. In roughly that order. Continue reading “Before Google, There Was The Reference Librarian”

New Parts, New Hacks

The biggest news this week is that Raspberry Pi is no longer synonymous with single-board Linux computers: they’re dipping their toes into the microcontroller business with their first chip: the RP2040, and the supporting breakout board, the Pico. It’s an affordable, capable microcontroller being made by a firm that’s never made microcontrollers before, so that’s newsy.

The Hackaday comments lit on fire about this chip, with some fraction of the commenters lamenting the lack of wireless radios onboard. It’s a glass-half-full thing, I guess, but the RP2040 isn’t an ESP32, folks. It’s something else. And it’s got a hardware trick up its sleeve that really tickles my fancy — the programmable input/output (PIO) units.

The other half of the commenters were, like me, salivating about getting to try out some of the new features. The PIO, of course, was high on that list, but this chip also caters to folks who are doing high-speed DSP, with fast multiplication routines burnt into ROM and a nice accumulator. (You know you’re a microcontroller nerd when you’re reading through a 663-page datasheet and thinking about all the funny ways you can use and/or abuse the hardware peripherals.)

All chip designs are compromises. Nothing can do everything. The new peripherals, novel combinations of old elements, and just pleasant design decisions, open up new opportunities if you’re willing to seek them out. When the ESP32 was new, I was looking at their oddball parallel-I2S hardware and thinking what kind of crazy hacks that would enable, and clever hackers have proven me right. I’d put my money on the PIO being similar.

New chips open up new possibilities for hacks. What are you going to do with them?