For anyone that’s fiddled around with a magnifying glass, it’s pretty easy to understand how optical microscopes work. And as microscopes are just an elaboration on a simple hand lens, so too are electron microscopes an elaboration on the optical kind, with electrons and magnets standing in for light and lenses. But atomic force microscopes? Now those take a little effort to wrap your brain around.
Luckily for us, [Zachary Tong] over at the Breaking Taps YouTube channel recently got his hands on a remarkably compact atomic force microscope, which led to this video about how AFM works. Before diving into the commercial unit — but not before sharing some eye-candy shots of what it can do — [Zach] helpfully goes through AFM basics with what amounts to a macro version of the instrument.
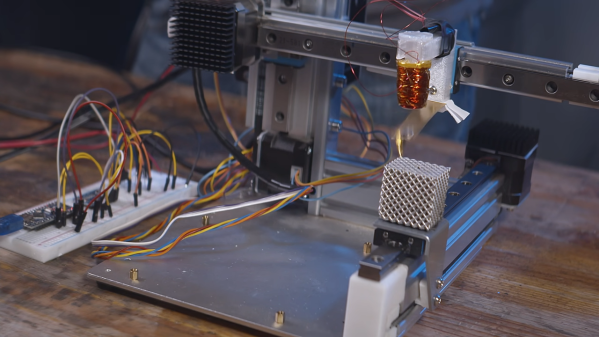
His macro-AFM uses an old 3D-printer as an X-Y-Z gantry, with a probe head added to the printer’s extruder. The probe is simply a sharp stylus on the end of a springy armature, which is excited into up-and-down oscillation by a voice coil and a magnet. The probe rasters over a sample — he looked at his 3D-printed lattices — while bouncing up and down over the surface features. A current induced in the voice coil by the armature produces a signal that’s proportional to how far the probe traveled to reach the surface, allowing him to map the sample’s features.
The actual AFM does basically the same thing, albeit at a much finer scale. The probe is a MEMS device attached to — and dwarfed by — a piece of PCB. [Zach] used the device to image a range of samples, all of which revealed fascinating details about the nanoscale realm. The scans are beautiful, to be sure, but we really appreciated the clear and accessible explanation of AFM.
Continue reading “Macro Model Makes Atomic Force Microscopy Easier To Understand”