We love seeing hardware and software from bygone eras getting a new lease on life through modern hacks, as longtime readers can surely attest to. Why leave this stuff to rot in a closet somewhere when it can be pushed into service today? Granted it might not always be the most efficient way to accomplish a task in the 21st century, but at least you’ll net some precious Internet Points for originality.
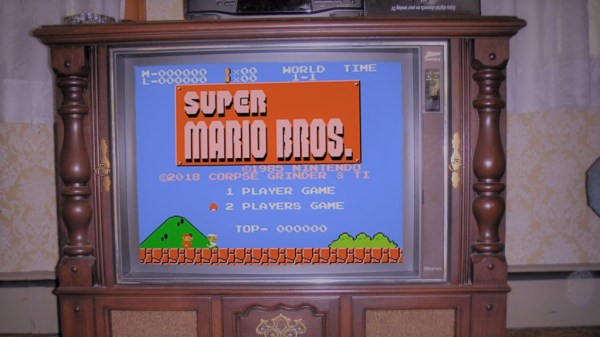
 As a perfect example, take a look at this project which lets you read Slack messages through a Super Nintendo game. If your first thought was that such a thing would involve an unreasonable amount of effort and hoop jumping…then you would be correct. [Bertrand Fan] really had to think outside the box to make this one happen, and even admits a bit of imagination is required on the part of the end-user to use it. But it’s undeniably an original approach, so we hereby bestow the customary Internet Points unto him.
So how does this work, and where do the satellites come in? The key is in a fairly obscure Japanese SNES peripheral called the Satellaview, one of Nintendo’s early attempts at creating an online content delivery system for their consoles. Games designed with Satellaview support would be able to pull down new content from regular satellite broadcasts, not too bad for 1995. This means that if you have the hardware, and happen to own a satellite, you can push your own content into an unmodified SNES. No problem, right?
Alright, [Bertrand] didn’t really use a Satellaview modem plugged into an actual SNES. Plus we’re fairly sure he doesn’t have his own satellite network to broadcast Slack messages with anyway. But it turns out some SNES emulators have support for a virtual Satellaview modem, and there’s even software out there that will let you create new content “downloads” for the system’s included game: BS-X: The Story of The Town Whose Name Was Stolen. All he had to do was connect the dots.
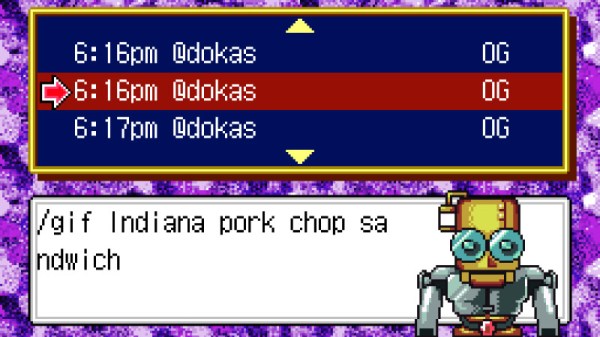
[Bertrand] started by stripping the user interface out of SatellaWave, an open source tool for creating Satellaview content, so that it only need to be provided with an XML file of the content to be “downloaded” by the virtual satellite modem. Using the Slack API, he then came up with way to pull the last 10 messages from a server and push them into his modified version of SatellaWave. Each time somebody posts a new message his software kicks in to produce a new satellite download which automatically gets picked up by the SNES emulator and pops up in the game.
If this is still too practical for you, you can always go all in and run Slack on your Commodore 64.
Continue reading “Slack On The SNES Via Satellite” →


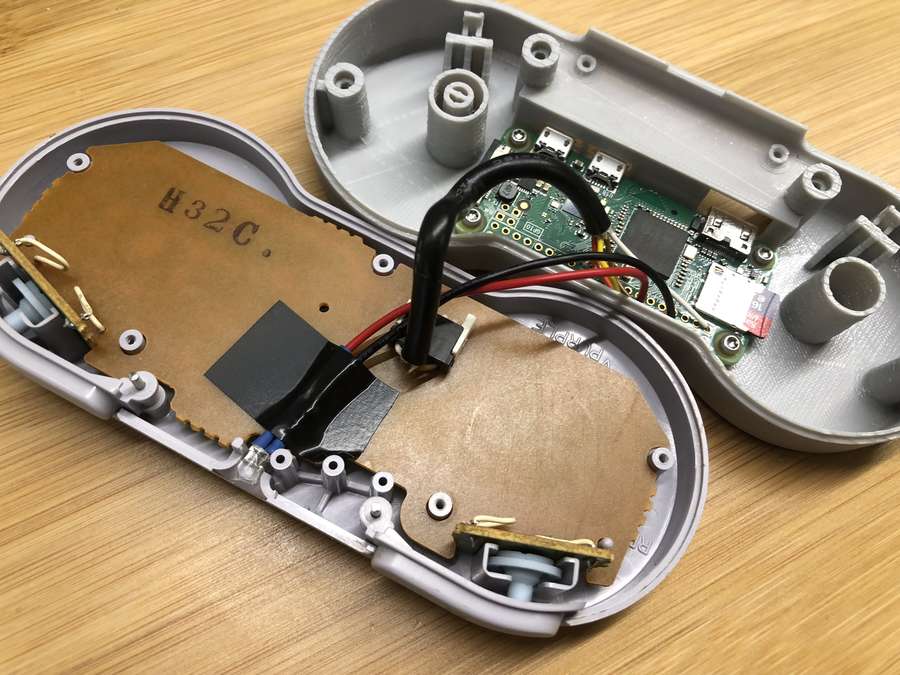
 [William] acknowledges that the build is a bit of a hack job, but the project page does a good job of documenting his build process and covering the kinds of decisions involved in interfacing to a separate piece of hardware. After all, most budding hackers have sooner or later asked themselves “how do I make my gadget press a button on this other thing?” [William] ends up using a small relay to close the connection between the traces for the B button when triggered by a microphone module, but he points out that it should be possible to do a non-destructive version of the mod. Examples exist of