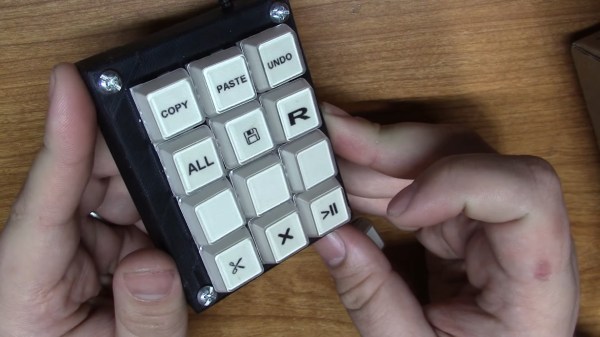
Not to start a debate in the comments or anything, but what would you say was the first microcomputer, or personal computer? We suppose the answer depends on your definition. Some would argue that the PC was born at Xerox PARC with a curious portrait-mode display and a three-button mouse, while others would say it all began in a garage in either Los Altos, California or Albuquerque, New Mexico.
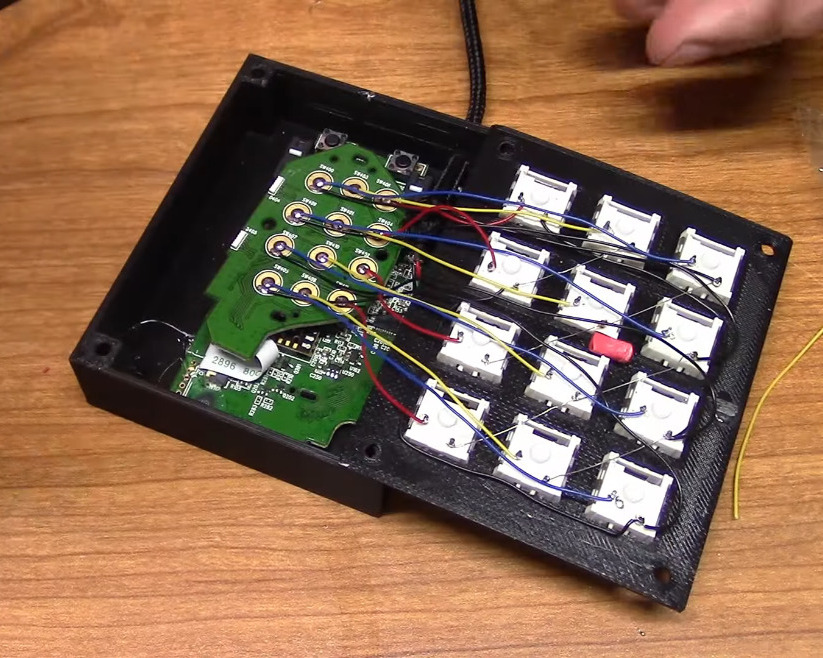
If you take the term ‘computer’ to mean that which can crunch big numbers fairly quickly, then the Canadian-made MCM/70 is arguably the first personal computer in that it is portable, has an alphanumeric keyboard, a display, and supports cassette storage, which could be used to extend the 8K of memory. It was an all-in-one computing solution, and it could have an optional telephone modem built in. This was a forward-thinking machine for 1974.
Continue reading “Inputs Of Interest: Canadian MCM/70 Was Kinda Like The First Cyberdeck”