[Tijmen Schep] sends in his project, Candle Smart Home, which is an exhibit of 12 smart home devices which are designed around the concepts of ownership, open source, and privacy.
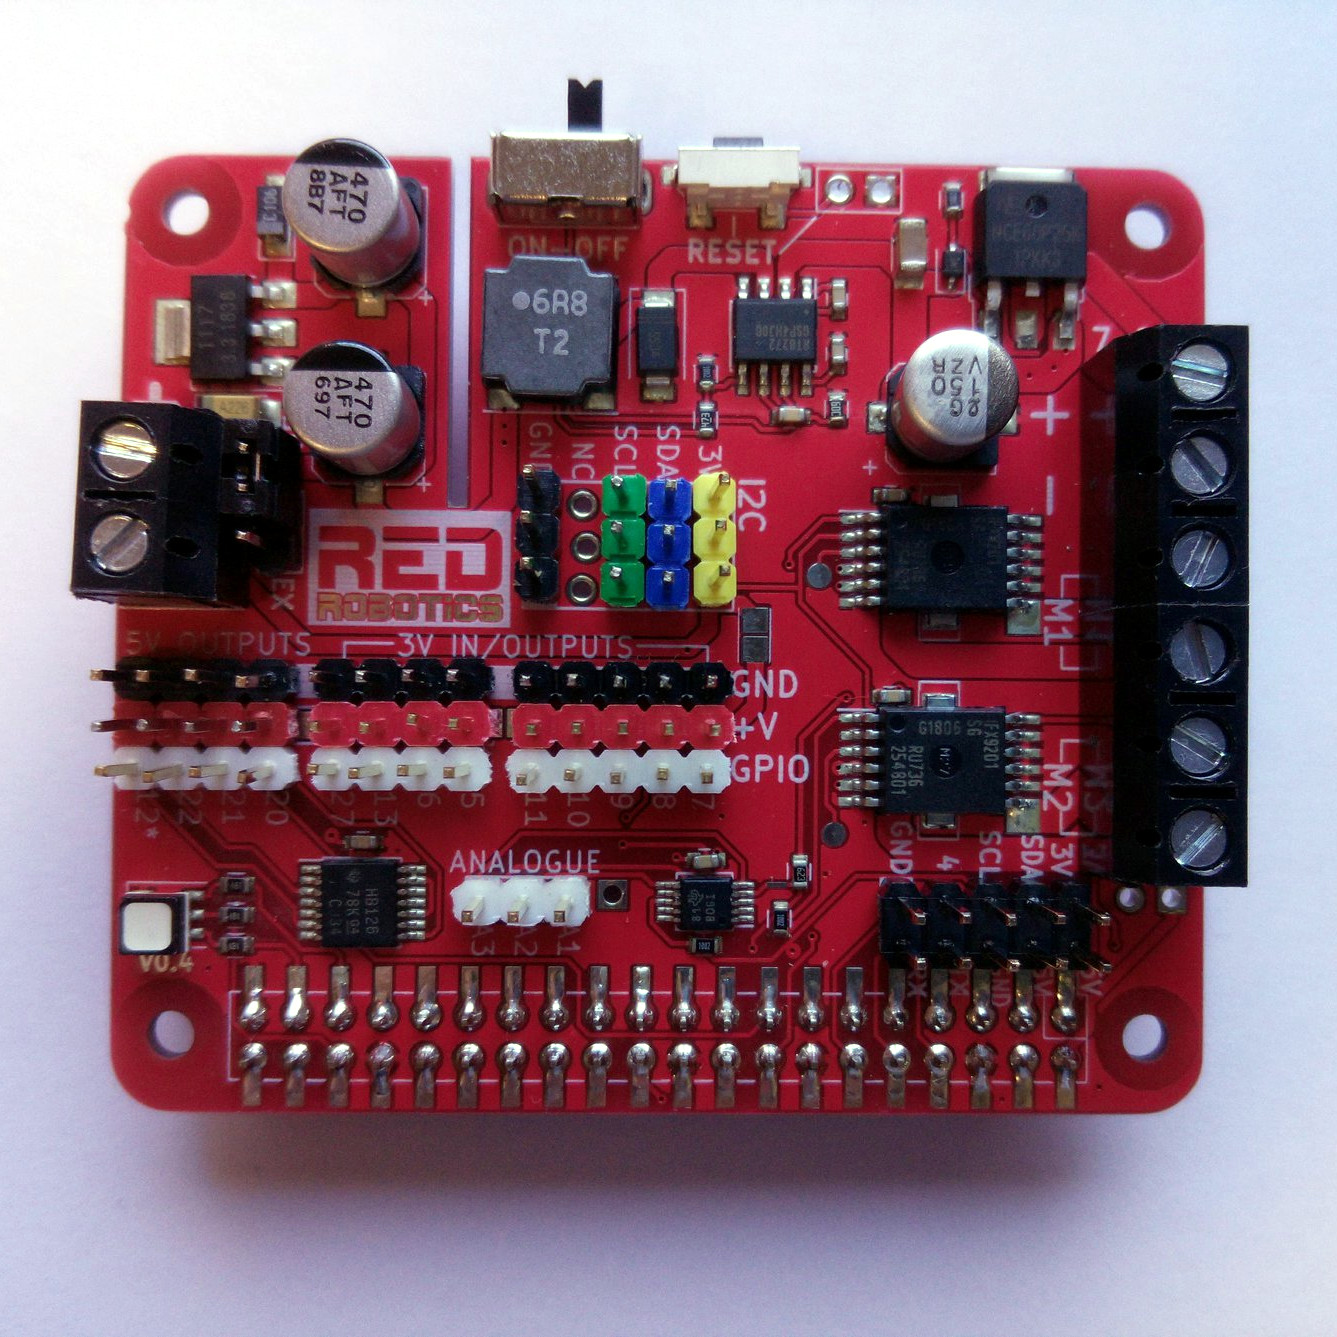
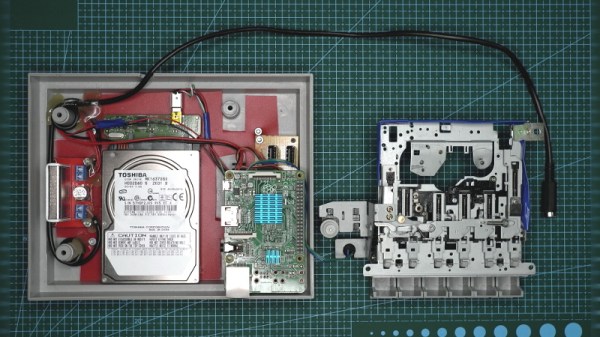
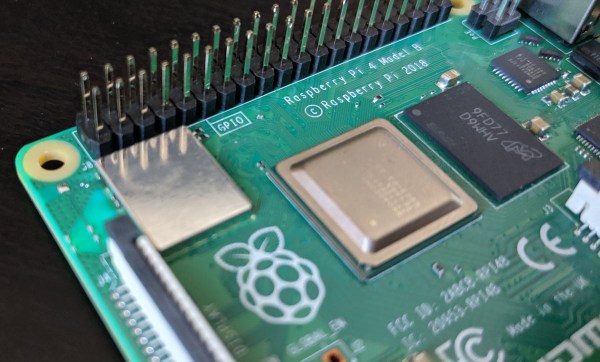
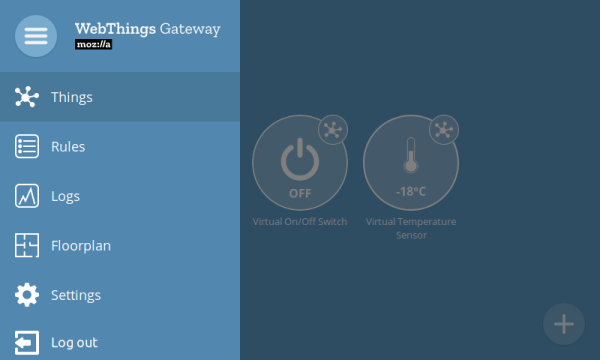
The central controller runs on a Raspberry Pi which is running Mozilla’s new smart home operating system. Each individual device is Arduino based, and when you click through on the site you get a well designed graphic explaining how to build each device.
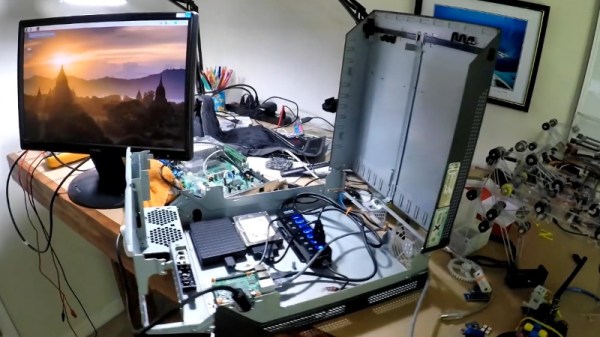
It’s also fun to see how many people worked together on this project and added their own flair. Whether it’s a unique covering for the devices or a toggle switch that can toggle itself there’s quite a few personal touches.
As anyone who’s had the sneaking suspicion that Jeff Bezos was listening in to their conversations, we get the need for this. We also love how approachable it makes hacking your own hardware. What are your thoughts?