The interesting thing about submissions for The Hackaday Prize is seeing unusual projects and concepts that might not otherwise pop up. [ken conrad] has a curious but thoughtfully designed idea for Raspberry Pi-based SmartZoom Imaging that uses a Pi Zero and camera plus some laser emitters to create a device with a very specific capability: a camera that constantly and dynamically resizes the image make the subject appear consistently framed and sized, regardless of its distance from the lens. The idea brings together two separate functions: rangefinding and automated zooming and re-sampling of the camera image.
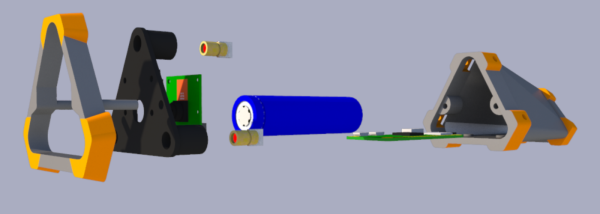
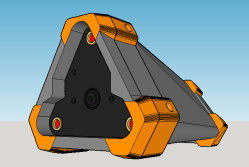 The Raspberry Pi uses the camera board plus some forward-pointing laser dots as a rangefinder; as long as at least two laser dots are visible on the subject, the distance between the device and the subject can be calculated. The Pi then uses the knowledge of how near or far the subject is to present a final image whose zoom level has been adjusted to match (and offset) the range of the subject from the camera, in effect canceling out the way an object appears larger or smaller based on distance.
We’ve seen visible laser dots as the basis of rangefinding before, but never tied into a zoom function. Doubtlessly, [ken conrad] will update his project with some example applications, but in the meantime we’re left wondering: is there a concrete, practical use case for this unusual device? We have no idea, but we’d certainly have fun trying to find one.