We’ve previously covered the PiEEG, an affordable brain-computer interface (BCI) shield designed to connect to the Raspberry Pi. The open source project developed by [Ildar Rakhmatulin] is intended to allow students and hobbyists to experiment with detecting electroencephalography (EEG), electromyography (EMG), and electrocardiography (ECG) biosignals — unlocking a wide array of applications ranging from assistive tech to gaming.
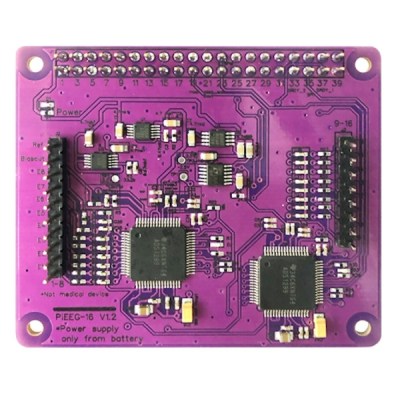
Now, the PiEEG hardware has been upgraded to detect sixteen channels via either wet or dry electrodes. The new board, referred to as the PiEEG-16, offers up the same ease of use and features as its predecessor, including the ability to read out signals from the device using Python scripts. Compared to the eight channels supported by the previous generation of hardware, the PiEEG-16 promises to provide the fine-grain data required for more complex operations.
 Since we last checked in with the PiEEG back in 2023, [Ildar] says the project has attracted plenty of attention. To help document how the community is using the capability offered by these BCIs, he’s added a page on the project’s site to show off what folks are building with the technology.
Inevitably, some express concern when talking about non-professionals working with brain interfacing hardware. But the project’s documentation is quick to point out that efforts have been taken to make the endeavour as risk-free as possible. The most important thing to remember is that the Raspberry Pi and PiEEG are intended to be powered by batteries so as to remain completely isolated. Similarly, there’s no need to connect the devices to a mains-powered computer, as everything happens on the Pi itself.
Even still, it’s made clear that the PiEEG-16 is not a medical device, and has received no formal certifications. If you want to experiment with this technology, you do so at your own risk. Just something to keep in mind…no pun intended.
Continue reading “Latest PiEEG Shield Now Offers 16 Channels” →