[Chris] recently got his hands on an old telescope. While this small refractor with an altitude-azimuth mount is sufficient for taking a gander at big objects in our solar system, high-end telescopes can be so much cooler. Large reflecting telescopes can track the night sky for hours, and usually come with a computer interface and a GOTO button. Combine this with Stellarium, the open source sky map, and you can have an entire observatory in your back yard.
For [Chris]’ entry into the 2016 Hackaday Prize, he’s giving his old telescope an upgrade. With a Raspberry Pi, a few 3D printed adapters, and a new telescope mount to create a homebrew telescope computer.
The alt-az mount really isn’t the right tool for the astronomical job. The earth spins on a tilted axis, and if you want to hold things in the night sky still, it has to turn in two axes. An equatorial mount is much more compatible with the celestial sphere. Right now, [Chris] is looking into a German equatorial mount, a telescope that is able to track an individual star through the night sky using only a clock drive motor.
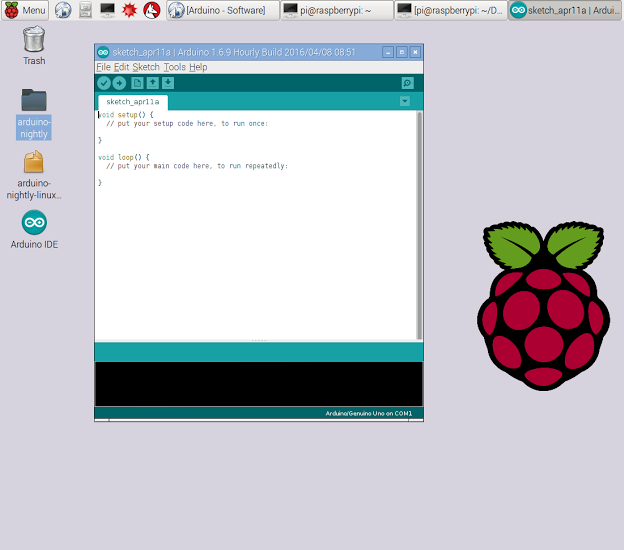
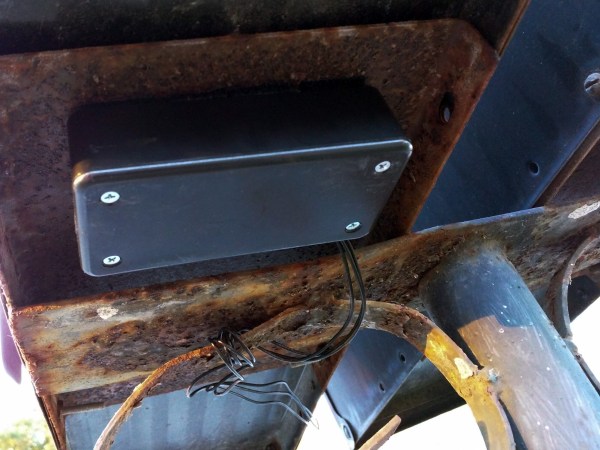
To give this telescope a brain, he’ll be using a Raspberry Pi, GPS, magnetometer, and ostensibly a real-time clock to make sure the build knows where the stars are. After that, it’s a simple matter of pointing the telescope via computer and using a Raspberry Pi camera to peer into the heavens with a very, very small image sensor.
While anyone with three or four hundred dollars could simply buy a telescope with similar features, that’s really not the point for [Chris], or for amateur astronomy. There is a long, long history of amateur astronomers building their own mirrors, lenses, and mounts. [Chris] is just continuing this very long tradition, and in the process building a great entry for the 2016 Hackaday Prize