Recently, we’ve stumbled upon the extensive effort that is the BirdNET research platform. BirdNET uses a neural network to identify birds by the sounds they make, and is a joint project between the Cornell Lab of Ornithology and the Chemnitz University of Technology. What strikes us is – this project is impressively featureful and accessible for a variety of applications. No doubt, BirdNET is aiming to become a one-stop shop for identifying birds as they sing.
There’s plenty of ways BirdNET can help you. Starting with likely the most popular option among us, there are iOS and Android apps – giving the microphone-enabled “smart” devices in our pockets a feature even the most app-averse hackers can respect. However, the BirdNET team also talks about bringing sound recognition to our browsers, Raspberry Pi and other SBCs, and even microcontrollers. We can’t wait for someone to bring BirdNET to a RP2040! The code’s open-source, the models are freely available – there’s hardly a use case one couldn’t cover with these.
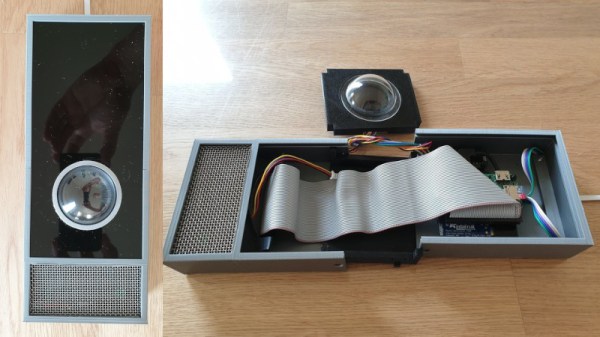
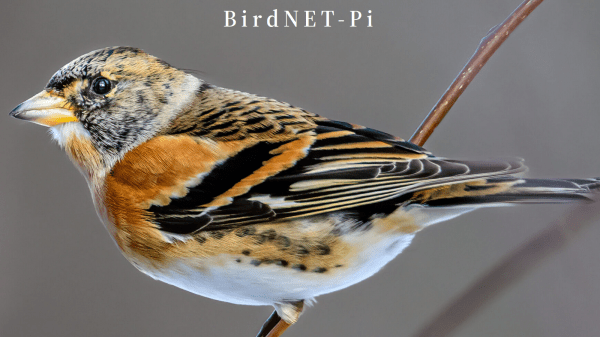
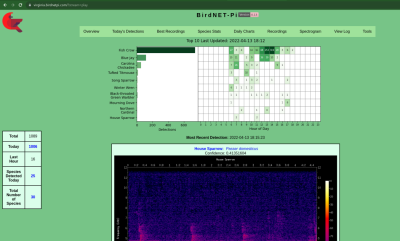 About that Raspberry Pi version! There’s a sister project called BirdNET-Pi – it’s an easy-to-install software package intended for the Raspberry Pi OS. Having equipped your Pi with a USB sound card, you can make it do 24/7 recording and analysis using a “lite” version of BirdNET. Then, you get a web interface you can log into and see bird sounds identified in real-time. Not just that – BirdNET-Pi also processes the sounds and creates spectrograms, keeps the sound in a database, and can even send you notifications.
The BirdNET-Pi project is open, too, of course. Not just that – the BirdNET-Pi team emphasizes everything being fully local, unless you choose otherwise, and perhaps decide to share it with others. Many do make their BirdNET-Pi instances public, and there’s a lovely interactive map that shows bird sounds all across the world!
BirdNET is, undoubtedly, a high-effort project – and a shining example of what a dedicated research team can do with a neural network and an admirable goal in mind. For many of us who feel joy when we hear birds outside, it’s endearing to know that we can plug a USB sound card into our Pi and learn more about them – even if we can’t spot them or recognize them by sight just yet. We’ve covered bird sound recognition on microcontrollers before – also using machine learning.