“Modular” and “Computer” have historically been on the opposite ends of a rather awkward spectrum. One could argue that a hobbyist grade PC is modular, but only to a point. Re-configuring it on the fly is not readily possible. Modular laptops are slowly happening, but what about handheld devices, where our needs might change on a regular basis?
Enter the Pockit: a fully modular IoT/edge computing device that can be reconfigured on the fly without having to reprogram it. Don’t browse away from this page without watching the demonstration video below the break. It just might be the “mother of all demos” for the current decade.
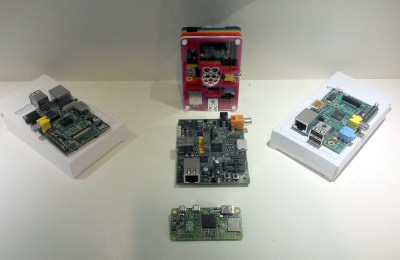
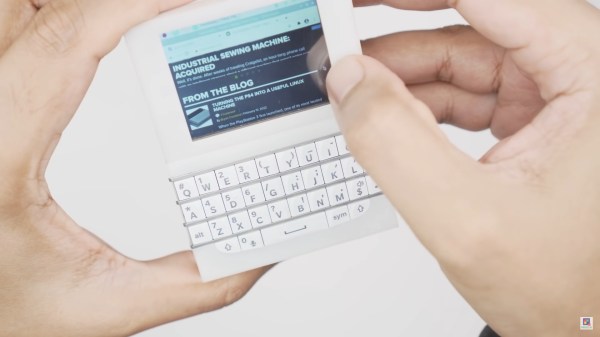
A modular base provides basic computing power in the form of a Raspberry Pi, like many other projects. The base has twelve magnetic connectors, each with twenty I/O and power pins. When a module is added, the operating system detects the new module and loads an appropriate program on the fly. When more modules are loaded, it automatically configures itself so that all modules have a purpose. This allows the Pockit to be an integrated IoT device, an edge computing powerhouse, a desktop computer, a Blackberry-esque handheld, or a touch screen tablet, and so many more things.
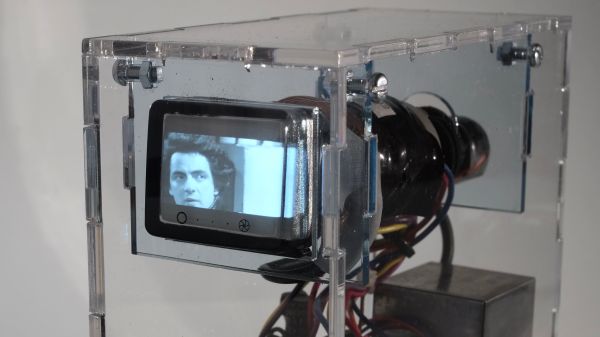
For example, if a camera is added, it displays an image on a screen — if there’s a screen. If a button is added, it automatically takes a picture when the button is pressed. If you want the camera to be motion activated, just add a motion sensor. Done. External devices can be controlled with relays and home automation integrates almost seamlessly.
There are a great number of features that we’re glossing over for the sake of getting to the point: Go watch the video and when you’re done, perhaps you’ll be as astonished as we are. We’ve expressed our love of modular hardware like the Pockit in the past, and after watching this demo, we can only hope that this is what the future of computing and electronics looks like!
Continue reading “Modular Pockit Computer Is More Than Meets The Eye”