When it was first announced that limits would be placed on recreational RC aircraft heavier than 250 grams, many assumed the new rules meant an end to home built quadcopters. But manufacturers rose to the challenge, and started developing incredibly small and lightweight versions of their hardware. Today, building and flying ultra-lightweight quadcopters with first person view (FPV) cameras has become a dedicated hobby onto itself.
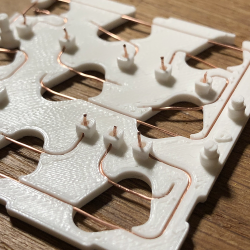
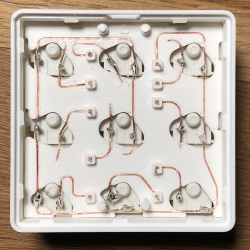
But as impressive as those featherweight flyers might be, the CogniFly Project is really pushing what we thought was possible in this weight class. Designed as a platform for experimenting with artificially intelligent drones, this open source quadcopter is packing a Raspberry Pi Zero and Google’s AIY Vision Kit so it can perform computationally complex tasks such as image recognition while airborne. In case any of those experiments take an unexpected turn, it’s also been enclosed in a unique flexible frame that makes it exceptionally resilient to crash damage. As you can see in the video after the break, even after flying directly into a wall, the CogniFly can continue on its way as if nothing ever happened.
Continue reading “Resilient AI Drone Packs It All In Under 250 Grams”