It’s hurricane season in the northern hemisphere right now, and plenty of news and weather organizations remain dedicated to alerting people if a storm is about to impact their area. There’s no shortage of ways to receive this information, either. We all have our favorite weather app or forecasting site, and there are emergency alerts to cell phones, TV, and radio stations as well. If none of that suits you, though, you can also roll out your own weather alert readerboard.
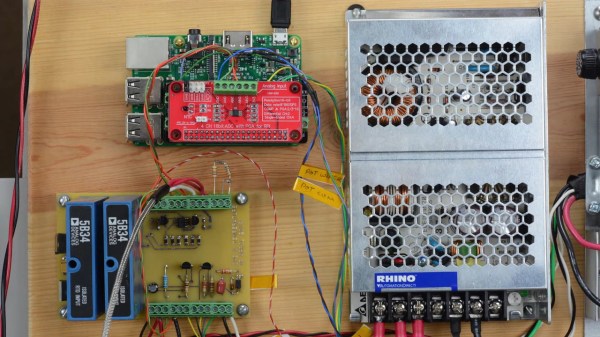
[Damaged Dolphin] built a weather alert readerboard using a Raspberry Pi and a 64×128 LED matrix. The Raspberry Pi runs Raspbian and uses a HAT from Adafruit, and once connected to the internet pulls down weather information for a specific area using custom python code. From there it can display any emergency weather alerts instantly on the readerboard screen including alerts for hurricanes. It does rely on data from the National Weather Service though, so if that is not available in your area some modifications will need to be made to the code.
While he notes that you probably shouldn’t rely on his non-professional python code exclusively when getting weather information, it would still be a good way of retrieving information about weather events without having to refresh a browser all the time. Once the storms have passed though, be sure you’re prepared for the days following.
Thanks to [b00tfa|l] for the tip!