Fair warning for readers with a weak stomach, the video below graphically depicts an innocent rubber band airplane being obliterated in mid-air by a smug high-tech RC helicopter. It’s a shocking display of airborne class warfare, but the story does have a happy ending, as [Concrete Dog] was able to repair his old school flyer with some very modern technology: a set of 3D printed propeller blades.
Now under normal circumstances, 3D printed propellers are a dicey prospect. To avoid being torn apart by the incredible rotational forces they will be subjected to, they generally need to be bulked up to the point that they become too heavy, and performance suffers. The stepped outer surface of the printed blade doesn’t help, either.
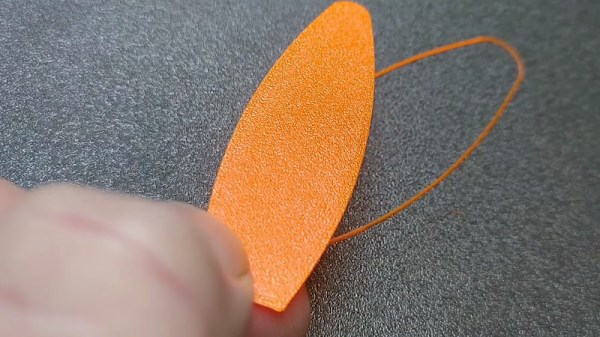
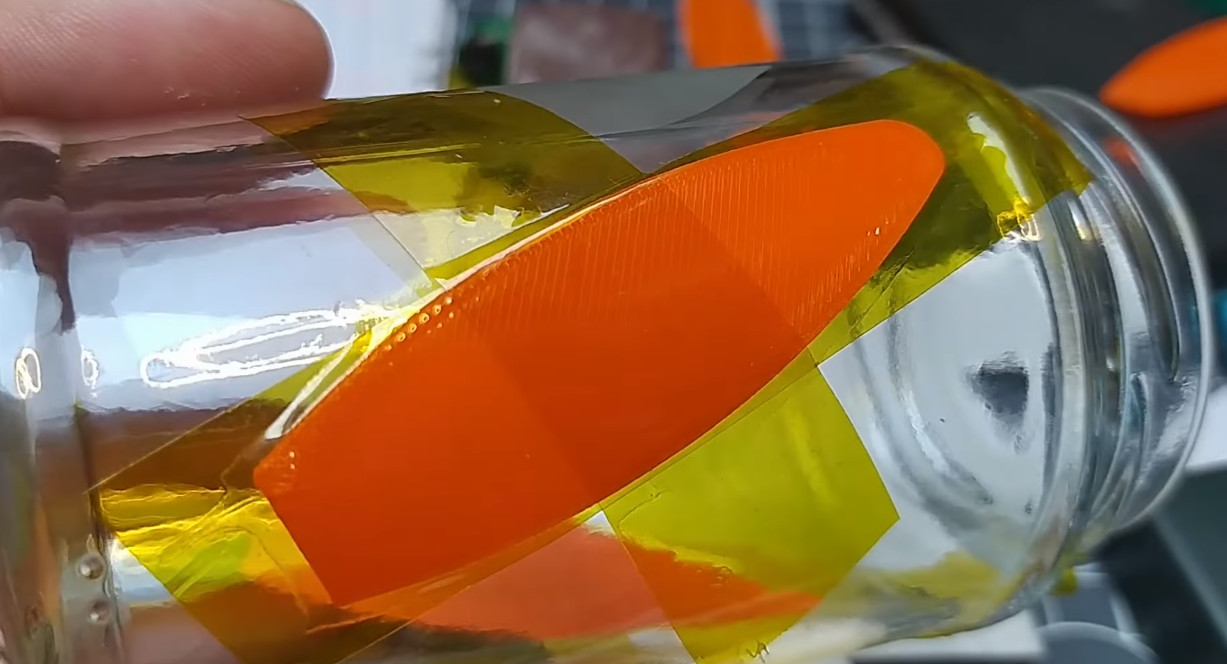 But in a lightweight aircraft powered by a rubber band, obviously things are a bit more relaxed. The thin blades [Concrete Dog] produced on his Prusa Mini appear to be just a layer or two thick, and were printed flat on the bed. He then attached them to the side of a jar using Kapton tape, and put them in the oven to anneal for about 10 minutes. This not only strengthened the printed blades, but put a permanent curve into them.
The results demonstrated at the end of the video are quite impressive. [Concrete Dog] says the new blades actually outperform the originals aluminum blades, so he’s has to trim the plane out again for the increased thrust. Hopefully the extra performance will help his spindly bird avoid future aerial altercations.
On the electrically powered side of things, folks have been trying to 3D print airplane and quadcopter propellers for almost as long as desktop 3D printers have been on the market. With modern materials and high-resolution printers the idea is more practical than ever, though it’s noted they don’t suffer crashes very well.
Continue reading “Printed Propeller Blades Repair Indoor Flyer”