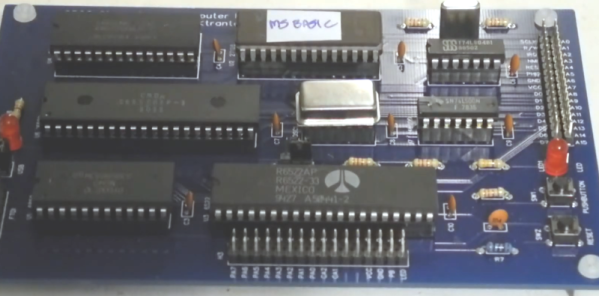
[Jeff] says that designing your own 6502 computer is a rite of passage, and he wanted the experience. His board can accept a real 6502 or the newer CMOS variant that is still available. There are a few modern conveniences such as USB power and provisions for using a USB serial port.
We are spoiled today with microcontrollers having everything in one package, but with this class of CPU you need your own memory, I/O devices, and other support chips. [Jeff] took a traditional approach, but picked components that are still easy to obtain. Some designs now push all the support functions to a more modern processor like an Arduino, which is very simple to do, but doesn’t feel as authentic, somehow.
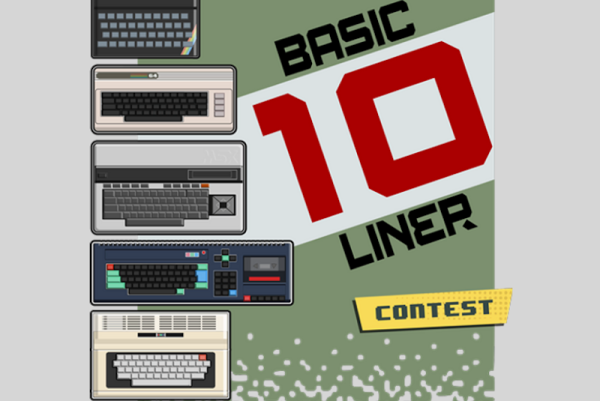
For the last 11 years [Gunnar Kanold] has run the annual BASIC 10 Liner contest, and the rules for the 2021 edition are now available. There are four categories and each category has specific definitions of what constitutes a line. All entries must run on an 8-bit computer system that can be emulated.
The first three categories are for games but differ in the line length allowed. You can elect to compete with 80 character lines, 120 character lines, or 256 character lines. There’s also a category for demos, tools, and other applications that must constrain lines to 256 characters.
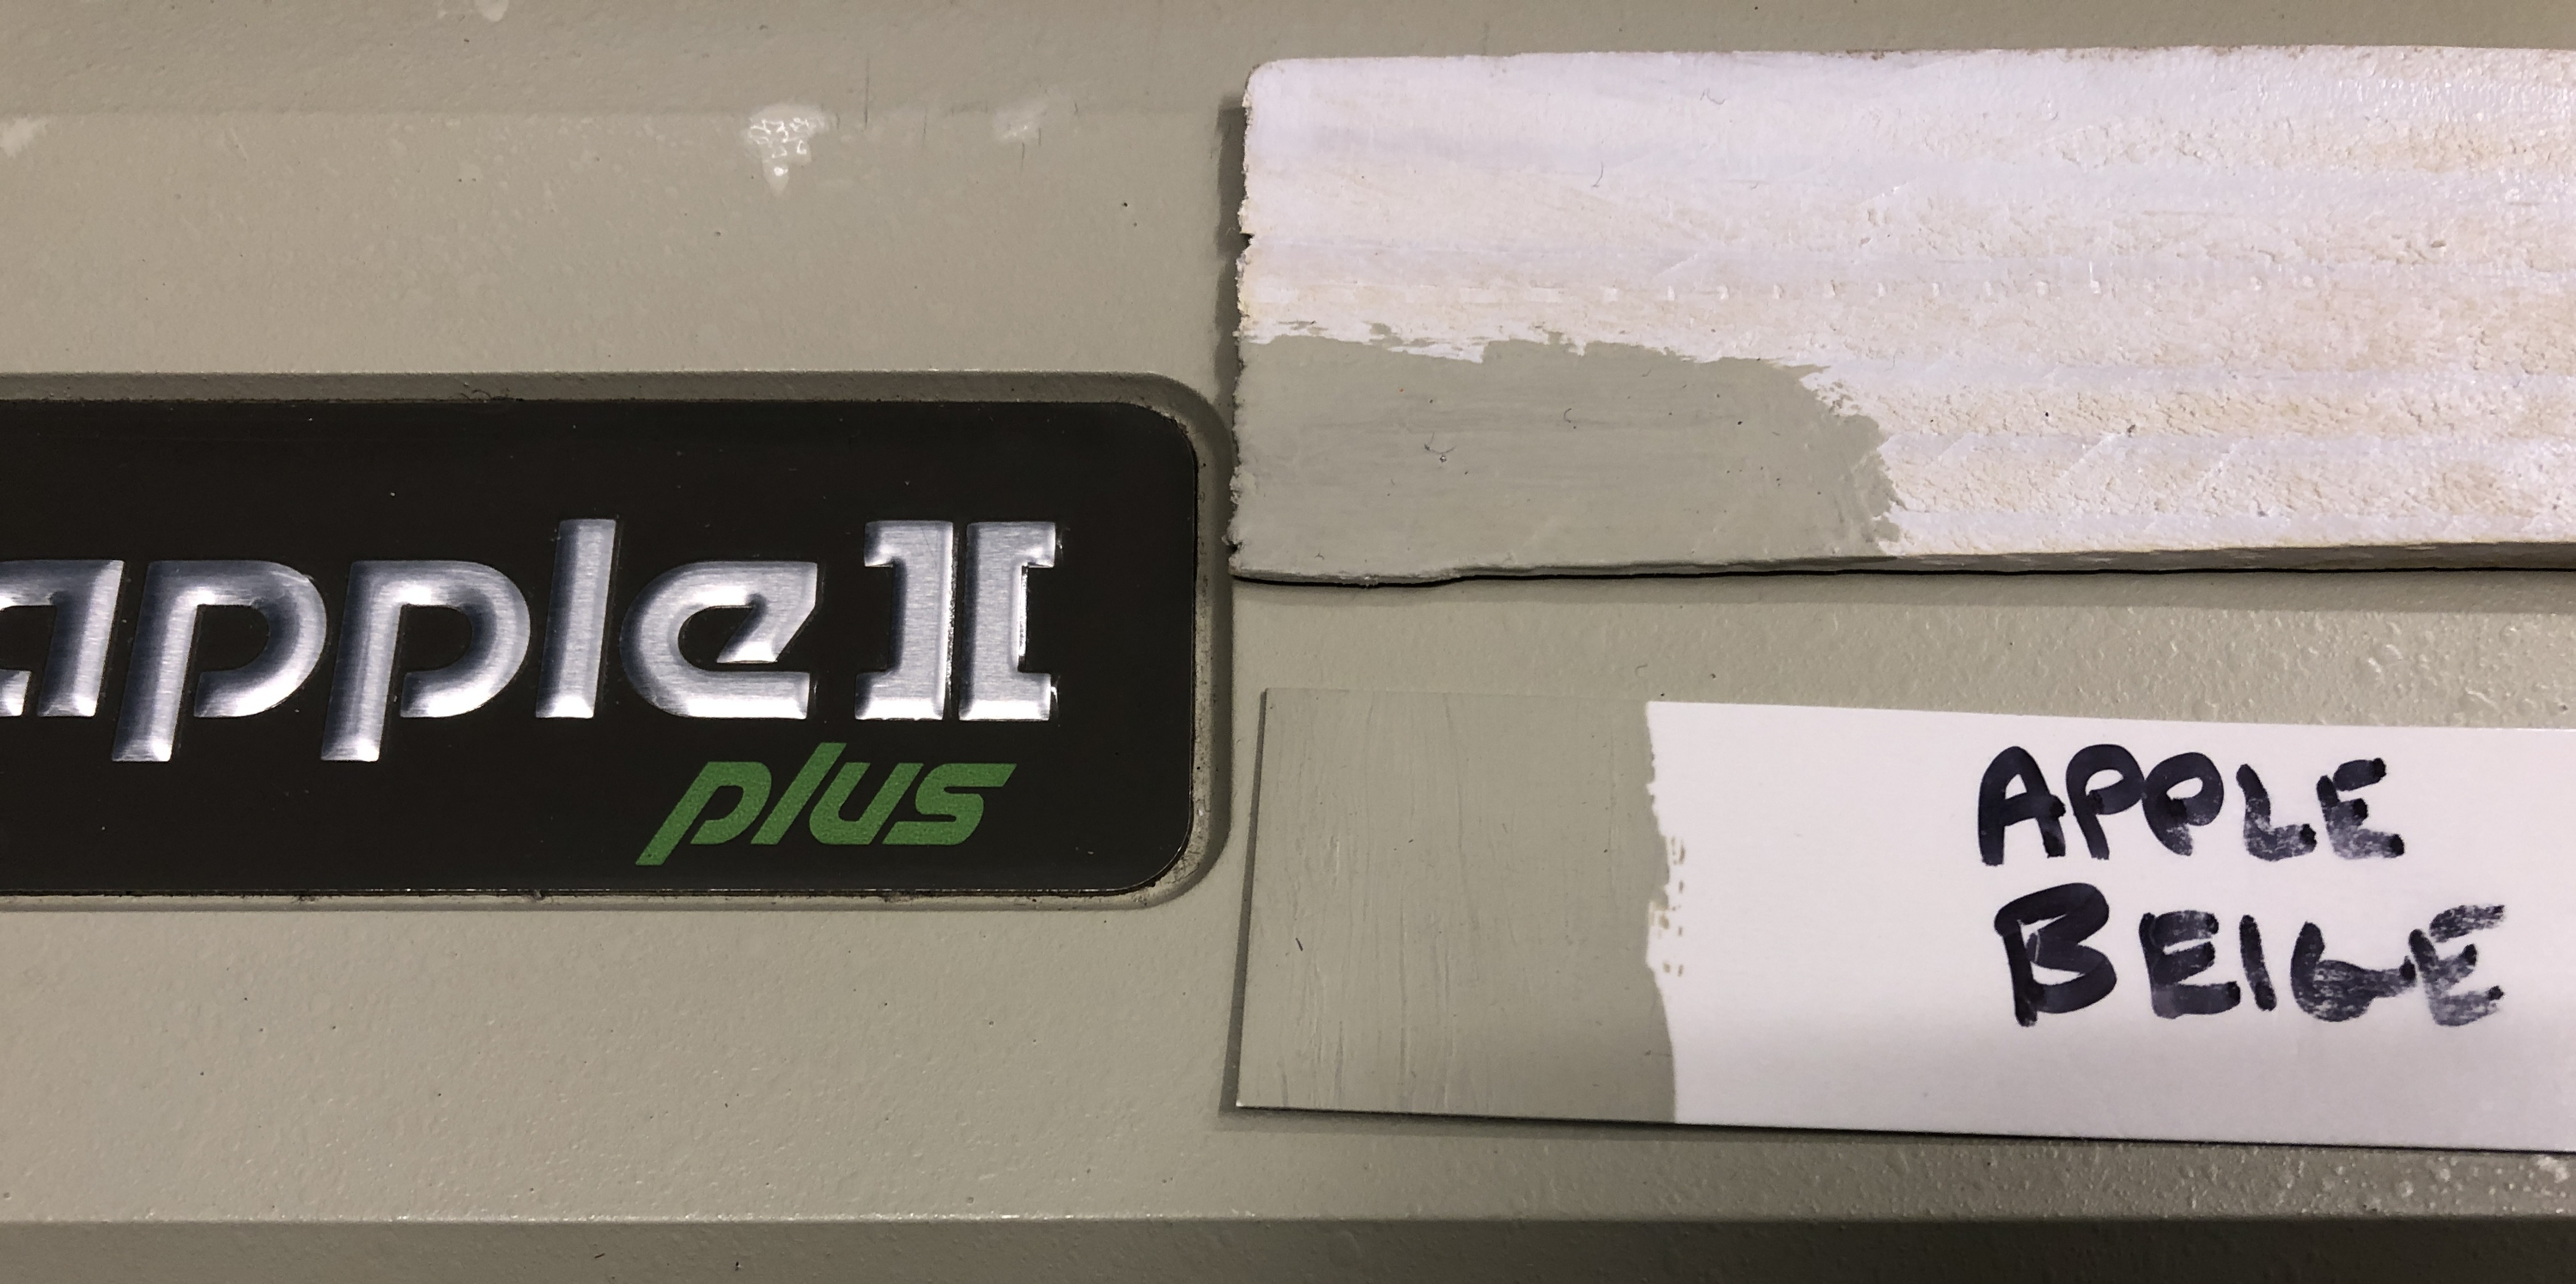
If we cast our minds back a few decades, almost all computers were a beige colour. “Beige box” even became a phrase for a generic PC, such was their ubiquity. Long before PCs though there were other beige computers, and probably one of the first to land on the desks of enthusiasts rather than professionals was the Apple ][. But exactly what beige colour was it? It’s a question that interested [Ben Zotto], and his quest led him through a fascinating exploration of a colour most of us consider to be boring.
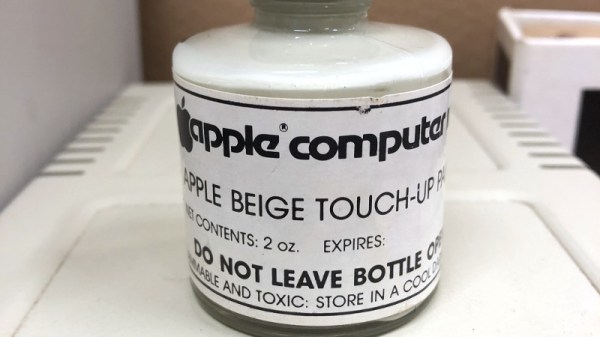
We’re used to older beige computers becoming yellow with time, as the effect of light and age causes the fire retardants in their plastic to release bromine. But the earlier Apple products haven’t done this, because their beige came not from the plastic but from a paint. [Ben] was lucky enough to find a small pot of touch-up paint from Apple that was made available to dealers, so notwithstanding any slight pigment changes from its age, he set off in pursuit of its origin.
Along the way to identifying a modern Pantone shade (Pantone 14–0105 TPG, for the curious) he treats us to a cross-section of Apple’s early colour history with reference to the memories of early Apple luminaries. He even suggests readily available shades that could suffice, pointing to Gloss Almond Rust-Oleum spray paint.
So should you wish to colour-match to an early Apple, now you can. If you have a Commodore or an Atari though, maybe your task is a little easier.
The original Hasbro “Think-a-Tron”, a toy from the dawn of the computer revolution, was billed with the slogan, “It thinks! It answers! It remembers!” It, of course, did only one of these things, but that didn’t stop the marketers of the day from crushing the hopes and dreams of budding computer scientists and their eager parents just to make a few bucks. It’s not like we’re bitter or anything — just saying.
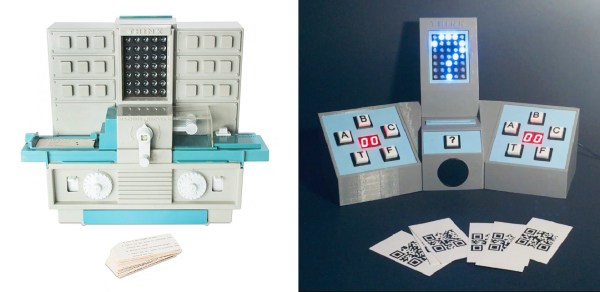
In an effort to right past wrongs, [Michael Gardi] rebuilt the 1960s “thinking machine” toy with modern components. The original may not have lived up to the hype, but at least did a decent job of evoking the room-filling computers of the day is a plastic cabinet with a dot-matrix-like display. The toy uses “punch-cards” with printed trivia questions that are inserted into the machine to be answered. A disk with punched holes spins between a light bulb and the display lenses, while a clever linkage mechanism reads the position of a notch in the edge of the card and stops the wheel to display the letter of the correct answer.
[Michael]’s update to the Think-aTron incorporates what would have qualified as extraterrestrial technology had it appeared in the 1960s. A 35-LED matrix with a 3D-printed diffuser and case form the display, with trivia questions and their answer as a QR code standing in for the punch-cards.He also added a pair of user consoles, so players can lock-in and answer before an ESP32-Cam reads the QR code and displays the answer on the LED matrix, after playing some suitable “thinking music” through a speaker.
As usual with [Michael]’s retrocomputing recreations, the level of detail here is fantastic. We especially like the custom buttons; controls like these seem to be one of his specialties judging by his slide switches and his motorized rotary switch.
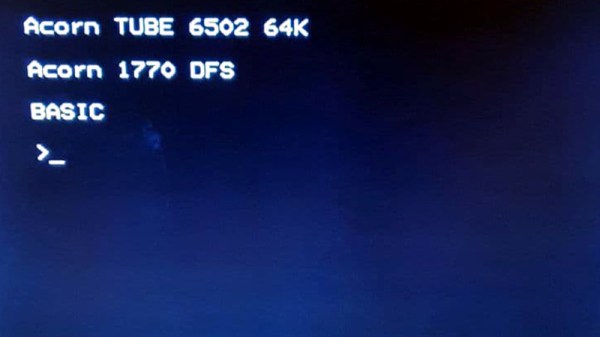
The Raspberry Pi is a fine machine that appears in many a retrocomputing project, but its custom Linux distribution lacks one thing. It boots into a GNU/Linux shell or a fully-featured desktop GUI rather than as proper computers should, to a BASIC interpreter. This vexed [Alan Pope], who yearned for his early days of ROM BASIC, so he set out to create a Raspberry Pi 400 that delivers the user straight to BASIC. What follows goes well beyond the Pi, as he takes something of a “State of the BASIC” look at the various available interpreters for the simple-to-code language. Almost every major flavour you could imagine has an interpreter, but as is a appropriate for a computer from Cambridge running an ARM processor, he opts for one that delivers BBC BASIC.
It would certainly be possible to write a bare-metal image that took the user straight to a native ARM BASIC interpreter, but instead he opts for the safer route of running the interpreter on top of a minimalist Linux image. Here he takes the unexpected step of using an Ubuntu distribution rather than Raspberry Pi OS, this is done through familiarity with its quirks. Eventually he settled upon a BBC BASIC interpreter that allowed him to do all the graphical tricks via the SDL library without a hint of X or a compositor, meaning that at last he had a Pi that boots to BASIC. Assuming that it’s an interpreter rather than an emulator it should be significantly faster than the original, but he doesn’t share that information with us.
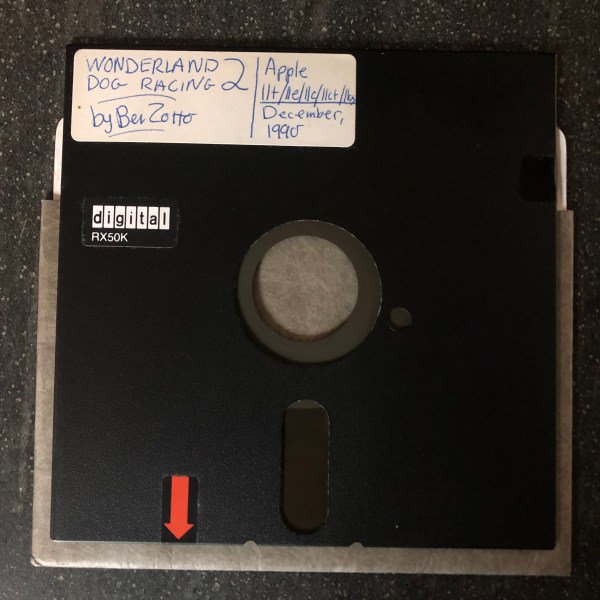
Back in 1990 [Benjamin Zotto] wrote – while in elementary school – a dog racing game called Wonderland 2. The BASIC source code and images for the game were stored on a single ProDOS formatted, soft-sectored 5.25″ floppy disk. Fast-forward thirty years to today and [Benjamin] found to his dismay that ProDOS could no longer read the floppy, giving an I/O error. Not deterred, he set about to recover the data, as documented in this Twitter thread.
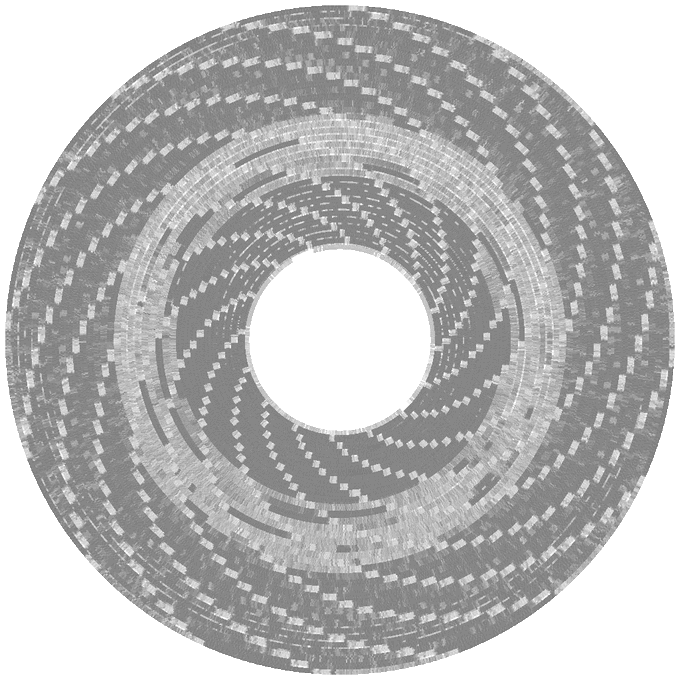
Applesauce visualization of the patterns on the corrupted disk, with soft-sectoring spiral arms.
The gist of the story is that the floppy disk’s surface could still be scanned with help from the aptly named Applesauce Floppy Drive Controller, which got the following visualization of the magnetic patterns on the disk surface:
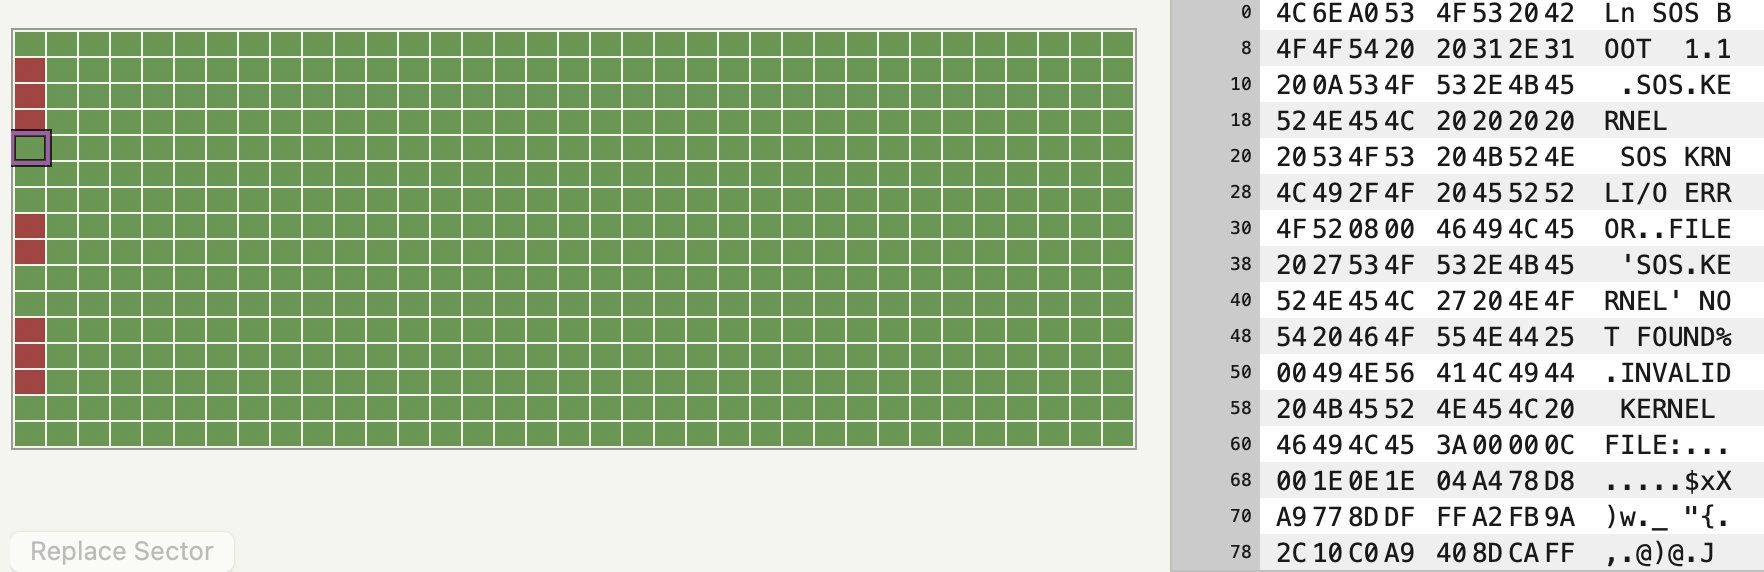
This data could then be analyzed sector by sector, with the bad sectors and the cause for ProDOS flaking out with its reading attempts here marked in red.
Checking the data recovered so far confirmed that it was a ProDOS disk. It also confirmed that the sector containing the directory listing was shot. This required diving into the technical reference manual for ProDOS and its filesystem to figure out how to reconstruct the directory layout. This required figuring out the offsets and sizes of the files, assisted by knowing what was likely on the disk, and having some bits and pieces of the original volume listing still intact. This allowed for the directory volume to be rebuilt, one byte at a time.
Sectors on the disk, with bad sectors in red.
At the end of that arduous and highly educational journey success waited, and [Benjamin] was once again able to relive his memories of 1990s BASIC and hand-drawn bitmap graphics.
In the early and mid 1990s there were a host of big players in the nascent public Internet that played their part in guiding the adventurous early Web users on their way. Many of them such as Netscape or Altavista have fallen by the wayside, while players such as Lycos and Yahoo are still in existence but shadows of their former selves. Some other companies broadened their businesses to become profitable and still exist quietly getting on with whatever they do. An example is Tucows, now a major domain name registrar, who have finally announced the closure of their software library that was such an essential destination in those times.
The company name was originally an acronym: “The Ultimate Collection Of Winsock Software”, started in 1993 by a library employee in Flint, Michigan. As its name suggests it was a collection of mostly shareware Windows software, and the “Winsock” refers to Windows Sockets, the API used by Windows versions of the day for accessing network resources. It seems odd to modern eyes, but connecting a 486 PC running Windows 3.1 to the Internet was something of a complex process without any of the built-in software we take for granted today. Meanwhile the fledgling Linux distributions were only for the extremely tech-savvy or adventurous, so the world of open-source software had yet to make a significant impact on consumer-level devices.
The passing of a Windows shareware library would not normally be a story of interest, but it is the part that Tucows played in providing a reliable software source on the early Web that makes it worthy of note. It’s something of a shock to discover that it had survived into the 2020s, it’s been so long since it was relevant, but if you sat bathed in the glow of a CRT monitor as you waited interminably for your CuteFTP download over your 28.8k modem to finish then you probably have a space for Tucows somewhere in your heart. If you fancy a trip down memory lane, the Internet Archive have a very period-ugly-looking version of the site from 1996.