If imitation is the sincerest form of flattery, online creators are being sincerely flattered at an alarming rate these days. We Hackaday scribes see it all the time, as straight copy-pastes of our articles turn up on other websites under different bylines. It’s annoying, but given prevailing attitudes toward intellectual property rights, there’s very little point in getting upset about it anymore. But what if it’s hardware that’s being infringed upon?
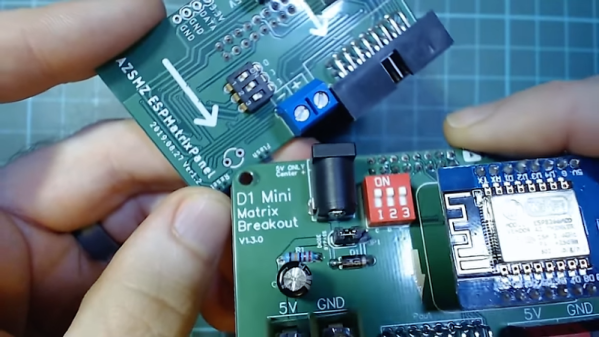
Hacker and Tindie store proprietor [Brian Lough] recently ran into this problem with one of his products, but rather than get upset, he did a remarkably fair and thoughtful review of the knock-off. The board in question, a D1 Mini Matrix Shield, makes it a snap to use LED matrix panels in projects like his Tetris-themed YouTube sub counter. The knock-off came via Ali Express, with the most “flattering” aspect being the copy and the images on the Ali Express listing, some of which are pulled straight from [Brian]’s Tindie store. While the board’s layout is different, it’s pretty clear that it was strongly inspired by the original. And the changes they did make – like terminal choices and undersizing some traces – only serve to lower the quality of the knock-off. Surely this was a cost-cutting move, so they could undercut sales of the original, right? Apparently not – the knock off is more expensive. Yes, [Brian]’s board is a kit and the imitator is fully assembled, but it still begs the question of why?
Hats off to [Brian] for not only making a useful product, but for taking the time to engineer it properly and having the ambition to put it on the market. It’s a pity that someone felt the need to steal his work, but it seems to be a rite of passage these days.
Continue reading “Tindie Seller Reviews A Knock-Off Of His Own Product” →